Have you ever wondered how to make your wood lathe work even better? A wood lathe speed control box might be the answer. This little device can make your wood lathe run smoother and safer. But what if you could build your own speed control box? It’s not as hard as you might think!
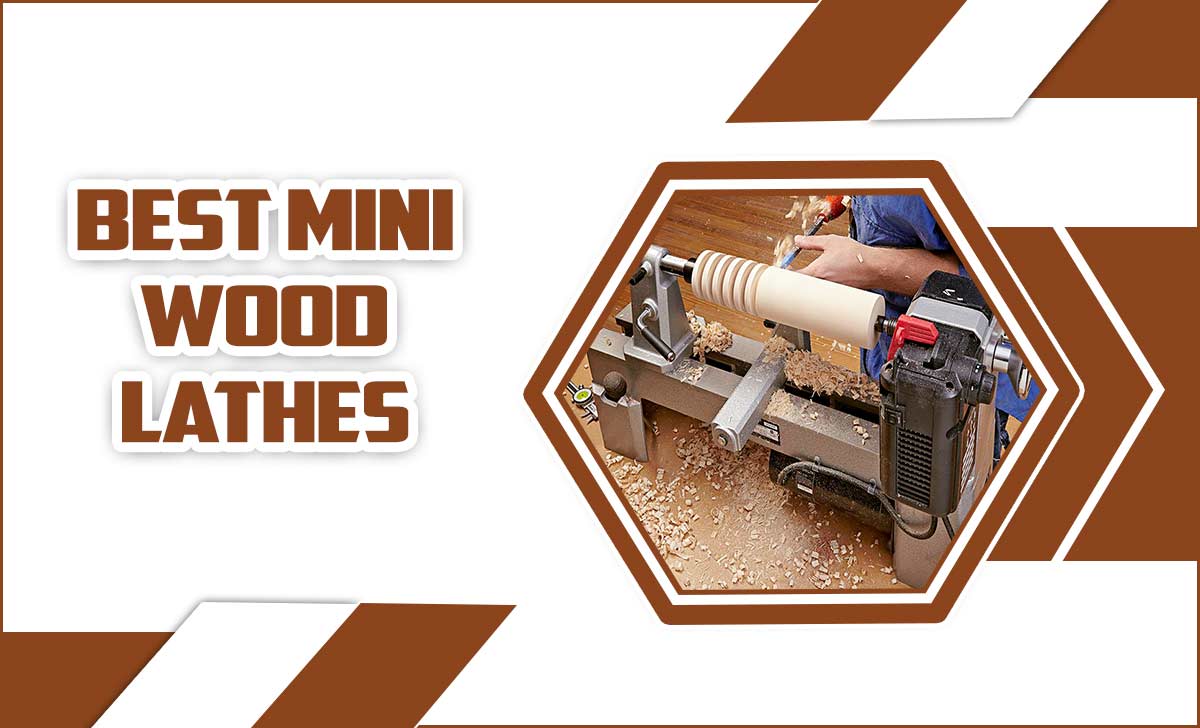
Imagine turning a rough piece of wood into a beautiful bowl or a sleek lamp. You’ll need the right speed for different projects. Too fast, and you might ruin your work. Too slow, and it feels like a chore. A DIY wood lathe speed control box lets you choose the perfect speed every time.
Did you know that many woodworkers start out with just a basic lathe? They often struggle with speed control at first. But with a speed control box, they quickly learn the magic of fine-tuning their tools. Building one can be fun and rewarding. You’ll feel proud to use something you created yourself!
Wood Lathe Speed Control Box Diy: A Comprehensive Guide

Wood Lathe Speed Control Box DIY
Creating a wood lathe speed control box can be a rewarding project for any woodworker. You’ll learn how to manage speed effectively, enhancing your turning skills. A well-built speed control box can provide smooth adjustments, allowing for various projects. Have you ever struggled with uneven turns? This tool can solve that! Imagine crafting pieces with precision. Plus, making it at home saves money and adds a personal touch. Discover tips and tricks to get started today!Components Needed for DIY Speed Control Box
List of essential electronic components (e.g., PWM controller, potentiometer). Tools required for assembly and installation.Building your own speed control box can be fun and rewarding! To start, you’ll need a few key electronic parts. The heart of your project is the PWM controller which helps control the motor speed. A potentiometer is also essential—think of it as a fancy volume knob for your lathe. Don’t forget tools like a soldering iron and wire cutters. They are like the superheroes of assembly!
| Component/Tool | Purpose |
|---|---|
| PWM Controller | Controls motor speed |
| Potentiometer | Adjustable speed input |
| Soldering Iron | Connects components |
| Wire Cutters | Prepares wires for connections |
Gather these components and tools, and you’re ready to create something amazing! Remember, even if your first attempt goes wrong, just think of it as a fun learning adventure—after all, even superheroes have a few mishaps!
Designing Your Speed Control Box
Tips on creating a schematic for the control box. Considerations for housing the components safely.Creating a good speed control box is exciting! First, make a simple schematic. Draw how each part connects. Remember to plan for safety. Use a sturdy housing to protect the parts. You can use materials like wood or plastic. It should be strong enough to keep everything safe. Below are some tips to help you:
- Keep wires tidy to avoid problems.
- Ensure parts can fit snugly inside.
- Leave space for airflow to prevent overheating.
Following these steps will help your project turn out great!
How do you design a speed control box?
Begin with a rough sketch of each part and where it goes. Then, choose strong materials for safety.
Step-by-Step Assembly Instructions
Detailed steps for connecting the components. Safety precautions during the assembly process.Begin by gathering all parts you need for the speed control box. Connect the wires following this order: *power source* to *controller* and then *controller* to *motor*. Make sure each connection is tight. Use electrical tape if needed. Remember, safety first! Always wear gloves and goggles. Ensure the area is clean and dry.
- Make sure the power is off before starting.
- Work in a well-lit space.
- Check the wires for damage before use.
This helps keep you safe while you build!
Is it safe to assemble the speed control box at home?
Yes, it is safe if you use proper tools and follow safety guidelines.
Testing Your Speed Control Box
Methods for testing functionality after assembly. Troubleshooting common issues.After you build your speed control box, it’s time for a test run! Start by plugging it in and turning the knob. You should hear the motor hum to life. If it doesn’t, check connections first. You might just need to tighten a screw or two. If the speed changes too quickly, you may need to adjust the resistor. Here’s a simple guide to keep in mind:
| Issue | Solution |
|---|---|
| No power | Check the plug and connections |
| Speed won’t change | Inspect the potentiometer |
| Motor sounds funny | Look for a loose wire |
With a bit of luck, you’ll have your lathe spinning smoothly without making your house feel like a rock concert. Happy woodturning!
Adjusting Speeds for Different Wood Types
Guidelines for selecting appropriate speeds for soft vs. hard woods. Factors that affect speed requirements.Different woods need different speeds on the lathe, like how a tortoise and a hare have unique running styles. Soft woods like pine spin better at higher speeds, around 2,000-3,000 RPM. In contrast, hard woods like oak do better at lower speeds, between 1,000-2,000 RPM. If you go too fast with hard woods, you risk snapping your tool. Factors like moisture content and wood grain also play a big role. Let’s break it down:
| Wood Type | Recommended Speed (RPM) |
|---|---|
| Soft Woods | 2000 – 3000 |
| Hard Woods | 1000 – 2000 |
So, be the speed maestro of your lathe, knowing just when to speed up or slow down for woodworking success!
Upgrading Your Lathe with Speed Control
Benefits of adding a speed control box to existing lathes. Considerations for compatibility with different lathe models.Adding a speed control box brings many perks to your lathe. It lets you adjust speeds easily, helping you achieve smooth finishes. Better control can lead to more precise work. Plus, different materials need different speeds. This upgrade works with many lathe models, but check for compatibility first. Some lathes might need specific types of controllers. Always ensure the speed control box matches your lathe’s requirements.
Why upgrade your lathe with a speed control box?
The benefits include:
- Easier speed adjustments for different projects.
- Improved precision for finer details.
- Longer tool life due to better speeds.
Make sure to read the manual for your lathe. This helps you choose the right speed control box. Enjoy more control and quality with this simple upgrade!
Maintenance Tips for Your Speed Control Box
Regular checks and upkeep to ensure longevity. Common signs that indicate maintenance is needed.To keep your speed control box in great shape, regular checks are important. Look for loose wires or strange sounds. These can mean something needs fixing. Clean the box every now and then, too. Dust can slow it down. Here are some signs it’s time for maintenance:
- Unusual noises coming from the box.
- Inconsistent speed during use.
- Burning smell while operating.
By taking these simple steps, you can help your box last longer and work better!
What are common problems with speed control boxes?
Common problems include loose connections, overheating, and faulty components. Regular maintenance helps to spot these issues early and keeps your device running smoothly.
Conclusion
In summary, a wood lathe speed control box DIY project lets you customize your woodworking experience. With proper materials and planning, you can build one easily. This upgrade helps you improve precision and safety while working. So, gather your tools, follow reliable guides, and start creating! Explore more resources for tips and tricks to enhance your woodworking skills.FAQs
Sure! Here Are Five Related Questions On The Topic Of A Diy Wood Lathe Speed Control Box:Sure! A DIY wood lathe speed control box helps you change how fast your wood lathe spins. You can make one using simple parts. First, gather a variable resistor, a switch, and a power supply. Then, connect them carefully. Always remember to be safe and ask an adult for help!
Of course! Please give me a question you’d like me to answer.
What Components Are Necessary To Build A Diy Wood Lathe Speed Control Box?To build a speed control box for a wood lathe, you need a few important parts. First, get a speed controller to change how fast your lathe turns. You also need a power supply to give power to the controller. Don’t forget a switch to turn everything on and off easily. Finally, use wires to connect all these parts together safely.
How Does The Choice Of Motor Impact The Design Of A Wood Lathe Speed Control Box?The motor is important because it decides how fast the wood lathe can spin. Different motors need different types of speed controls. Some motors work better with special electronic parts. If you choose a strong motor, you need a strong control box to match it. This way, you can safely change the speed while woodworking.
What Are The Benefits Of Using A Variable Frequency Drive (Vfd) For Speed Control In A Wood Lathe?A Variable Frequency Drive, or VFD, helps you control the speed of a wood lathe. This means you can work gently or quickly, depending on what you need. It saves energy too, making it cheaper to use. Plus, a VFD makes your tools last longer by reducing wear and tear. You can create better projects because you have more control!
How Do You Safely Wire And Install The Speed Control Box To A Wood Lathe’S Motor?To safely wire the speed control box, first, unplug the lathe. Then, match the wires from the box to the wires on the motor. You usually connect the same colors together. After that, make sure all connections are tight. Finally, plug in the lathe and test it carefully. Always wear safety gear, like goggles!
What Are Some Common Troubleshooting Tips For Issues That May Arise With A Diy Wood Lathe Speed Control Box?If your wood lathe speed control box isn’t working right, check the power first. Make sure it’s plugged in. Next, look for loose wires or connections. Tighten any that feel loose. If it still doesn’t work, try replacing the speed control box. Sometimes, parts just break.