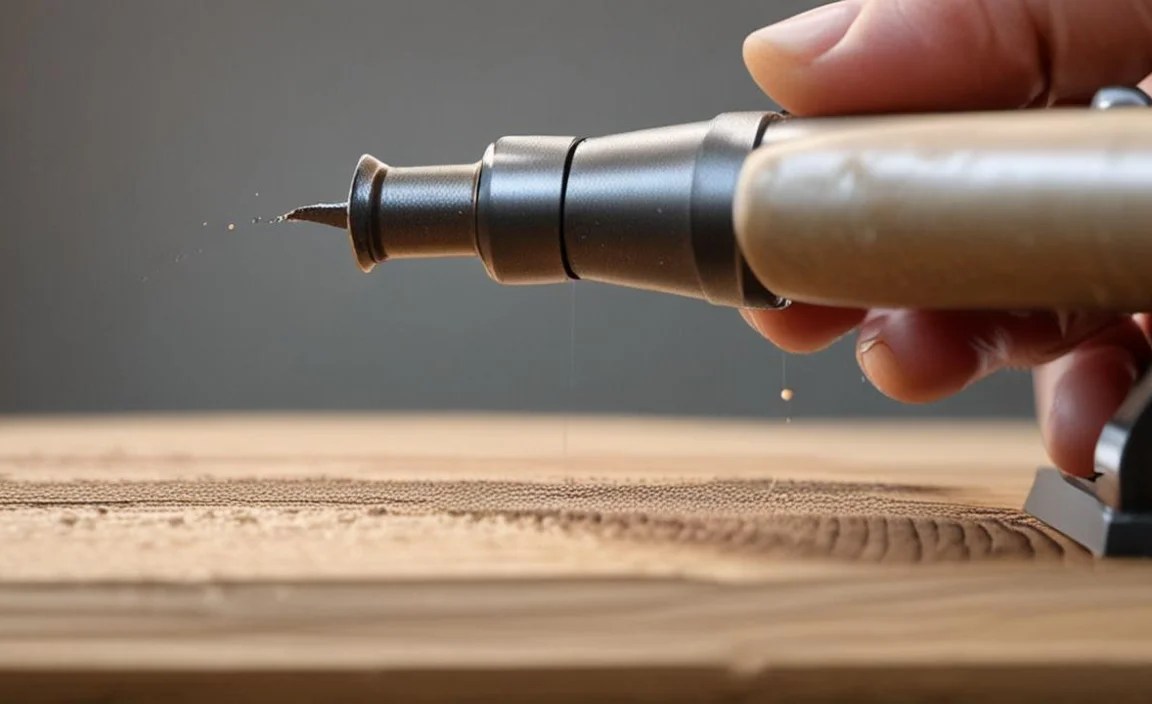
Spindle gouge sharpening mistakes happen, but they don’t have to ruin your woodturning projects. Mastering the right sharpening techniques ensures your gouge cuts cleanly, saving you time and frustration. Follow these essential tips to avoid common pitfalls and achieve a razor-sharp edge every time, making your woodturning smoother and more enjoyable.
Hey there, fellow woodturners! Daniel Bates here from Lathe Hub. Ever feel like your spindle gouge just isn’t cutting the way it should, even after you thought you sharpened it? You’re not alone! It’s a super common frustration for beginners, and honestly, even experienced turners can slip up. A dull or improperly sharpened gouge can lead to rough cuts, torn grain, chattering, and a whole lot of extra work. It can even be dangerous. But don’t worry, getting that perfect, whisper-sharp edge is totally achievable. We’re going to walk through the most common spindle gouge sharpening mistakes and, more importantly, how to fix them. Grab your gouge, your sharpening stone, and let’s get it right!
Wood Lathe Spindle Gouge Sharpening Mistakes: Essential Tips

Sharpening your wood lathe spindle gouge is more than just grinding away metal; it’s about understanding the geometry of the tool and how it interacts with the wood. When things go wrong, it’s usually because of a few key misunderstandings or overlooked steps. We’ll break down these common mistakes and give you the straightforward solutions you need to get your gouges back in wicked-sharp condition.
Mistake 1: Not Knowing Your Gouge Type: The Classic Trap

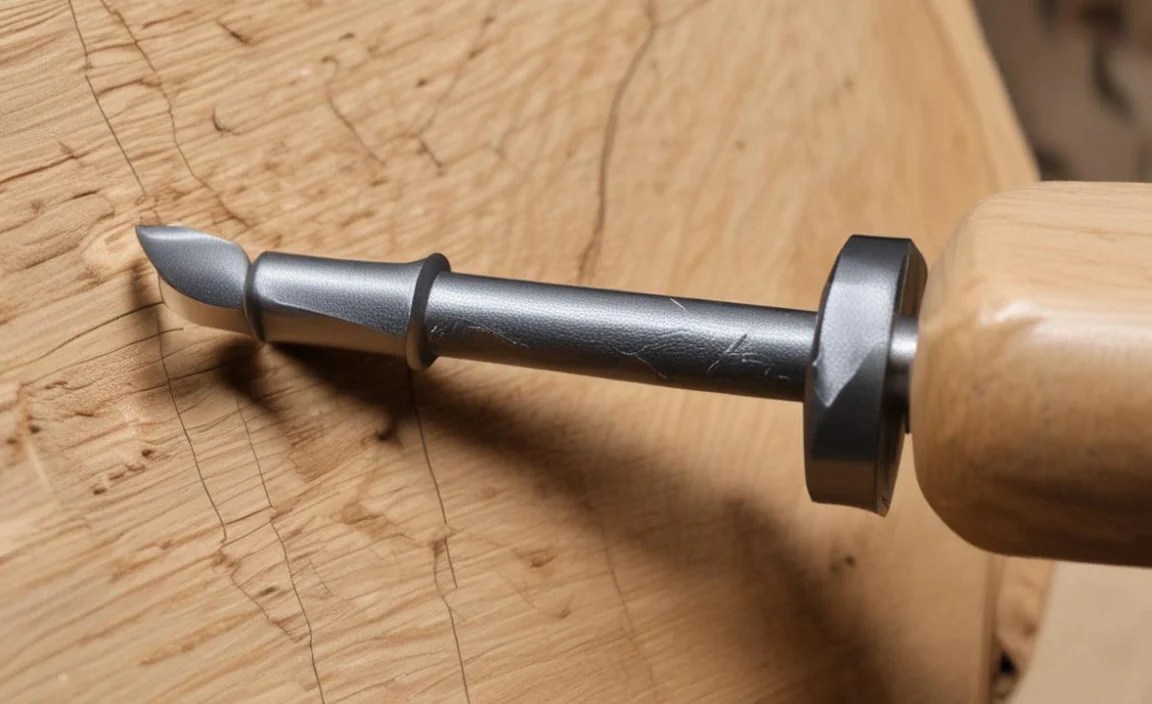
This is perhaps the most fundamental mistake. Spindle gouges come in different grinds, and each type has a specific bevel angle and wings. Trying to sharpen a fingernail gouge with the same technique you’d use for a traditional gouge, or vice-versa, will lead to a tool that doesn’t cut properly. For instance, a fingernail gouge is designed for cleaner cuts and undercutting, while a traditional gouge is more of a workhorse for heavier material removal. Using the wrong sharpening approach means you’re fighting the tool’s intended geometry.
Fingernail Gouge vs. Traditional Gouge

Understanding the difference is key:
- Fingernail Gouge: Features swept-back wings that allow for a shallower cutting angle and greater access under the tool rest. The grind is often more convex. This is ideal for fine detail work, shearing cuts, and smoothing.
- Traditional Gouge: Has a more straightforward, often flatter, grind with less prominent swept-back wings. It’s generally more robust and better suited for initial shaping and removing larger amounts of wood.
Mistake 2: The Incorrect Bevel Angle
This is a big one! The bevel angle on your spindle gouge determines how it enters the wood and how it slices. Too steep, and it will dig in aggressively, leading to catches. Too shallow, and it won’t cut effectively, forcing you to push harder and often resulting in burn marks or torn grain. For most spindle gouges, a bevel angle between 30 and 45 degrees is a good starting point. However, the exact angle can vary slightly based on the gouge’s design and the wood you’re turning.
Finding the Sweet Spot for Bevel Angle
Here’s how to think about it:
- Aggressive Shaping: A lower angle (around 30-35 degrees) can be good for digging in and removing material quickly, but it increases the risk of catches.
- Smooth Shearing: A slightly higher angle (around 40-45 degrees) promotes a cleaner, shearing cut and is generally more forgiving, making it ideal for beginners learning to control the tool.
- The “Sweet” Angle: Many turners find that around 40 degrees offers a great balance of cutting ability and control for general-purpose spindle turning.
If your gouge feels like it’s bouncing or digging in too much, your bevel angle might be too steep. If it’s just burning the wood and not removing it cleanly, the angle might be too shallow.
Mistake 3: Inconsistent Bevel Across the Edge
This is where many beginners stumble. You’re sharpening, and you think you’re doing a good job, but the edge isn’t sharp all the way across. This often happens when you don’t maintain a consistent angle as you move the gouge across the stone or sharpening system. One side might be sharp, but the other is dull, or you develop a sort of “flat spot” in the middle of the cutting edge.
How to Achieve a Consistent Bevel
Precision is key here. When using a jig, ensure it’s set up correctly and consistently grips the gouge. If freehand sharpening:
- Develop a Feel: Practice maintaining the same angle. Imagine you’re sliding the gouge along a ramp – the pitch of the ramp should never change.
- Focus on the Transition: Pay attention to the toes (the sides) of the gouge. Ensure the bevel is forming evenly from the center to the wings.
- Visual Check: After a few passes, lift the gouge and inspect the ground edge under good light. You should see a uniform sheen, indicating that the entire bevel has been ground.
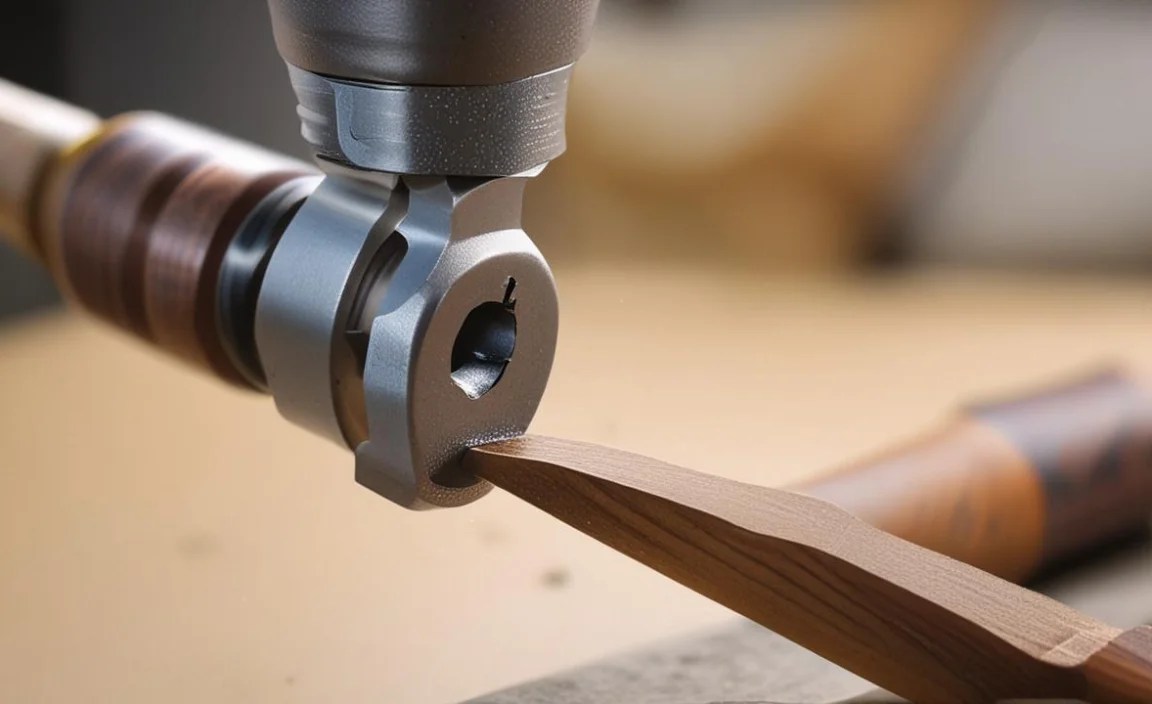
Mistake 4: Overheating the Steel: The Hidden Killer

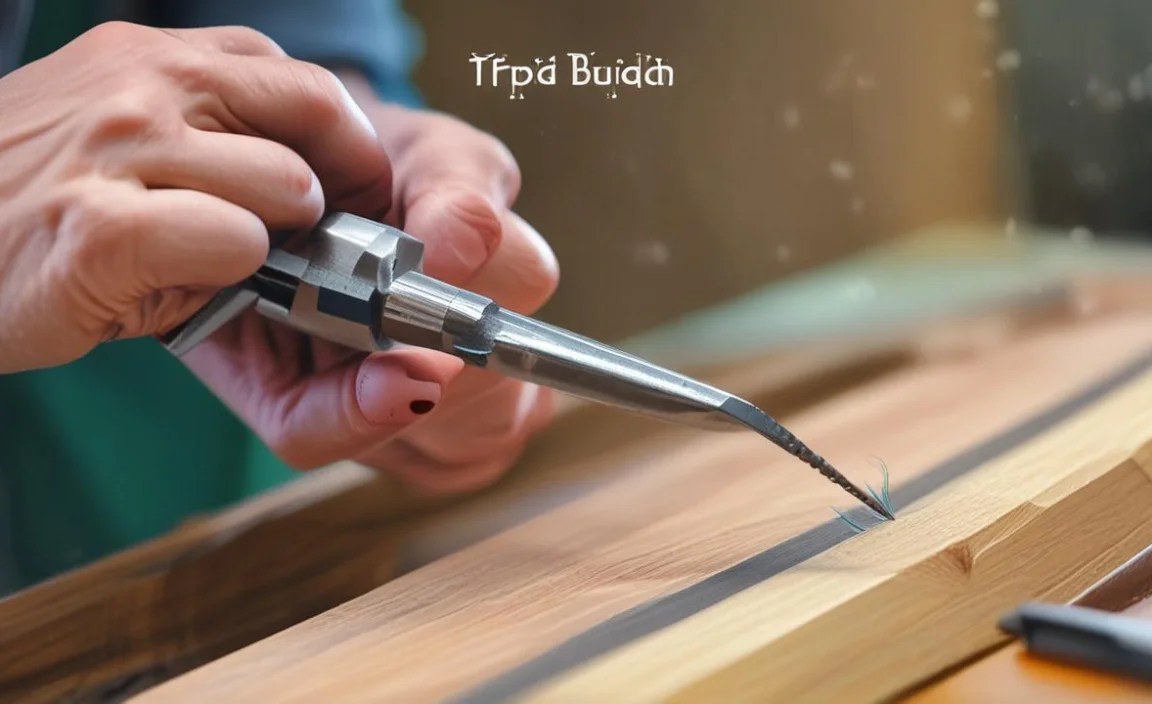
This is a critical mistake that can permanently damage your gouge. Grinding generates heat. If the steel of your gouge gets too hot, it loses its hardness and temper, becoming soft and unable to hold a sharp edge. This is often caused by grinding too aggressively or for too long in one spot without cooling. A quick way to check is by touching the gouge (carefully!) to a wet paper towel. If it sizzles violently, it’s too hot.
Keeping Your Gouge Cool
Here’s how to prevent this disaster:
- Short, Controlled Grinds: Don’t hold the gouge against the spinning abrasive wheel for extended periods. Use short, light passes.
- Cool Down Periods: If you’re doing a lot of sharpening, or the gouge feels warm, dip it in water to cool it down. Let it air dry or gently wipe it before resuming.
- Lessen Pressure: Let the abrasive do the work. Forcing the gouge into the wheel just increases friction and heat.
- Variable Speed Grinders: If you have a variable speed grinder, use a slower speed for sharpening. This generates less heat. For instance, grinding at around 1,800-2,000 RPM is generally safer than at 3,600 RPM.
You can learn more about tool steel tempering and why heat is such a critical factor in metallurgy from resources like The Minerals, Metals & Materials Society (TMS), which provides valuable insights into material science crucial for tool longevity.
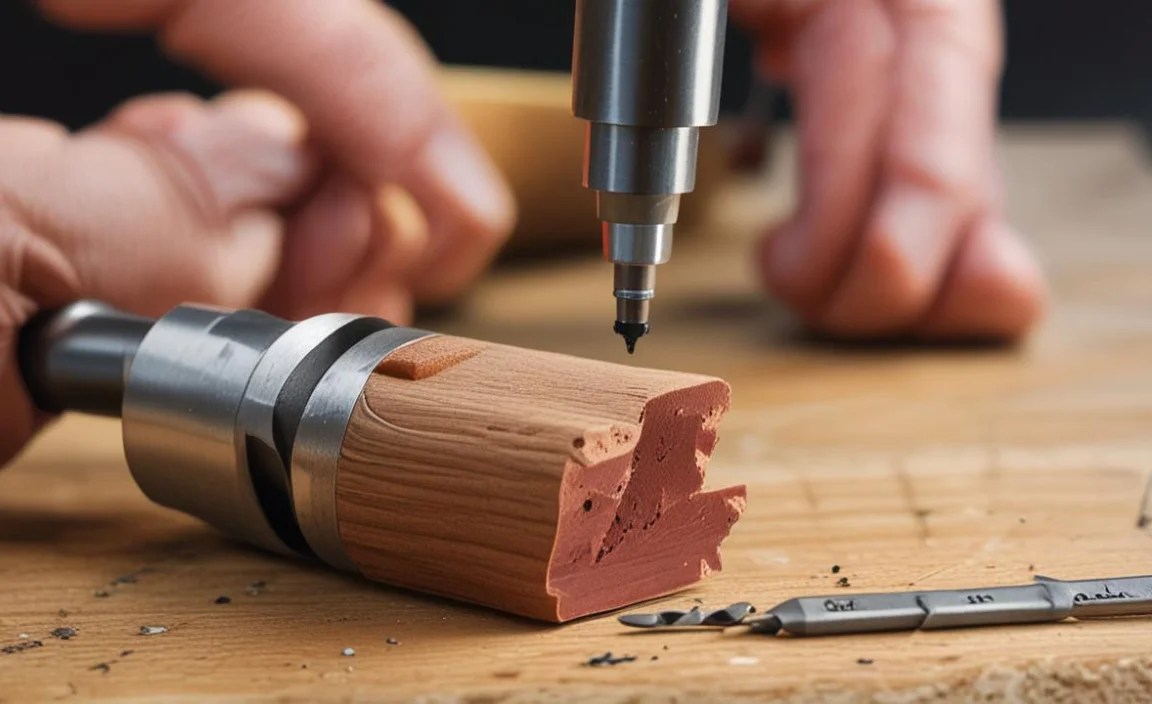
Mistake 5: Grinding Away Too Much Material
It’s tempting to grind aggressively to get a sharp edge quickly, but this is a mistake. Every time you grind, you shorten the life of your tool. Gouges, especially those with fingernail grinds, have a limited amount of steel to work with before they become too short to be effective or safe to use.
Preserving Your Tool’s Life

Think of sharpening as a maintenance task, not a complete restoration:
- Sharpen Often: It’s far better to do a few light, quick sharpenings than to let your gouge get completely dull and then try to resharpen it extensively. A quick touch-up on a sharpening stone can take seconds and preserve your tool for years.
- Just Enough to Cut: Aim to put a keen edge on the tool, not to reshape it significantly unless absolutely necessary.
- Use the Right Tools: For daily honing, a fine-grit sharpening stone, ceramic rod, or leather strop is often sufficient. Reserve the grinding wheel for when the edge is severely damaged or the geometry needs adjustment.
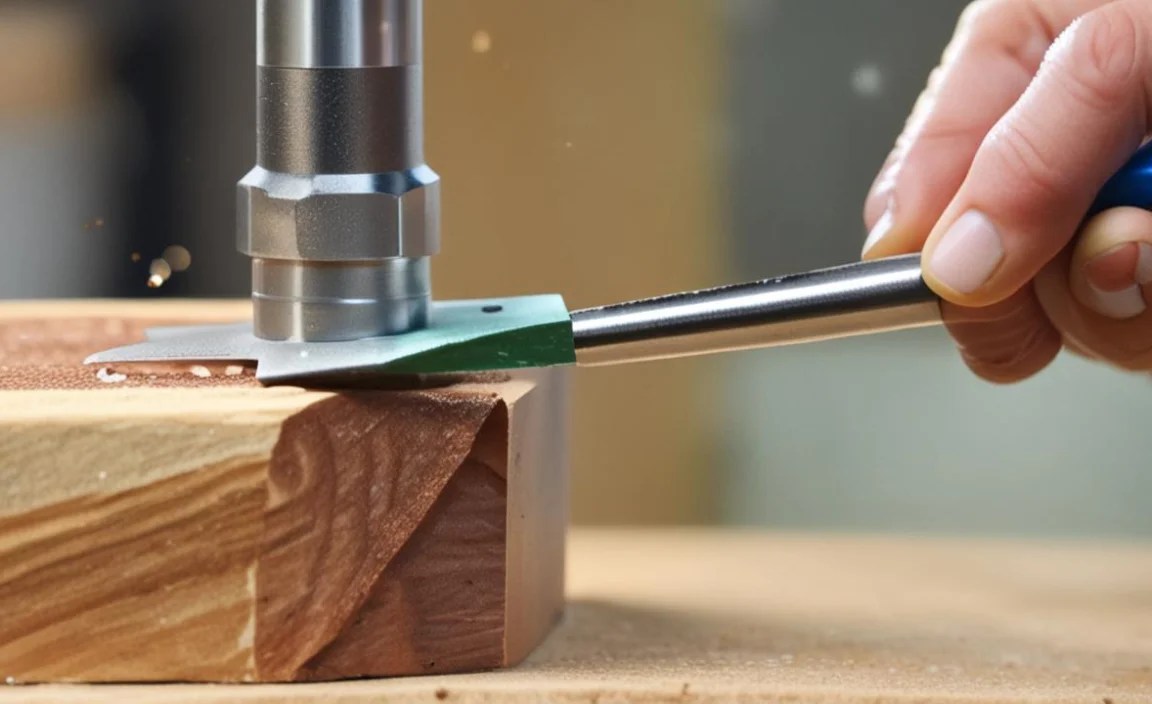
Mistake 6: Not Honing or Stropping After Grinding

A freshly ground edge, even if it feels sharp to the touch, often has microscopic burrs or a rough surface from the grinding wheel. These imperfections will cause it to dull quickly and can lead to a less-than-perfect cut on the wood. Honing and stropping are essential finishing steps that refine the edge, remove the burr, and create a mirror-like finish, which is what truly defines a razor-sharp tool.
The Importance of a Polished Edge
This finishing stage makes a huge difference:
- Honing: After grinding, use a fine-grit stone (e.g., 4000-8000 grit waterstone or diamond plate) to further refine the bevel and align the microscopic teeth of the steel.
- Stropping: This is the final polish. Use a leather strop loaded with a fine abrasive compound (like chromium oxide). Stropping removes any remaining burr and leaves the edge incredibly keen and smooth.
- The Result: A finely honed and stropped edge will glide through wood, producing shavings the thickness of paper, with minimal effort and a beautiful finish.
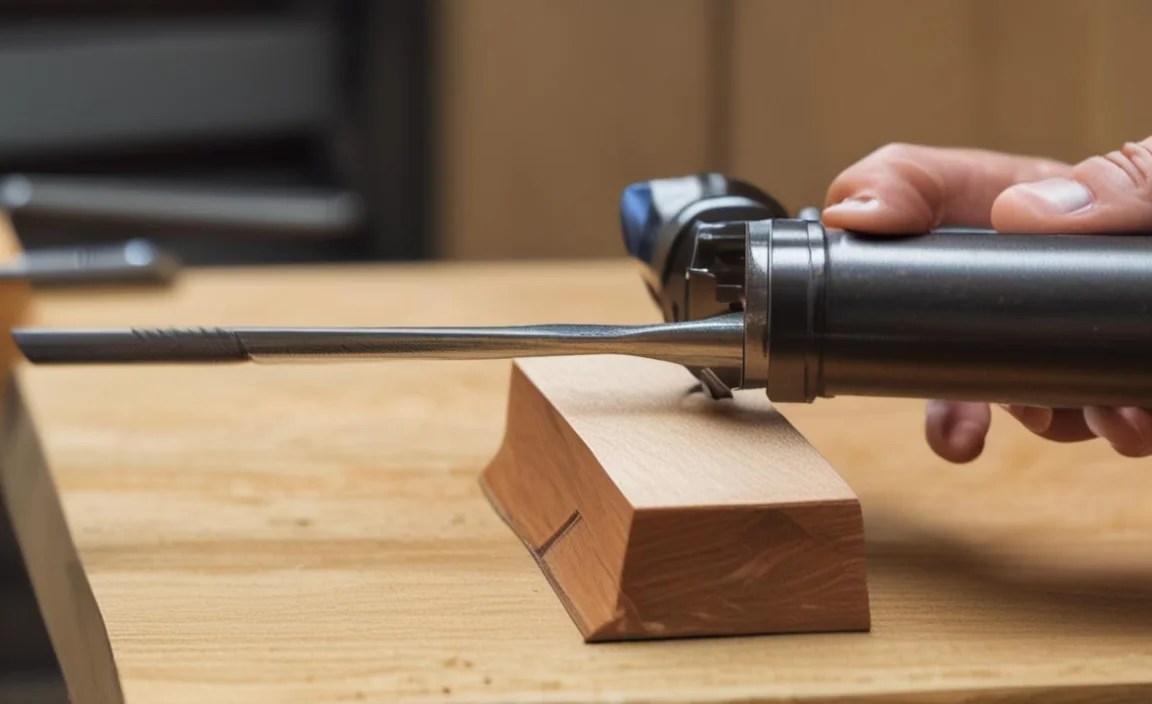
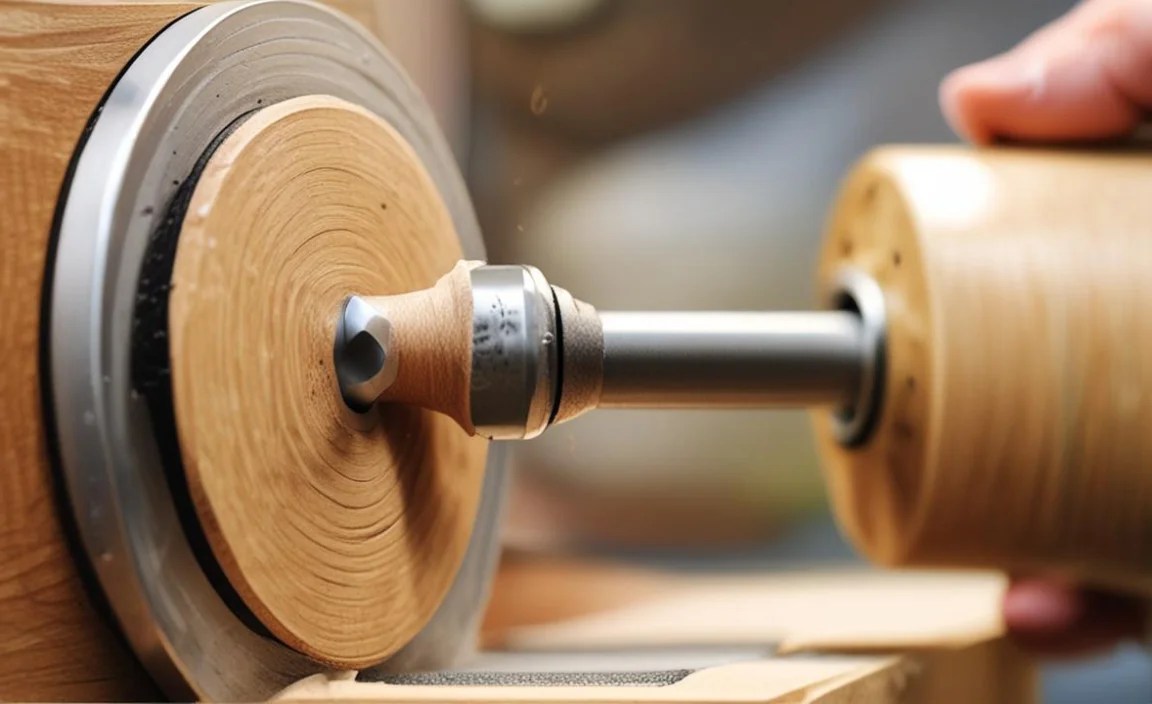
Mistake 7: Using the Wrong Sharpening System or Stone
There are many ways to sharpen a wood lathe gouge, from simple bench stones to specialized sharpening systems like the Oneway Wolverine or the Robert Sorby attachments for grinders. If you’re using a system that doesn’t allow you to consistently replicate the correct bevel angle, or if your stones are too coarse and leave a rough finish, you’re setting yourself up for frustration.
Choosing Your Sharpening Arsenal

Consider your needs and budget:
- Bench Grinder with Jigs: A common setup. Invest in good quality jigs (like the Wolverine Grinding Jig or similar universal jigs) to ensure consistent repeatable grinds.
- Waterstones/Oil Stones: Excellent for refining and honing. They require a bit more practice for consistency when done freehand but produce a superb edge.
- Diamond Plates: Durable, consistent, and available in a wide range of grits. Great for both grinding and honing.
- Specialized Sharpening Systems: Many brands offer systems designed to hold gouges at precise angles for sharpening on grinders or stones. These often provide the highest level of repeatability.
For those looking to understand the science behind abrasives and their effectiveness, looking into resources from manufacturers like Norton Abrasives can offer deep dives into the properties of different grinding materials.
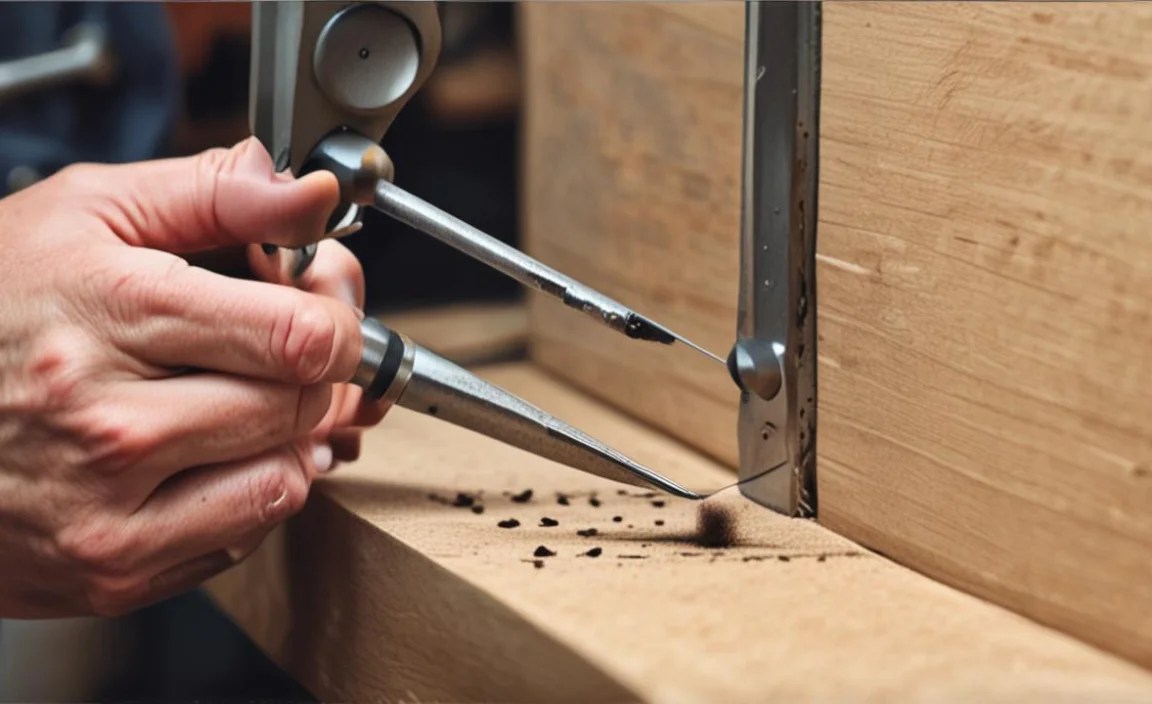
Mistake 8: Ignoring the Burr or Misinterpreting It

The burr is a small lip of metal that curls over the cutting edge during grinding. It’s a sign that you’ve ground enough to create a wire edge, but it’s not the same as a sharp edge on its own. Many beginners think that if they can feel a burr, the tool is sharp. In reality, the burr is fragile and needs to be removed and refined through honing and stropping.
Burr Management: Friend or Foe?
Think of the burr as a preliminary indicator:
- Grinding Creates the Burr: When you grind, opposing forces of metal being removed cause a slight curl to form on the very edge.
- Honing Refines: Honing stones help to straighten and refine this edge.
- Stropping Removes and Polishes: Stropping is what cleanly removes the burr and polishes the metal, leaving a truly sharp and durable cutting edge.
- Testing for Sharpness: True sharpness comes from a clean, polished edge that can easily shave paper or hair, not just from the presence of a burr.
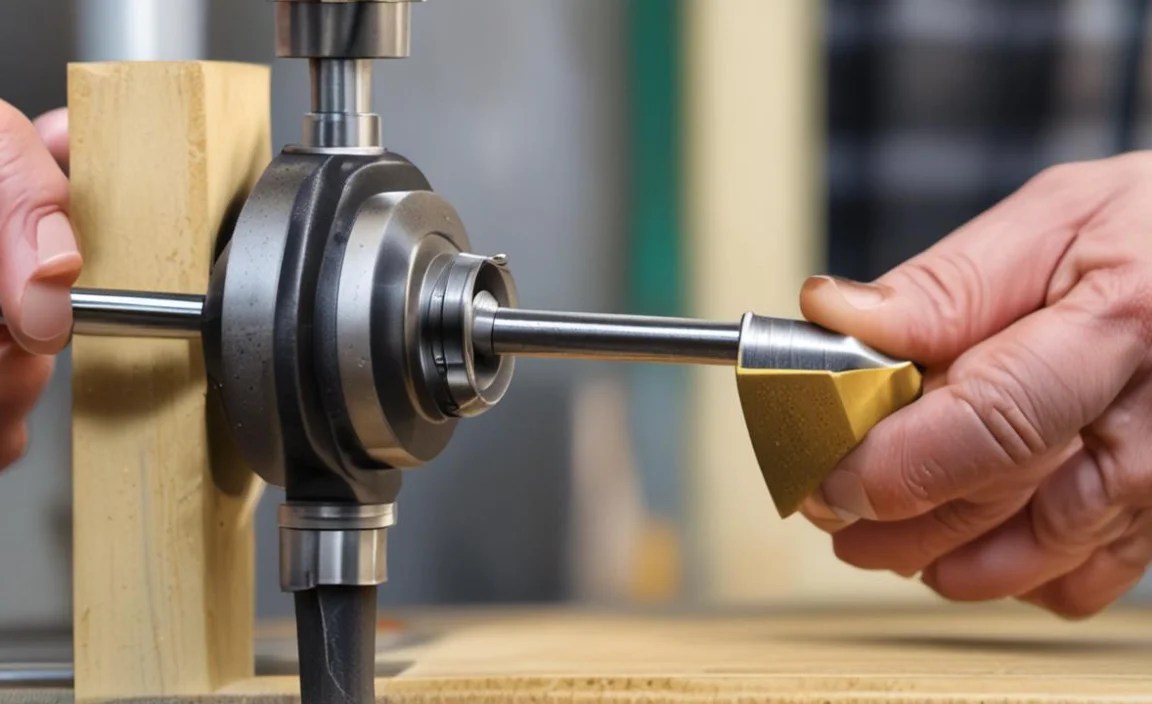
Mistake 9: Improper Tool Rest Setup
While not directly a sharpening mistake, how you set up your tool rest is intrinsically linked to how you apply the gouge to the sharpening wheel or stone. If your tool rest is too high or too low, it will throw off your angle and make consistent sharpening impossible.
Tool Rest Tips for Sharpening
Get this right for easier sharpening:
- Close to the Wheel/Stone: Position the tool rest as close to the grinding wheel or stone as possible without touching it. This provides maximum support and stability for your gouge.
- Consistent Height: When sharpening a tool of a particular type (e.g., a spindle gouge), strive to keep the tool rest at the same height. This helps maintain your learned angle.
- Adjustable Rests: If your sharpening station has an adjustable tool rest, set it up correctly and lock it down.
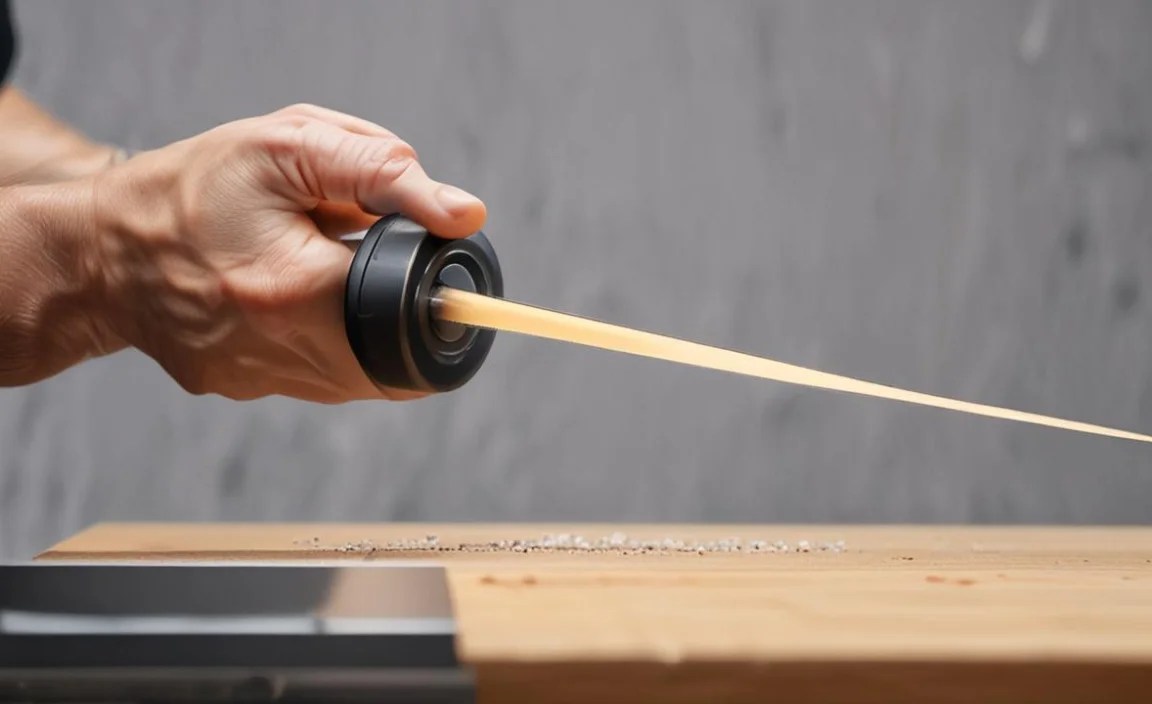
Mistake 10: Not Checking Sharpness on the Lathe
You’ve sharpened your gouge, you think it’s ready, but how do you know for sure? Relying solely on touch can be misleading. The best test is to try it on your lathe. A properly sharpened gouge will glide through the wood, producing thin, continuous shavings. A dull one will require more force, chatter, burn, or tear the grain.
The Real-World Test

Put your skills to the test:
- The Paper Test: Hold a piece of paper and try to shave off a curl. A sharp gouge will do this easily.
- The Fingernail Test: Gently try to feel the edge with your fingernail. Be cautious, but a sharp edge should feel like it “bites” into your nail.
- On the Lathe: Make a light pass on a practice piece of wood. If you get smooth, continuous shavings, you’re good to go. If you hear squealing, tearing, or feel resistance, it needs more work.
Essential Steps for Success: A Quick Guide

To avoid these common mistakes, let’s quickly recap the best practice for sharpening your spindle gouge.
Step 1: Identify Your Gouge and Intended Bevel
Know whether you have a fingernail or traditional grind and the target bevel angle for that specific tool and your turning style (typically 30-45 degrees).
Step 2: Set Up Your Sharpening Station

Ensure your grinder is stable, your tool rest is set correctly (close to the wheel, at the appropriate height), and your jig (if using one) is secure.
Step 3: Grind Lightly and Cool Frequently

Use light pressure and short passes. Dip the gouge in water often to prevent overheating the steel. If using a jig, ensure consistent contact and movement of the gouge within the jig.
Step 4: Check for and Grind to a Uniformly Shiny Bevel

Aim to create a consistent, shiny bevel across the entire cutting edge, from the center to the wings. Avoid creating flat spots or uneven grinding.
Step 5: Refine the Edge with Honing
After grinding, use a fine-grit stone or diamond plate to remove the grinding marks and the burr’s roughness. Maintain the same bevel angle.
Step 6: Finish with Stropping
Load a leather strop with abrasive compound and strop the bevel until it’s mirror-polished. Then, lightly strop the back (concave side) of the gouge to remove any residual wire edge.
