Wood Lathe Chuck Key Replacement: Effortless Guide
Your wood lathe chuck is a critical component, securely holding your workpiece while you embark on creative turning projects. When the chuck key, the essential tool for tightening and loosening this grip, goes missing or becomes damaged, it can bring your woodworking to an immediate halt. Fortunately, wood lathe chuck key replacement is often a straightforward DIY task that can get you back to turning in no time. This guide will walk you through the process, from identifying your needs to fitting a new key with minimal fuss.
The modern wood lathe chuck typically uses one of a few common key designs. Understanding which type you have is the first vital step. Most chucks employ a square drive mechanism. This means the end of your chuck key has a square tip designed to fit into a corresponding square socket on the chuck’s geared mechanism. There are two primary types of chuck keys you’ll encounter: the T-handle key and the L-shaped key. The T-handle provides a comfortable grip for applying torque, while the L-shaped key offers a more compact form factor, sometimes useful for accessing tighter spaces.
Identifying Your Chuck and Key Needs
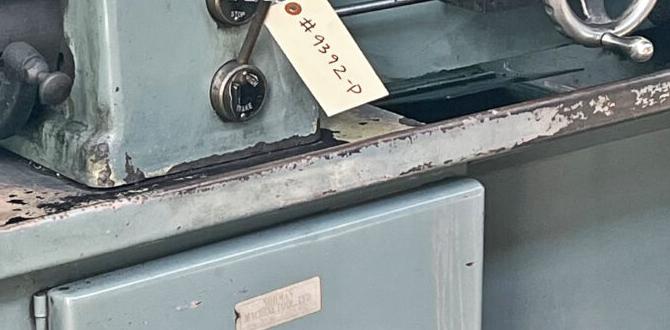
Before you can replace your chuck key, you need to determine what you’re replacing. Examine your chuck closely. Most chuck manufacturers mark their products with a brand name or model number. This information is invaluable for sourcing the correct replacement key. If the markings are worn or absent, you’ll need to rely on visual identification and measurement.
The most crucial measurement for a T-handle or L-shaped chuck key is the size of the square drive tip. This is usually measured in millimeters or inches. Common sizes include 7mm, 8mm, 9mm, 5/16 inch, and 3/8 inch. You can measure this with a ruler or, more accurately, with a caliper. Gently insert the tip of your damaged or missing key into a socket on the chuck to get a sense of the fit. If you don’t have an old key to measure, you can try to carefully measure the socket itself.
Beyond the drive tip size, consider the overall length of the key and the handle style you prefer. If your original key was too short to comfortably engage the chuck gears or if you found the T-handle awkward, this is an opportunity to choose a key that better suits your turning style.
Where to Source Your Replacement Key
Once you have a clear idea of the key you need, it’s time to find a replacement. Your first stop should be the website of your chuck’s manufacturer. They will likely have a parts or accessories section where you can order the exact key designed for your model. This is usually the most reliable way to ensure a perfect fit and proper functionality.
If you can’t find a specific replacement from the manufacturer, or if you’re looking for a more universal solution, specialized woodworking supply stores are excellent resources. Online retailers like Amazon, Rockler, Woodcraft, and specific lathe accessory sites often carry a wide range of chuck keys that can accommodate various chuck sizes and types. Be sure to read product descriptions carefully, paying close attention to the drive tip size and compatibility.
For those who enjoy a bit of a challenge or are looking for a more economical solution, wood lathe chuck key replacement DIY projects can be rewarding. This typically involves purchasing a generic Chuck key blank and modifying it to fit, or even fabricating one from scratch if you have metalworking skills. However, for most users, purchasing a pre-made key is far more practical and time-efficient.
Effortless Wood Lathe Chuck Key Replacement: The Simple Steps
The actual replacement process is remarkably simple, hence the “effortless” nature of this task.
1. Gather Your Tools: All you’ll typically need is your new chuck key. If you’re measuring, a ruler or caliper will be helpful.
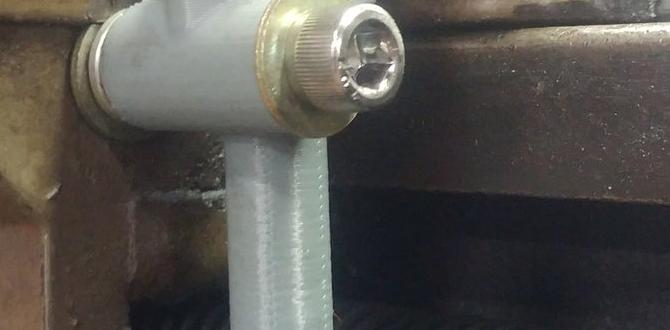
2. Test the Fit: Before attempting to tighten or loosen anything, simply insert the new key into one of the chuck’s drive sockets. It should slide in smoothly and feel snug without being forced. There should be no significant wobble.
3. Engage the Gears: Once you’ve confirmed the fit, insert the key into the appropriate socket.
4. Tighten or Loosen: If you’re mounting a workpiece, turn the key clockwise to tighten the chuck jaws. If you’re removing one, turn counter-clockwise to loosen. Apply firm, steady pressure. You should feel the gears engaging and the jaws moving.
5. Verify Security: For tightening, ensure the workpiece is held securely. Give it a gentle tug to confirm it won’t move. For loosening, ensure the jaws are sufficiently retracted before attempting to remove your workpiece.
Important Considerations and Tips
Safety First: Always ensure your lathe is turned off and the power is disconnected before you adjust your chuck or workpiece.
Keep it Handy: Once you have your new key, make a habit of storing it in a designated, easily accessible location. Many woodturners attach their chuck key to a lanyard or keep it on their workbench in a magnetic holder. This prevents the problem from recurring.
Lubrication: Periodically, apply a small amount of lubricant to the chuck’s internal mechanism and the drive sockets to ensure smooth operation and longevity.
Universal Keys: Some tool manufacturers offer “universal” chuck keys. While these can be a convenient option, always double-check the specifications to ensure compatibility with your specific chuck.
* Don’t Force It: If the key doesn’t fit or feels like it’s binding, don’t force it. You could damage the key, the chuck, or both. Re-measure and verify you have the correct key.
Replacing a lost or broken wood lathe chuck key doesn’t have to be a daunting task. By following these simple steps and understanding your equipment, you can easily perform a wood lathe chuck key replacement DIY and quickly return to the satisfying art of woodturning. A well-fitting chuck key is your gateway to safe and efficient woodworking, ensuring your creations are held steadfastly while you bring your vision to life.