Wood lathe safety is crucial for a smooth, enjoyable turning experience. Always wear safety glasses, maintain a sharp chisel, and keep your work area clear. Proper setup, understanding your lathe’s features, and avoiding distractions are key to preventing accidents and creating beautiful wood projects. Follow these essential tips to turn with confidence!
Starting with a wood lathe can feel a bit intimidating, can’t it? You see those amazing bowls and spindles, and you want to create them yourself, but the thought of a spinning piece of wood and sharp tools can make anyone nervous. It’s totally normal to feel that way! Many beginners worry they might not be doing things the safest way. The good news is, with a few key practices, you can make your woodturning journey both successful and incredibly safe. We’re going to walk through the most important wood lathe safety tips for beginners, step by step, so you can feel confident and ready to create.
Why Wood Lathe Safety Matters So Much

A wood lathe, by its very nature, involves rapidly rotating materials combined with sharp cutting tools. This combination, while essential for shaping wood, also presents inherent risks. Understanding these risks is the first step toward mitigating them. Loose clothing, lack of protective gear, dull tools, or even a moment of distraction can lead to serious injury. These injuries can range from minor cuts and splinters to severe lacerations or even limb damage. Prioritizing safety isn’t just about following rules; it’s about protecting yourself so you can enjoy this rewarding hobby for years to come.
Think of it this way: every seasoned woodturner you admire started as a beginner. They learned the ropes, and they learned them safely. By adopting safe practices from day one, you are building a strong foundation for your skills. It empowers you to focus on the creative process, experimenting with different woods and designs without constant worry.
Essential Personal Protective Equipment (PPE)

When you’re around a wood lathe, certain gear isn’t optional – it’s mandatory. Think of your PPE as your first line of defense against errant chips, flying debris, and accidents. Investing in good quality safety gear is one of the smartest moves you can make as a beginner.
- Safety Glasses or Face Shield: This is non-negotiable. Always wear impact-resistant safety glasses that wrap around your eyes. Even better, use a full face shield worn over your safety glasses for maximum protection against dust and flying wood chips. Look for ANSI Z87.1 standards.
- Hearing Protection: Lathes can be noisy machines, especially during aggressive cuts or with certain types of wood. Earplugs or earmuffs will protect your hearing from long-term damage.
- Dust Mask or Respirator: Wood dust is not just messy; it can be harmful to your lungs over time. A simple dust mask is okay for light dust sessions, but a respirator (like an N95 or better) is recommended for extended use or when creating a lot of fine dust.
- No Loose Clothing or Jewelry: Anything dangling can get caught in the rotating workpiece or the lathe itself. Roll up long sleeves, tuck in shirts, and remove rings, bracelets, and necklaces.
- Appropriate Footwear: Wear sturdy, closed-toe shoes. You don’t want anything to happen to your feet if a piece of wood falls.
- Avoid Gloves (Usually): While this might sound counterintuitive, gloves can sometimes reduce your tactile feel for the wood and tools. More importantly, if a glove snags, it can pull your hand into the tool or workpiece faster than if you were bare-handed. For most woodturning, it’s safer to go gloveless, but always make informed decisions based on the specific task and your comfort level.
Understanding Your Wood Lathe

Before you even think about turning on the lathe, take time to thoroughly understand your specific machine. Each lathe might have slightly different controls, features, and safety mechanisms. Reading your owner’s manual is a crucial first step that many beginners skip. It’s packed with information tailored to your model.
Get familiar with:
- The On/Off Switch: Know exactly where it is and ensure it’s easily accessible.
- Speed Control: Understand how to adjust the spindle speed and what speeds are appropriate for different operations and wood types. Start slow!
- Tool Rest: Learn how to properly position and secure the tool rest. It should be close to the workpiece without touching it, and adjusted for the section of your workpiece you’re working on.
- Headstock and Tailstock: These are the main supports for your workpiece. Understand how to lock them and use any features like quill extensions.
- The Drive System: Whether it’s a belt drive or a variable speed motor, know how it works and how to change belts safely if necessary. Never change belts while the lathe is powered on!
Spend some time just turning the machine on (without wood) and operating the controls to get a feel for its responsiveness. Listen for any unusual noises.
Workpiece Preparation and Mounting
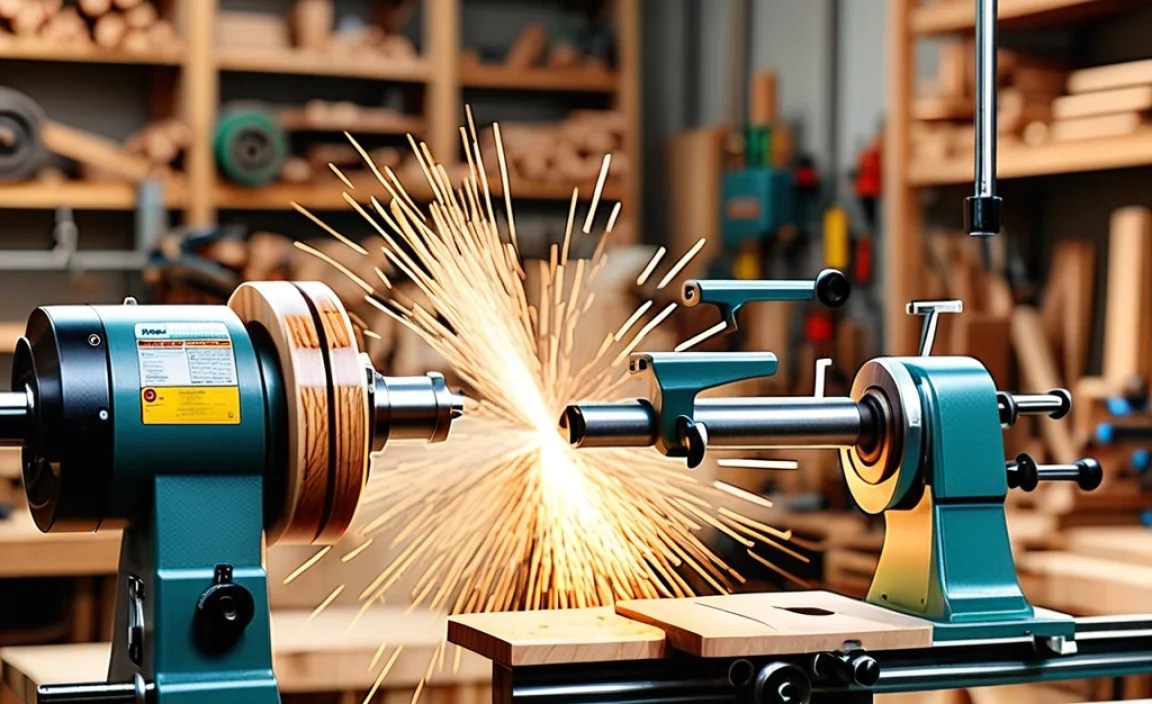
How you prepare and mount your wood onto the lathe is critical for safety. A poorly mounted workpiece is a recipe for disaster.
Choosing the Right Wood
For beginners, it’s best to start with stable, well-seasoned hardwoods. Avoid green wood, knotty pieces, or wood with significant checks (cracks) until you have more experience. These can become unstable during turning.
Mounting Options
There are several ways to mount wood, and each requires care:
- Faceplate: This is used for turning bowls or platters. The wood is screwed directly to the faceplate, which then threads onto the lathe’s spindle. Ensure the screws are long enough to get a good grip on the wood but not so long that they come through to the visible surface. Use washers if needed to prevent screw heads from pulling through soft wood.
- Drive Center and Live/Dead Spur: For spindle turning (like table legs or tool handles), you’ll use a drive center in the headstock and a live or dead spur center in the tailstock to support the ends of the wood. The drive center (sometimes called a spur drive) has teeth that dig into the wood to provide the rotational force. A live center rotates with the workpiece, reducing friction. A dead center is stationary. Ensure the spur centers are driven into the wood firmly and equally on both ends.
- Chucks: Lathe chucks are versatile holding devices that grip the workpiece. They are highly recommended for their secure grip and versatility, especially for faceplate turning or holding pre-bored bowls. For beginners, a scroll chuck with various jaws is a great investment, but learn its operation thoroughly.
Balancing the Workpiece
Before you even turn on the lathe, ensure your workpiece is as balanced as possible. An unbalanced piece will vibrate violently as it spins, which is dangerous. If you’re mounting a large, irregular piece, start at the lowest speed setting and gradually increase it as you true up (round out) the piece.
Secure Mounting is Key
Double-check that the workpiece is securely fastened before you turn on the lathe. Give it a firm tug in its mounting to ensure there’s no play or wobble. If using a faceplate, make sure the screws are tight and properly seated.
Safe Tool Use and Techniques
Your tools are extensions of your hands, and how you use them directly impacts safety. Sharp tools are safer than dull ones because they require less force to cut, reducing the risk of slipping or digging in unexpectedly.
Sharpening Your Tools
This is a skill every woodturner needs to develop. A sharp chisel cuts wood cleanly and efficiently. A dull chisel tends to “dig” into the wood, creating catch points where the tool can be wrenched from your hands, or worse, catch the workpiece and throw it.
Many beginners find sharpening challenging. Start with a basic sharpening system, like diamond stones or water stones, and practice on scrap tools. Aim for a consistent, sharp edge. You can learn more about sharpening techniques from reputable sources like A simple guide to sharpening woodturning tools can be found on many woodworking sites, and many woodturning tool manufacturers offer detailed guides.
Tool Rest Placement
The tool rest is your primary support for your cutting tools. It must be positioned correctly for every operation:
- For Spindle Turning (long pieces): Position the tool rest parallel to the workpiece and about 1/8 inch away.
- For Faceplate Turning (bowls): Angle the tool rest slightly towards the center of the workpiece, again maintaining a 1/8 inch gap.
- Always Lower Than the Centerline: For most operations, keep the tool rest slightly below the center of the workpiece when turning between centers. This helps prevent catches.
- Securely Fastened: Ensure the tool rest is locked firmly in place before starting.
Holding Your Tools
Grip your tools firmly but not rigidly. You want to be able to control them, but also allow for slight adjustments. Always position yourself so that if a tool binds, it will pull away from your body. Never stand directly in line with the path of the tool if it were to slip.
Cutting Direction and Angle
Most cuts on a lathe are made by presenting the bevel of the tool to the wood, allowing the cutting edge to thinly shave the material away. Experiment with different angles to see how they affect the cut. Avoid “digging” the corner of the tool into the wood, as this is a common cause of catches.
Dealing with Catch Points
A “catch” happens when the tool digs into the wood unexpectedly, often causing a gouge or even stopping the rotation abruptly. This can throw chips or even the workpiece. If a catch is happening, the best reaction is usually to:
- Remove your hands from the tool.
- Let the lathe stop on its own if possible.
- Never try to muscle through a catch.
Understanding why catches happen (often due to dull tools, improper tool rest angle, or cutting too aggressively) will help you avoid them.
Lathe Speed: A Crucial Setting
The speed at which your lathe spins is critical for both efficiency and safety. Too fast, and you risk explosive splintering or catches. Too slow, and you might struggle to get a clean cut.
General Speed Guidelines
There’s no single speed that fits all situations. Here’s a rough guide, but always listen to your machine and workpiece:
| Workpiece Diameter | Suggested RPM Range | Notes |
|---|---|---|
| 1-2 inches | 2000-3500 RPM | Small spindles, high speeds possible with stable material. |
| 3-6 inches | 1000-2000 RPM | Common for smaller bowls and larger spindles. |
| 7-12 inches | 600-1000 RPM | Larger bowls; speed down as diameter increases. |
| 13+ inches | 250-600 RPM | Very large bowls or unbalanced rough logs; start extremely slow. |
These are only starting points. Always prioritize lower speeds:
- Start Slow: When starting any new workpiece, especially if it’s irregular or large, begin at the lowest speed setting.
- Increase Gradually: As you true up the wood and it becomes rounder, you can gradually increase the speed until you achieve a smooth cut without vibration or chatter.
- Listen and Feel: Pay attention to how the lathe sounds and feels. Vibrations, excessive noise, or a rough cut are signs you might need to slow down.
- Wood Density Matters: Denser hardwoods generally require slower speeds than softer woods for the same diameter.
- Tool Type: Roughing cuts might be done at a slightly slower speed than finishing cuts.
A good resource for understanding lathe speeds and wood types is often found on woodworking forums and through organisations like the American Association of Woodturners (AAW), which promotes safe practices.
Maintaining a Clean and Organized Workspace
Your workshop environment plays a huge role in safety. A cluttered space is a hazard waiting to happen.
- Clear the Area Around the Lathe: Ensure there’s plenty of space to move freely. Don’t let tools, scrap wood, or other materials accumulate around the lathe.
- Keep Floors Clear: Sweep up wood chips and dust regularly. Slipping on debris can cause you to fall into the lathe or lose balance while working.
- Tool Storage: Have designated places for your chisels, measuring tools, and other accessories. A tool rack or wall-mounted storage keeps things accessible and out of the way.
- Electrical Safety: Ensure your lathe’s power cord is in good condition and not frayed. Keep electrical connections away from water or dust.
A tidy workspace not only improves safety but also makes your turning session more enjoyable and productive. You can find what you need quickly and move around without tripping.
Dealing with Dust and Fine Particles
Woodturning produces a significant amount of dust and fine particles. As mentioned in the PPE section, this is a health hazard. Beyond wearing a respirator, take steps to manage dust in your workshop:
- Local Exhaust Ventilation (LEV): If your budget allows, consider a dust collection system or at least a shop vacuum with a fine dust filter connected to your lathe if it has a dust port. Even a simple box fan placed strategically can help move chips away from you and towards an exhaust point.
- Regular Cleanup: Don’t let dust build up. Frequent sweeping and wiping down surfaces will keep airborne dust to a minimum.
- Choose Your Wood Wisely: Some woods are known for producing particularly fine, irritating dust. Research the woods you plan to turn. Many woodworking associations and sites, like those run by the Woodworking Network, offer information on wood dust hazards.
Troubleshooting Common Beginner Issues Safely
As a beginner, you’ll encounter common problems. Knowing how to address them safely is part of the learning process.
Vibration and Wobble
- Cause: Unbalanced workpiece, loose mounting, too high speed, workpiece too large for the lathe.
- Safe Fix: Slow the lathe down immediately. Check workpiece mounting and balance. If the workpiece is too large or unbalanced, do not continue at that speed. Reduce speed further or re-evaluate mounting. Ensure the tool rest is secure and close.
Tool Catching and Digging
- Cause: Dull tool, incorrect tool rest angle, cutting too aggressively, inexperienced tool handling.
- Safe Fix: Stop the lathe. Re-sharpen your tool. Adjust the tool rest to the correct angle and distance. Take lighter, slicing cuts. Practice your tool presentation.
Chips Flying Towards You
This is why PPE is paramount. However, you can also reduce the likelihood:
- Safe Fix: Ensure your tool is cutting efficiently (sharp) and taking thin shavings. Position yourself slightly out of the direct line of chip flow. Make sure your tool rest is set correctly.
Work Holding Slipping
- Cause: Insufficiently tightened screws, work mounted improperly, wood too soft for screws.
- Safe Fix: Stop the lathe IMMEDIATELY. Re-mount the workpiece, ensuring all fasteners are tight and the item is centered and secure. If using screws into wood, consider using inserts or a chuck for better security.
Advanced Safety Considerations
As you gain experience, you’ll likely explore different types of turning and materials. Here are a few advanced considerations:
Turning Irregular Shapes and Green Wood
These require significantly slower speeds and careful observation due to their inherent instability. Always start very slow and increase speed incrementally as you confirm stability. For green wood, be aware it will change shape as it dries.
Using Larger Tools
Larger gouges and scrapers can exert significant force. Always maintain a firm grip, a stable stance, and let the tool do the work. Never force a large tool.
Power Outages
Be aware that some lathes have brake mechanisms (mechanical or electronic) but others rely solely on friction to stop. If the power cuts out, the lathe will stop. Be prepared for this and do not touch moving parts as it slows down.
Emergency Stop Procedures
Know your lathe. Does it have a quick stop button? Can you easily reach the power switch? Practicing reaching for the off switch in a controlled manner can build good muscle memory.
