Wood lathe faceplate turning allows you to create impressive projects like bowls and platters directly from your lathe. This guide provides essential tips for beginners, covering setup, safety, and turning techniques to ensure successful and safe faceplate projects.
Welcome to Lathe Hub! Turning on a wood lathe can seem a bit daunting at first, especially when you’re looking to create something bigger than a simple spindle. Faceplate turning is your gateway to crafting beautiful bowls, platters, and other asymmetrical shapes. While it opens up a world of creative possibilities, it also requires specific knowledge and careful attention to safety. Many beginners find themselves unsure about how to properly mount their workpiece or which tools to use for this type of turning. Don’t worry, I’m here to break it all down for you in simple, step-by-step instructions. We’ll cover everything you need to get started confidently, ensuring your projects are as safe as they are stunning. Ready to transform that block of wood into a masterpiece?
What is Wood Lathe Faceplate Turning?

Faceplate turning is a method used on a wood lathe to turn pieces that are wider than the lathe’s swing capacity or that don’t have a natural center to mount between centers. Instead of using a spur drive and a live center, the wood is attached directly to a faceplate, which is then screwed onto the lathe’s headstock spindle. This method is perfect for creating solid wood bowls, platters, trays, and other broad, flat projects.
The key difference lies in how the wood is secured. With standard turning, the piece is held by friction and pressure between the spur drive and the tailstock center. Faceplate turning relies entirely on the secure attachment of the wood to the faceplate. This means selecting the right faceplate, mounting the wood correctly, and ensuring it’s balanced as you begin to turn are crucial steps.
This technique is incredibly versatile. It allows you to work with solid chunks of wood, segmented pieces glued to a backing, or even multiple boards laminated together. The possibilities for size and shape are really limited only by your imagination and the strength of your mounting.
Why Use a Faceplate?
There are several compelling reasons why a woodturner would opt for faceplate turning:
- Bowl and Platter Creation: This is the primary reason. Faceplate turning is the standard method for creating solid wood bowls and platters, especially those that are too wide to be turned between centers.
- Working with Off-Center or Irregular Shapes: If your wood blank isn’t perfectly rectangular or doesn’t have a clear center point, a faceplate provides a reliable way to mount it.
- Large Diameter Projects: For projects that exceed the lathe’s swing capacity when mounted between centers, a faceplate allows you to mount the piece to the headstock and turn it without interference.
- Turning Thin Blanks: Thin, flat pieces of wood are often best mounted to a faceplate to prevent flexing or breaking during the turning process.
- Segmented Turning: When building up complex segmented bowls or platters, the final assembly is often attached to a faceplate for initial shaping and finishing.
Essentially, if your project is round, disc-shaped, or has an off-center mounting point, faceplate turning is likely your best and safest bet.
Essential Faceplate Turning Tools and Materials

Before you can start turning, you need the right equipment. Don’t worry if you don’t have everything right away; many of these are standard woodworking tools.
Faceplates
Faceplates are the heart of this operation. They come in various sizes and thread types to match your lathe’s spindle. A basic faceplate is a metal disc with a threaded hole in the center to screw onto your lathe spindle and a series of screw holes around its perimeter for attaching the wood blank.
- Types: They are typically made of cast iron or steel. Steel ones are generally stronger and less prone to cracking.
- Sizes: Faceplates come in diameters ranging from 3 inches up to 12 inches or more. Choose a size appropriate for the size of your blanks. A good starting point is a 3″ or 4″ faceplate.
- Thread Size: Ensure the threaded hole in the faceplate matches the spindle thread of your lathe. Common thread sizes include 1″ x 8 TPI (Threads Per Inch) or 3/4″ x 10 TPI, but lathes vary. Check your lathe’s manual. A resource like WoodworkingTalk can help you identify common thread sizes.
Screws
You’ll need screws to attach your wood blank to the faceplate. Wood screws are typically satisfactory for most faceplate turning projects. For larger or heavier pieces, lag screws might be a better choice due to their strength.
- Type: Use good quality wood screws or lag screws.
- Length: The screws should be long enough to securely engage the wood blank, but not so long that they poke through the other side if you’re turning a relatively thin piece.
- Quantity: Most faceplates have 4 to 6 screw holes. Using all of them provides the most secure attachment.
Wood Blanks
Your wood blank will be the item you’re turning. For beginners, it’s best to start with a relatively stable, well-seasoned piece of hardwood. Plywood can also be used, especially for backing plates or larger projects.
- Selection: Choose a piece free of cracks, splits, or loose knots in the critical areas where screws will be inserted.
- Preparation: Ensure the blank is cut to a manageable size and shape that allows for secure attachment to the faceplate. You might need to trim it to a rough circle or square initially.
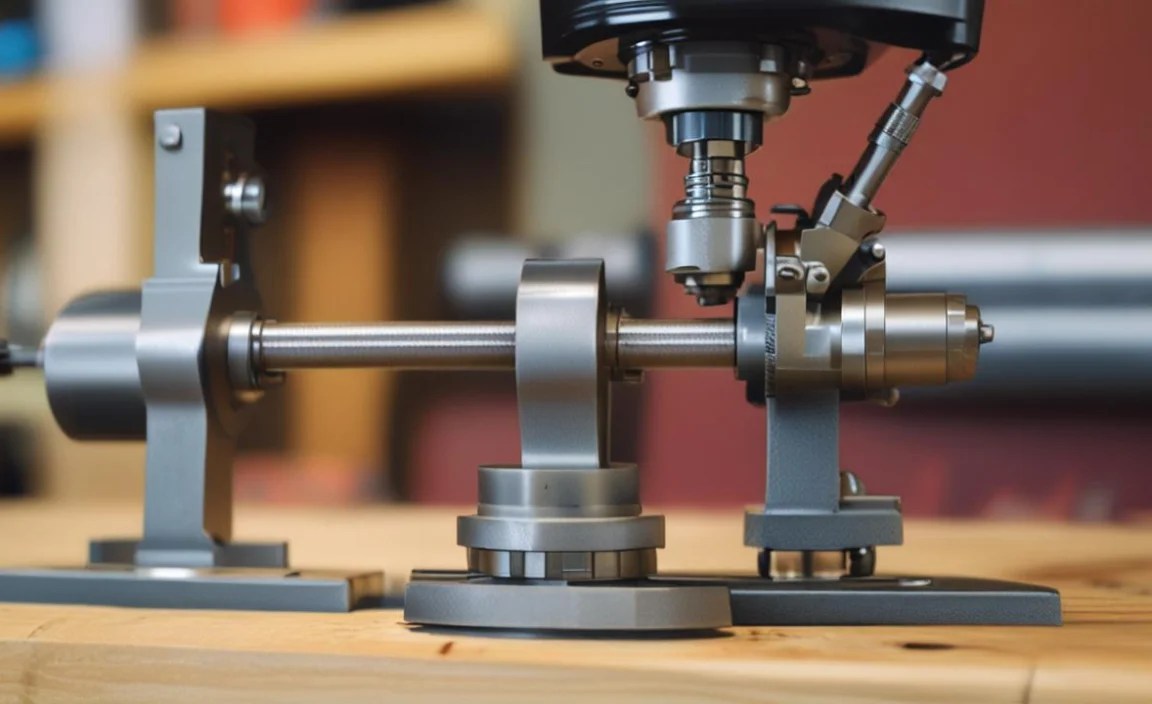
Woodworking Lathe
Of course, you need a wood lathe. For faceplate turning, a sturdier lathe with a powerful enough motor is beneficial, especially when dealing with larger or unbalanced blanks.
Lathe Tools
You’ll use your standard set of woodturning tools, but some are more critical for faceplate work:
- Gouges: A spindle gouge for initial rounding and shaping, and a bowl gouge are essential. A {{bowl gouge}} is specifically designed for cutting into the end grain and shaping the interior and exterior curves of bowls.
- Scrapers: Bowl scrapers are invaluable for smoothing curves and removing tool marks, especially on end grain.
- Parting Tool: Useful for creating tenons or cutting off the finished piece.
- Chisels (Optional): While gouges and scrapers are preferred, a skew chisel can be used for fine detailing if you are comfortable with it.
Safety Gear
This is non-negotiable:
- Eye Protection: A full face shield is highly recommended.
- Dust Mask/Respirator: Always wear one when turning.
- Hearing Protection: Especially for longer turning sessions.
- No Loose Clothing or Jewelry: Keep sleeves rolled up, tie back long hair, and remove anything that could get caught.
Step-by-Step Guide to Faceplate Turning

Let’s get your project mounted and ready for turning. Patience and precision are key here.
Step 1: Prepare Your Wood Blank
Before attaching the wood to the faceplate, consider its shape. If you’re turning a bowl from a solid block, you might want to drill a small pilot hole in the center of your blank where the faceplate will eventually be. This will help you locate the center accurately.
If your blank is very large or irregularly shaped, it might be beneficial to cut it to a rough circular shape on a bandsaw first. This helps reduce vibration once it’s on the lathe and minimizes the amount of waste you have to turn away.
Step 2: Attach the Wood to the Faceplate
This is the most critical step for safety. A securely mounted blank is paramount.
- Positioning: Place your wood blank against the faceplate. You can center the faceplate on the blank or offset it, depending on your design. For bowls, centering is typical.
- Marking Screw Holes: Use a pencil to mark the positions of the screw holes from the faceplate onto the wood.
- Pilot Holes: Drill pilot holes into the wood blank at your marked locations. The pilot hole should be slightly smaller than the diameter of the screw’s shank (the part without threads). This makes screwing easier and prevents the wood from splitting. A good rule of thumb is to drill a pilot hole about two-thirds the diameter of the screw’s minor diameter.
- Align and Screw: Align the faceplate with the pilot holes. Start screwing the wood screws (or lag screws) through the faceplate holes and into the wood blank. Don’t tighten them all the way just yet.
- Even Tightening: Once all screws are started, gradually tighten them in an alternating pattern (like tightening lug nuts on a car tire). This ensures the wood is drawn evenly against the faceplate and prevents it from warping or cracking. Ensure the wood is held firmly and without any gaps between it and the faceplate.
Pro Tip: For practice or less critical projects, consider using a piece of high-quality plywood as a backing board attached to the faceplate. You then screw your main wood blank to this plywood. This adds stability and can be easily replaced if screws enlarge their holes.
Step 3: Mount the Faceplate Assembly to the Lathe
Now that your wood is secured to the faceplate, it’s time to put it on the lathe.
- Clean Threads: Ensure the threads on your lathe’s headstock spindle and the inside of the faceplate are clean and free of debris or old glue. A wire brush is useful here.
- Screw On: Carefully screw the faceplate, with the wood attached, onto the headstock spindle. Hand-tighten it as much as you can.
- Lock It Down: If your lathe has a spindle lock, engage it to ensure the faceplate is secure and won’t unscrew during operation. If it doesn’t have a lock, you may need to use a pin wrench or a specialized tool to snug it down. Ensure it’s snug but don’t overtighten to the point of damaging the spindle threads.
Step 4: Initial Balancing and Rough Turning
This is where you’ll likely notice the most vibration. Take it slow!
- Center Rest (Optional but Recommended): If your woods needs initial rounding and is significantly out of balance, consider using the lathe’s bed or tailstock center to help support it. You may need to temporarily attach a block to your faceplate to act as a tenon for the tailstock center. This is a common technique for roughing out large, unbalanced blanks.
- Slow Speed: Start your lathe at its slowest speed setting, especially for large or irregular blanks. This minimizes vibration and reduces the risk of the piece coming loose.
- Rough Shaping: Using a gouge, begin to round the blank and establish the basic shape. Work from the outside in. Be patient, and don’t try to remove too much material at once.
- Check for Balance: As it begins to round, you’ll feel the balance improve. You can gradually increase the lathe speed as the blank becomes more symmetrical and balanced.
Balancing Tip: For very large or unbalanced pieces, some turners will use a temporary counterweight secured to the faceplate (away from the main blank) to help stabilize it during the initial roughing stages. This is an advanced technique and requires extreme caution.
Step 5: Shaping the Outside and Inside
Once the blank is roughly symmetrical and running true, you can begin to shape your project.
- Outside Shape: Use your bowl gouge to refine the exterior curve. If you are turning a bowl with a foot or tenon for remounting, create that now.
- Inside Cavity: Turn the wood around to begin hollowing out the inside. For bowls, start from the center and work outwards. Remove waste in small increments.
- Tool Control: Maintain controlled cuts. Aim for smooth, flowing lines. For end grain turning, pay attention to how the tool interacts with the wood fibers. Bowl scrapers are excellent for smoothing tougher end-grain areas after roughing with a gouge.
- Depth of Cut: Never take overly aggressive cuts, especially with unbalanced workpieces. Small, controlled passes are far safer and produce a better finish.
A common practice in bowl turning is to remove the piece from the lathe, remount it using a chuck and a jam chuck, or by creating a tenon on the bottom that fits into the chuck jaws, to turn the outside and other features like the foot if it was initially turned inwards.
Step 6: Finishing and Removing the Piece
Once your piece is shaped to your liking, it’s time for the final steps.
- Sanding: Sand the piece thoroughly on the lathe. Start with a lower grit sandpaper and progressively move to finer grits until you achieve the desired smoothness.
- Final Touches: Apply your chosen finish (oil, wax, lacquer, etc.) while the piece is still on the lathe. This often gives a smoother, more integrated finish than applying it off the lathe.
- Removing the Blank: Carefully turn off the lathe. Unscrew the faceplate from the headstock spindle. You may need to use a block of wood or the lathe’s knock-out bar (if applicable) to gently tap the faceplate free if it’s stuck.
- Removing Screws: Once the blank is off the lathe, carefully remove the screws holding the wood to the faceplate. Be prepared for the wood blank to have holes where the screws were, which may need filling or can be incorporated into the design.
Faceplate Turning Safety Checklist

Safety is paramount in faceplate turning. Let this checklist be your guide:
Before You Start:
- Wear Safety Glasses: A full face shield is the best protection.
- No Loose Clothing: Roll up sleeves, secure long hair, remove jewelry.
- Check Lathe: Ensure the lathe is in good working order and properly lubricated.
- Inspect Wood Blank: Look for cracks, knots, or damage that could cause failure.
Mounting the Blank:
- Secure Faceplate: Make sure the faceplate is screwed tightly onto the headstock spindle.
- Proper Screw Engagement: Use appropriate screws that are long enough to securely grip the wood.
- Even Tightening: Alternate tightening screws to draw the wood evenly.
- Pilot Holes Are Key: Always drill pilot holes to prevent splitting.
During Turning:
- Start Slow: Begin at the lowest speed setting, especially with unbalanced pieces.
- Gradually Increase Speed: Only increase speed as the workpiece becomes balanced and runs true.
- Controlled Cuts: Take shallow, controlled passes. Avoid digging the tool in.
- Tool Rest Position: Keep the tool rest close to the workpiece, but not so close that it interferes with rotation.
- Listen to the Lathe: Strange noises or excessive vibration are warning signs. Stop immediately.
- Never Leave Running: Always turn off the lathe when you step away.
Advanced Safety:
- Know Your Lathe’s Limits: Don’t try to turn pieces that are too large or heavy for your machine.
- Consider a Knock-Out Rod: For easily removing stuck faceplates.
- Plywood Backing: For added security and easier screw hole repair.
- Center Rest: Use for stabilizing large, unbalanced blanks initially.
Common Faceplate Turning Problems and Solutions
Even with the best intentions, you might run into a few hiccups. Here’s how to tackle them:
| Problem | Cause | Solution |
|---|---|---|
| Excessive Vibration | Unbalanced workpiece, loose mounting, or lathe speed too high. | Start at the lowest speed. Ensure wood is securely fastened to the faceplate. As blank rounds, gradually increase speed. Use a center rest for initial roughing if needed. |
| Wood Cracking | Screws too tight, wood splitting during screw insertion, or inherent weakness in the wood. | Drill pilot holes slightly smaller than the screw shank. Tighten |
