This guide will show you how to choose, set up, and effectively use a wood lathe sanding attachment to achieve professional, splinter-free results. We’ll cover everything from basic types to advanced techniques, making woodworking smoother and more enjoyable without the frustration.
Wood Lathe Sanding Attachment: Your Essential Guide to Smooth Finishes

There’s nothing quite like the satisfaction of turning a rough piece of wood into a beautiful, smooth creation on your lathe. But often, the final sanding step can feel like a wrestling match instead of a finishing touch. Uneven surfaces, sandpaper that grabs and tears, and dust getting everywhere can turn a great project into a frustrating one. That’s where a wood lathe sanding attachment becomes your best friend. It’s designed to make this crucial stage easier, safer, and far more effective.
Think of it as upgrading from scrubbing by hand to using a power buffer. A good sanding attachment gives you more control and consistency, leading to that buttery-smooth finish that makes your work truly shine. Whether you’re a beginner just getting your hands dirty or a seasoned woodworker looking to refine your process, understanding these tools is key. We’ll walk you through everything you need to know, from the different types available to the best techniques for getting that flawless look. Get ready to say goodbye to sanding headaches and hello to beautifully finished pieces, every time.
Why Use a Wood Lathe Sanding Attachment?

Hand sanding on a lathe can be a challenging and time-consuming process. The spinning workpiece means you need to be incredibly careful with your technique, and it’s easy to create an uneven finish or accidentally snag your sandpaper. A dedicated wood lathe sanding attachment is designed to solve these problems. It provides a consistent surface for your abrasive, allows for better control, and often helps manage dust more effectively than manual sanding.
The benefits are clear:
- Consistency: Achieve a uniform sanding surface across your entire workpiece, reducing the risk of “flat spots” or uneven abrasion.
- Control: Maintain a steady hand and apply even pressure, which is crucial when working with a rapidly spinning piece of wood.
- Efficiency: Speed up the sanding process significantly compared to hand sanding, especially on larger or more complex shapes.
- Safety: Reduce the chance of sandpaper catching and tearing, which can be a safety hazard. Many attachments also integrate with dust collection systems.
- Better Finishes: Ultimately, leads to a smoother, more professional-looking final product that you can be proud of.
Types of Wood Lathe Sanding Attachments

The world of wood lathe sanding might seem simple, but there are several types of attachments designed for different needs and preferences. Each has its own way of holding sandpaper and applying it to the workpiece. Understanding these options will help you choose the best tool for your projects and your lathe.
1. Hook-and-Loop (Velcro) Disc Sanders
These are perhaps the most common and versatile type of sanding attachment. They consist of a backing pad (usually made of rubber or dense foam) with a hook-and-loop surface. You then attach pre-made hook-and-loop sanding discs to this pad.
How they work: The backing pad attaches to your lathe’s spindle (often via an arbor). As the lathe spins, the pad spins with it. You then hold the hook-and-loop disc against the spinning pad, and the sandpaper disc attaches firmly. You then bring this assembly to your spinning workpiece.
Pros:
- Easy and quick disc changes.
- Wide variety of grits available.
- Can be used for both flat and contoured surfaces depending on the backing pad flexibility.
- Relatively inexpensive to get started.
Cons:
- Can sometimes lose adhesion if the hook-and-loop wears out.
- Requires a separate backing pad.
2. Drum Sanders
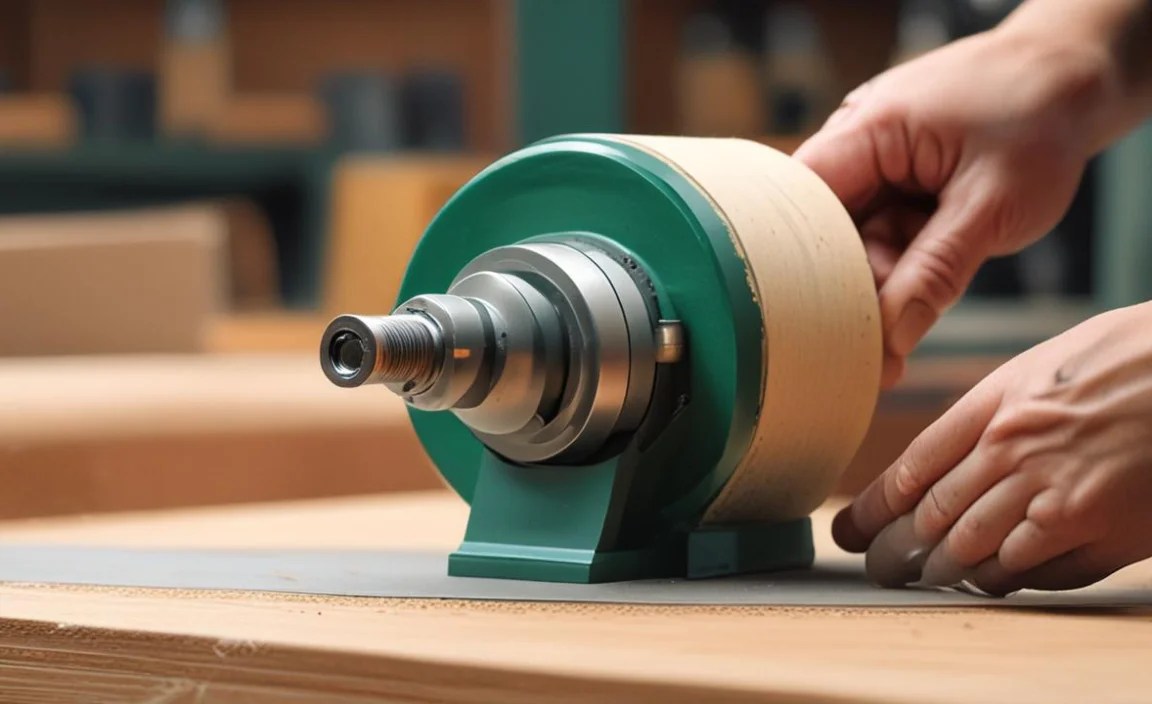
Drum sanders for lathes typically involve a cylindrical drum with slots that you wrap sandpaper around. This drum mounts to your lathe. As the lathe turns, you feed the workpiece into the spinning drum.
How they work: The drum is mounted on an arbor that fits into your lathe. The sandpaper is secured around the drum, usually with screws or a tensioning mechanism. You then move the workpiece into the spinning drum to sand it.
Pros:
- Excellent for sanding larger, cylindrical workpieces like bowls or table legs.
- Can remove material quickly.
- Provides a consistent sanding surface.
Cons:
- Less effective for intricate shapes or smaller pieces.
- Changing sandpaper can be more involved than with disc sanders.
- Can be more expensive than basic disc attachments.
3. Belt Sanders
These attachments use sandpaper belts that run over rollers. Like drum sanders, they typically involve feeding the workpiece into the spinning belt.
How they work: A frame holds two pulleys, with a sandpaper belt running between them. The frame mounts to your lathe, and a drive mechanism (often a drive belt from the motor, or the lathe’s own spindle connection) turns one of the pulleys. You then present your workpiece to the moving belt.
Pros:
- Very aggressive material removal, great for shaping and initial sanding.
- Ideal for achieving a very smooth finish quickly.
- Can be used for both external and internal sanding (with specialized setups).
Cons:
- Can be more challenging to control for beginners.
- Aggressive action can easily remove too much material if not careful.
- Setup can be more complex.
4. Spindle Sanders (Oscillating)
These are specialized vertical units that mount to your lathe. They feature a spindle that oscillates (moves up and down) while it spins, which helps to prevent sandpaper from overheating and provides a better sanding action.
How they work: You wrap sandpaper around a rubber sleeve that fits over the oscillating spindle. You then feed your workpiece into the spinning and oscillating spindle.
Pros:
- Excellent for sanding internal curves, such as the inside of bowls.
- Oscillation reduces heat buildup and improves sanding quality.
- Good for smaller, intricate pieces.
Cons:
- Limited to smaller workpieces and internal profiles.
- Not suitable for large, external surfaces.
- Can be a more significant investment.
Choosing the Right Sanding Attachment for Your Needs

Selecting the perfect wood lathe sanding attachment depends on what you primarily make and your experience level. For most beginners, a hook-and-loop disc sander system is the most versatile and user-friendly starting point.
Consider these factors:
- Your Lathe Size: Ensure the attachment is compatible with your lathe’s spindle thread size and overall power.
- Types of Projects: If you mostly turn bowls, a drum or spindle sander might be considered later, but a versatile disc sander can still handle bowl exteriors. For spindles and table legs, disc and belt sanders are excellent.
- Budget: Hook-and-loop systems are generally the most budget-friendly to start with. More specialized systems like belt or oscillating spindle sanders can be pricier.
- Ease of Use: If you’re new to woodturning, prioritize simplicity and ease of setup.
Essential Tools and Materials
Regardless of the type of sanding attachment you choose, you’ll need a few key items to get started and perform the job effectively. Having these ready will make your setup and sanding process much smoother.
1. The Sanding Attachment
This is your primary tool. Ensure it’s correctly sized for your lathe and its mounting mechanism is secure.
2. Sandpaper Abrasives
The grit of sandpaper you use is critical. You’ll typically start with a coarser grit (e.g., 80 or 100) to remove tool marks and then move to progressively finer grits (e.g., 150, 220, 320, 400, and even higher for a glass-smooth finish).
- Hook-and-Loop Discs: For disc sanders, these are readily available in various grits.
- Sandpaper Rolls/Sheets: For drum and belt sanders, you’ll cut strips from rolls or sheets to fit the attachment. For spindle sanders, you’ll cut to fit around the rubber sleeves.
3. Arbor or Mounting Hardware
This is what connects your sanding attachment to the lathe’s headstock or tailstock spindle. Ensure it’s the correct thread size for your lathe.
4. Lathe Tool Rest with Sanding Attachment Mount (Optional but Recommended)
Some sanding attachments are designed to mount onto a specialized tool rest. This provides a stable, adjustable platform for the attachment and is often preferred for control and comfort.
5. Safety Gear
This is non-negotiable. Always wear:
- Safety Glasses or Face Shield: To protect your eyes from dust and debris.
- Dust Mask or Respirator: Wood dust can be harmful to your lungs.
- Hearing Protection: Lathes and sanders can be noisy.
- No Loose Clothing or Jewelry: Anything that could catch on the spinning lathe must be removed.
6. Dust Collection System (Highly Recommended)
Sanding creates a lot of fine dust. A dust collection system connected to your lathe or sanding attachment (if it has a port) will keep your workshop cleaner and your air healthier. A good example of a dust management system is one from a reputable supplier like Dust Collection Direct, which offers solutions for various shop sizes.
Setting Up Your Sanding Attachment
Proper setup is crucial for both the effectiveness of your sanding and your safety. Always follow the manufacturer’s instructions for your specific attachment.
Step-by-Step Setup for Hook-and-Loop Disc Sanders (Most Common)
- Disengage Lathe Power: Ensure the lathe is completely off and unplugged before you begin.
- Select and Attach the Arbor: Choose the correct arbor for your lathe’s headstock or tailstock spindle thread size. Thread it securely onto the spindle.
- Mount the Backing Pad: Screw or otherwise attach the hook-and-loop backing pad onto the arbor. Ensure it is tightened firmly.
- Attach the Sandpaper Disc: Align the hook-and-loop sanding disc with the backing pad and press firmly to ensure it adheres well. Start with the grit appropriate for your project’s current stage.
- Position the Tool Rest (If applicable): If your attachment uses a tool rest, position it to support the attachment at the desired angle relative to the workpiece.
- Connect Dust Collection (If possible): If your attachment has a dust port, connect your shop vacuum or dust collector hose to it.
- Final Check: Spin the attachment by hand to ensure it runs true and doesn’t wobble or catch on anything. Verify all connections are secure.
Important Considerations for All Attachments:
- Balance: Ensure your setup is as balanced as possible to minimize vibration.
- Speed: Slower lathe speeds are generally recommended for sanding to avoid overheating the workpiece and the sandpaper, and to allow better control. Consult your attachment’s manual for recommended RPMs.
- Direction of Rotation: Be aware of whether the attachment is designed to spin with or against the lathe’s typical cutting rotation for optimal sanding action.
Mastering the Art of Lathe Sanding
Once your attachment is set up, it’s time to sand! The key is to approach it systematically, moving through progressively finer grits.
The Grit Progression Strategy
This is the backbone of a beautiful finish. Skipping grits or not sanding thoroughly enough with each one will leave you with an inferior result. The goal is to remove the scratches left by the previous, coarser grit.
A common progression for smooth finishes:
- Start with Grit: 80-100 (To remove significant tool marks)
- Next: 150
- Then: 220
- Followed by: 320
- For very smooth finishes: 400, 600, or even 1000+
Techniques for Effective Sanding
1. Starting Out (Coarse Grits):
- Lathe Speed: Begin with a slower lathe speed (e.g., 500-1000 RPM, depending on lathe and workpiece size).
- Apply Gentle Pressure: Bring the sanding disc or pad to the spinning wood. Let the sandpaper do the work; don’t force it.
- Move Slowly: Move the sanding attachment slowly and steadily along the length of the workpiece.
- Full Coverage: Ensure you sand the entire surface.
- Watch for Heat: If the wood or sandpaper starts to feel hot, you’re moving too fast or applying too much pressure. Back off and let it cool.
2. Progressing Through Grits (Medium to Fine Grits):
- Clean Your Attachment/Disc: Before switching to a finer grit, ensure the hook-and-loop pad (if applicable) is clean of dust and old paper fibers. On drum or belt sanders, ensure the surface is clear.
- Repeat the Process: Use the same gentle pressure and slow movement for each subsequent grit.
- “Sanding with the Grain”: For the finest grits (320 and up), some woodturners advocate for very light sanding, sometimes with the lathe turned off or at a very slow speed, to truly “polish” the wood rather than abrade it.
3. Sanding Bowls (Inside and Out):
- Exterior: Use your disc or belt sander, moving it across the curved exterior surface.
- Interior: This is where spindle sanders shine. For disc sanders, you might need smaller, flexible pads or hand-sanding support. Be very careful to keep the sanding attachment moving to avoid creating flat spots on the curves.
4. Using a Sanding Mop (Optional Attachment)
A sanding mop is an attachment with multiple sandpaper flaps. It’s good for contour sanding and general smoothing. It works similarly to a disc sander, where you present the spinning workpiece to the attachment.
Managing Dust While Sanding
Wood dust is not only messy but also a significant health hazard. A good dust collection system is highly recommended. If your sanding attachment has a dust port, connect it to your shop vacuum or a dedicated dust collector. Even without a port, positioning your vacuum hose near the sanding area can help capture a significant amount of airborne dust. Always wear a respirator!
Troubleshooting Common Sanding Issues
Even with the best attachments, you might encounter some common problems. Here’s how to fix them:
| Problem | Cause | Solution |
|---|---|---|
| Uneven or Flat Spots | Sanding attachment not moved smoothly; too much pressure in one area. | Maintain a steady, consistent movement. Use lighter pressure. Ensure the attachment is well-supported. |
| Sandpaper Clogs Quickly | Resin or pitch in the wood; overheating; using too coarse a grit for too long. | Clean the sandpaper. Try a slower lathe speed. Use higher grits sooner if possible. Use sanding lubricants sparingly if appropriate for your finish. |
| Sandpaper Tears or Catches | Lathe speed too high; rough surface on the workpiece; tool rest or attachment not set correctly. | Reduce lathe speed. Ensure previous grit sanding was thorough. Check alignment of the attachment and tool rest. |
| Excessive Dust | No dust collection or inadequate system; sanding too aggressively. | Improve dust collection setup. Wear a respirator. Sand at appropriate speeds. |
| Lathe Vibrates Excessively | Attachment is out of balance; wood is unbalanced; lathe not stable. | Ensure attachment and arbor are securely mounted and balanced. Check workpiece for balance. Ensure lathe has a stable base. |
Advanced Tips for a Superior Finish
Once you’ve got the basics down, you can refine your sanding technique even further to achieve truly professional results.
- Break-in Sandpaper: For very fine grits (400+), some turners “break in” new sandpaper by rubbing two pieces together or briefly running it on.
