Choosing the right gouge makes a huge difference for woodturners. Spindle gouges are ideal for shaping long, slender pieces like chair legs, while bowl gouges excel at hollowing out vessels. Understanding their distinct shapes and uses is key to achieving professional results and enjoying your woodworking projects with confidence.
Wood Lathe Spindle Gouge vs. Bowl Gouge: An Essential Guide

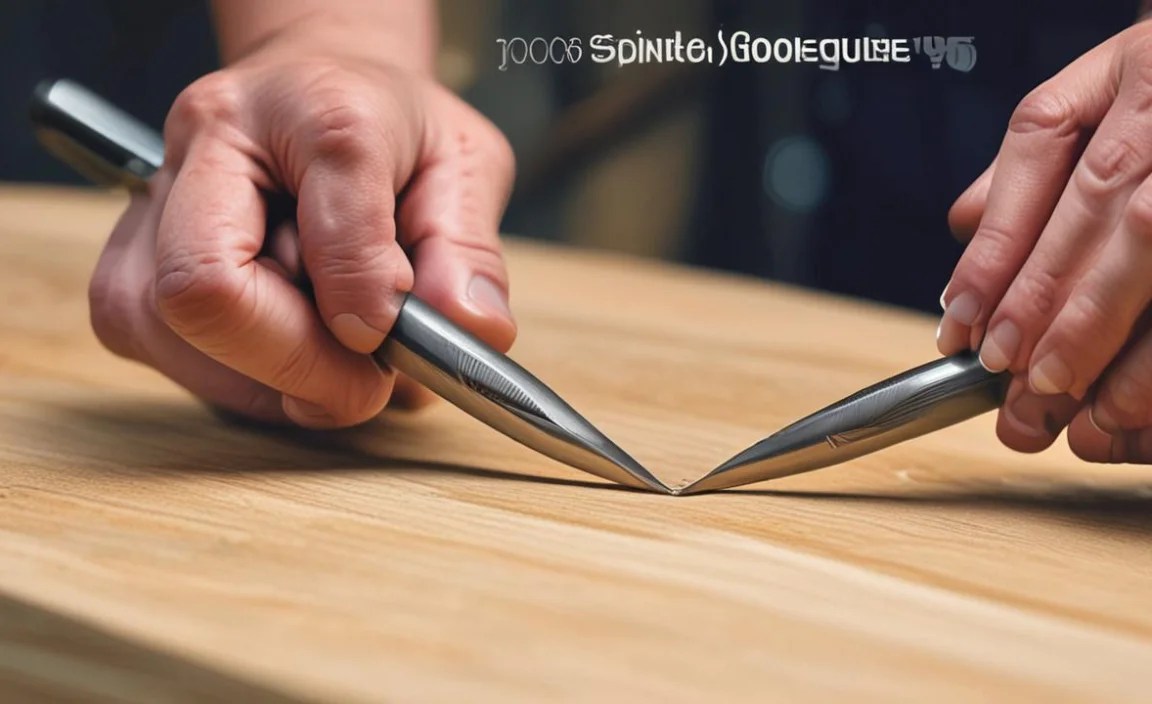
Hey there, fellow makers and woodturners! Daniel Bates here from Lathe Hub. If you’ve just gotten your hands on a wood lathe, or you’re looking to expand your tool collection, you’ve probably come across a dizzying array of chisels. Two of the most fundamental, and often confused, are the spindle gouge and the bowl gouge. They look similar at first glance, but they’re designed for completely different tasks. Using the wrong one can lead to frustration, less-than-ideal results, and even unsafe situations.
Don’t worry, though! That’s exactly why I’m here. My goal is to take the mystery out of your workshop. We’ll break down exactly what makes a spindle gouge different from a bowl gouge, when to use each one, and how to get the most out of them. We’ll cover their unique profiles, how they interact with the wood, and simple techniques to get you turning like a pro. By the end of this guide, you’ll have a clear understanding that will boost your confidence and help you create beautiful pieces.
Understanding Wood Lathe Gouges: A Quick Look
At its core, a wood gouge is a woodturning chisel with a curved flute. This flute allows you to remove material efficiently and create smooth curves. The magic happens in the shape of that flute and the grind angle, which dictate the tool’s purpose. Think of them as specialized paintbrushes for your lathe – each one is perfect for a specific stroke.
The main confusion often arises because both tools are used for shaping wood on a lathe. However, their designs are optimized for very different shapes and cuts. We’re talking about creating long, thin pieces versus deep, hollowed-out bowls. You wouldn’t use a screwdriver to hammer a nail, right? It’s the same principle here.
What is a Spindle Gouge?
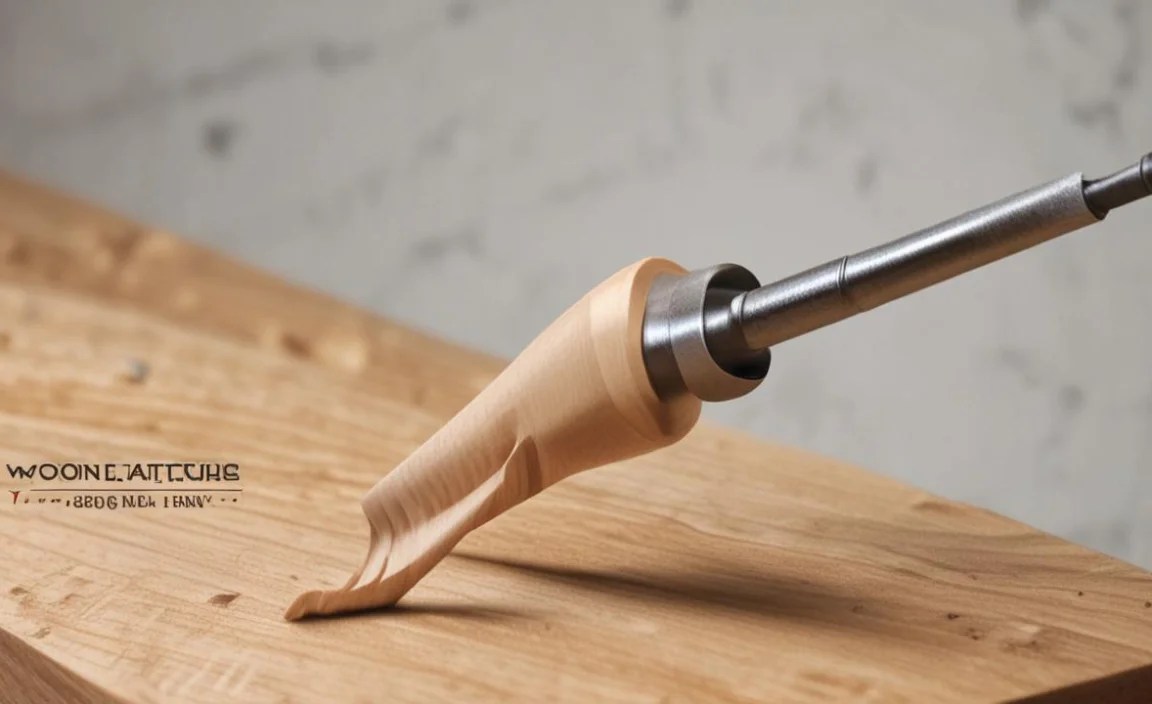
A spindle gouge is your go-to tool for turning spindle-turned projects. These are typically pieces that are longer than they are wide, like table legs, chair spindles, balusters, or decorative elements for furniture. Their design allows for controlled cuts along the grain with minimal tear-out.
Key Characteristics of a Spindle Gouge:

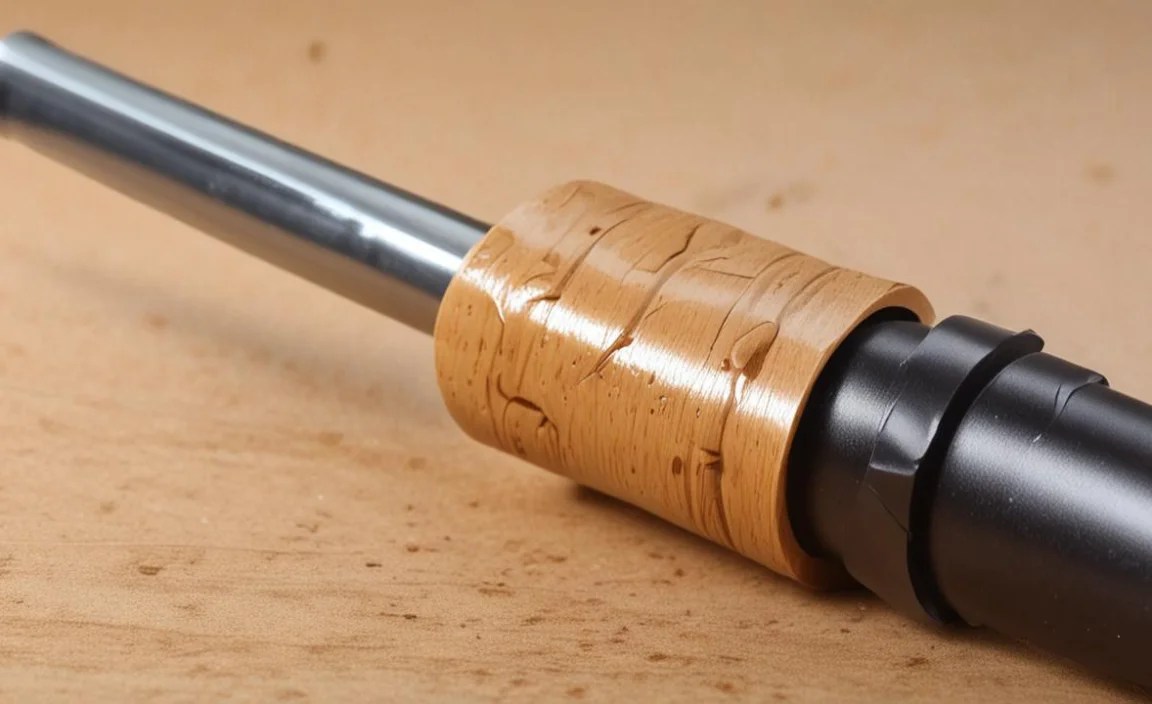
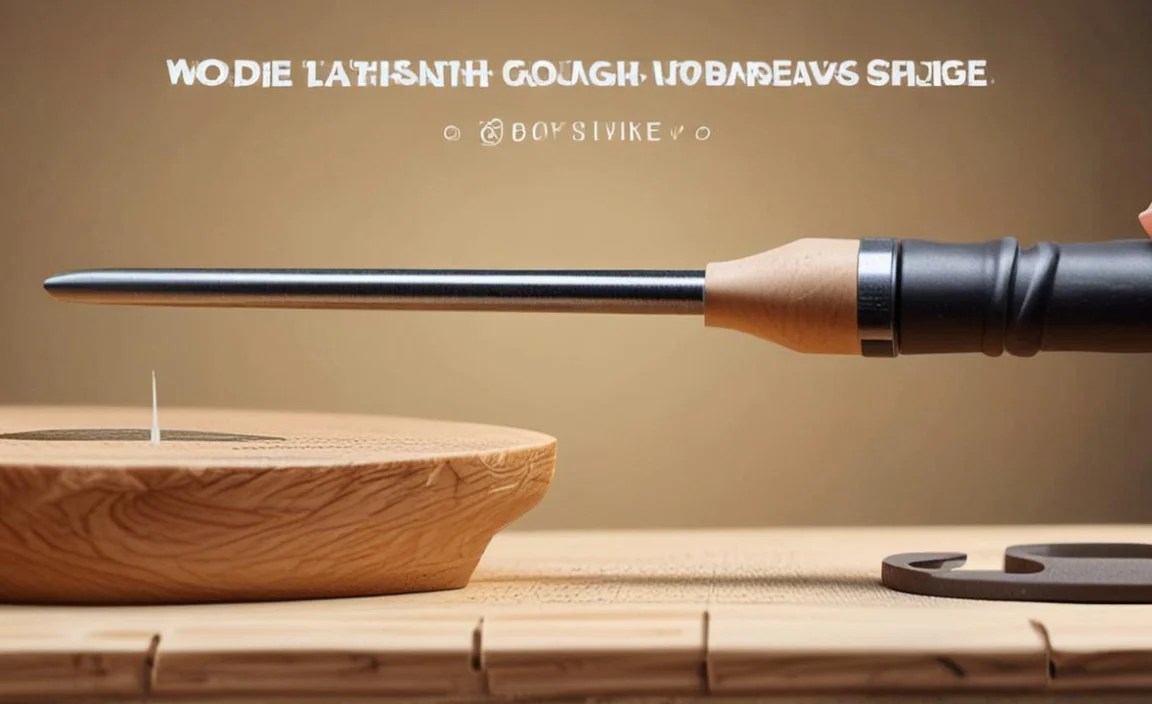
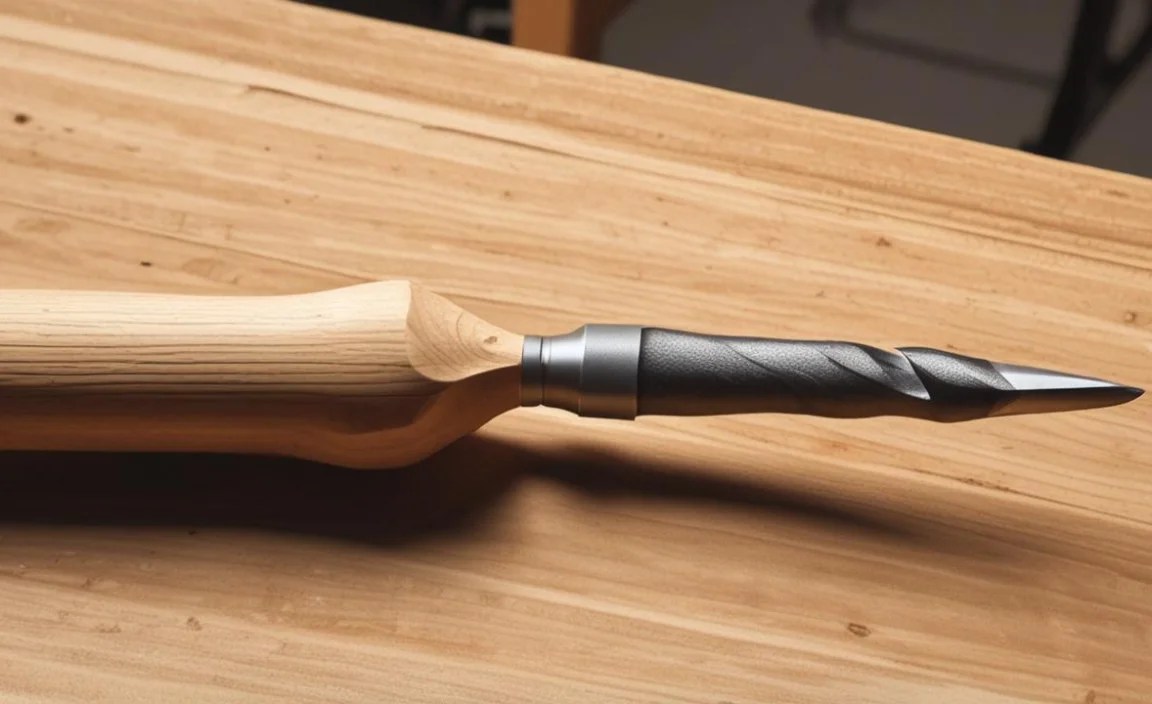
- Shallow Flute: Spindle gouges have a relatively shallow, U-shaped flute. This means the cutting edge is less deeply recessed compared to a bowl gouge.
- Longer, Thinner Profile: The overall shape of a spindle gouge is often longer and more slender.
- Sharper Grind Angle: They are typically ground at a sharper angle, allowing for clean, shearing cuts on the end grain and side grain of spindles. Common grind angles range from 30 to 45 degrees.
- Ease of Control: The shallower flute and sharper angle make them easier to control for delicate tasks and for cutting across the grain without digging in too deeply.
When to Use a Spindle Gouge:
- Turning spindles, legs, and other long, thin pieces.
- Creating coves, beads, and other decorative details on spindles.
- Making shearing cuts to remove material.
- When you need precise control for delicate turning.
- Working on the end grain of a spindle blank, especially for initial shaping.
The shallower flute of a spindle gouge means you’re less likely to catch an edge and cause a blowout when working on the end grain or making cuts parallel to the grain of a long piece. It allows for a slicing action that leaves a smooth surface perfect for finishing.
What is a Bowl Gouge?

A bowl gouge is the workhorse for turning bowls and other hollow forms. Its design is built for heftier cuts, excavating material from the face of the wood, and managing the forces involved when working with wider stock.
Key Characteristics of a Bowl Gouge:

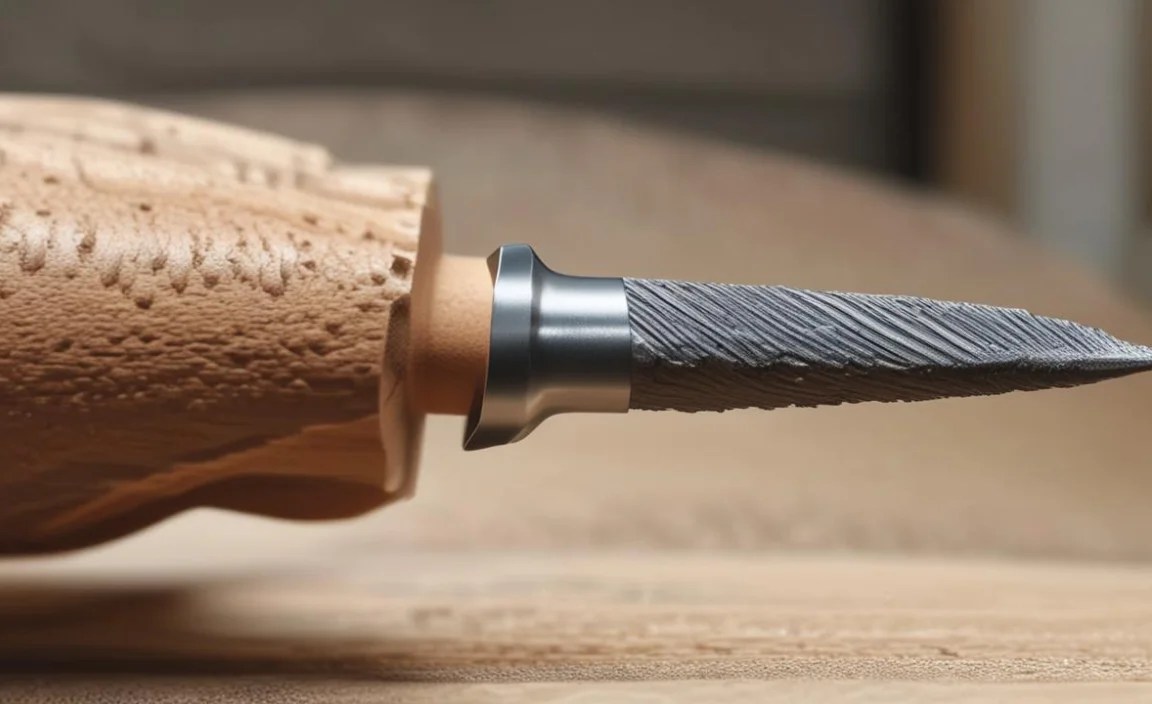
- Deep, Curved Flute: Bowl gouges feature a deep, substantial flute that is often more rounded than that of a spindle gouge.
- Shorter, Wider Profile: They tend to be shorter and have a more robust, wider flute opening relative to their overall length.
- Lower Grind Angle: Bowl gouges are usually ground at a shallower angle, typically between 35 and 55 degrees (often referred to as a “standard” or American style grind). Some turners prefer a more swept-back profile for easier access into the bowl.
- Strength and Material Removal: The deep flute and hefty construction are ideal for aggressive material removal and for creating the curved interior and exterior surfaces of a bowl.
When to Use a Bowl Gouge:

- Hollowing out the inside of bowls.
- Shaping the exterior curves of bowls.
- Removing large amounts of material quickly and efficiently.
- Turning platters and other wide, shallow forms.
- When working on face grain for bowl turning.
The deep flute of a bowl gouge acts like a scoop, allowing you to efficiently remove wood from the center of a blank outward. The lower grind angle helps to get under the wood for effective scooping, and the robust design can handle the stresses of working with wider pieces of timber.
The Crucial Difference: Flute Depth and Grind

The most significant distinction between a spindle gouge and a bowl gouge lies in their flute depth and the corresponding grind angle. This difference dictates how the tool interacts with the wood and what kinds of cuts it can perform effectively and safely.
Imagine trying to scoop ice cream with a flat spatula versus a deep ice cream scoop. The spatula wouldn’t hold much, and you’d make a mess. The scoop, however, is designed specifically for that task. Similarly, a spindle gouge’s shallow flute is like the spatula – good for making fine, slicing cuts along a surface. A bowl gouge’s deep flute is the scoop – perfect for excavating material.
The grind angle is also critical. A sharper angle (like on a spindle gouge) allows for cleaner cuts and is more forgiving when slicing across the grain or on end grain. A shallower angle (like on a bowl gouge) is designed to get under the wood for scooping, but can be more prone to catching if used incorrectly on spindle work.
Spindle Gouge vs. Bowl Gouge: A Comparative Table

To help visualize the differences, here’s a table outlining their key features and intended uses:
| Feature | Spindle Gouge | Bowl Gouge |
|---|---|---|
| Primary Use | Long, slender spindle turnings (e.g., legs, balusters) | Hollow forms, bowls, platters |
| Flute Shape | Shallower, U-shaped | Deeper, more rounded |
| Profile | Longer, thinner | Shorter, wider flute opening |
| Typical Grind Angle | 30° – 45° (sharper) | 35° – 55° (shallower) with potential for swept-back grinds |
| Material Removal | Controlled, precise | Aggressive, efficient |
| Best For | Coves, beads, detail, shearing cuts | Hollowing, sweeping curves, excavating |
| Risk of Tear-out | Lower when used appropriately | Higher on end grain if not managed carefully |
How to Choose the Right Gouge for Your Project

The decision between a spindle gouge and a bowl gouge comes down to the shape and purpose of the piece you’re turning.
For spindle work: If you’re making anything that is significantly longer than it is wide, such as a table leg, a finial, or a pen blank, you’ll want a spindle gouge. These tools are designed to make controlled cuts along the length of the workpiece, allowing you to create profiles, coves, and beads with precision. Using a spindle gouge here will help you avoid catching the wood and creating unwanted chips or gouges, especially when working near end grain details.
For bowl work: If you’re turning a hollow form, a bowl, or a platter, a bowl gouge is the clear choice. These tools are designed to efficiently remove wood from the face of the blank, both for the interior and exterior of the vessel. Their deep flutes act like powerful scoops, allowing you to excavate material quickly and create the smooth, sweeping curves characteristic of turned bowls. Attempting to hollow a bowl with a spindle gouge would be incredibly inefficient and frustrating.
It’s also worth noting that different types of bowl gouges exist. You might encounter:
- Standard Bowl Gouge (e.g., 60° grind): A versatile all-rounder.
- Prince Philip (PP) Gouge: Often has a more traditional swept-back grind, making it easier to get into tight curves.
- High-Speed Steel (HSS) vs. Carbide: While not a gouge type, the material impacts durability and edge retention significantly. HSS tools require sharpening, while carbide inserts can be replaced. For beginners, HSS is a great starting point for learning sharpening techniques.
Understanding Gouge Grinds
The angle at which you sharpen your gouge, known as the grind angle, is crucial. It affects how the tool cuts and how it behaves on the wood. For beginners, it’s often recommended to start with a standard grind and learn to sharpen it consistently before experimenting with more complex angles.
Spindle Gouge Grinds:
- 30° Grind: Very sharp, good for fine detail and shearing cuts, but can be prone to digging if not careful.
- 45° Grind: A good compromise, offering a balance of sharpness and slight versatility.
Bowl Gouge Grinds:
- Standard (e.g., 55° – 60°) Grind: The most common, strong edge, good for general hollowing and shaping.
- Swept-back Grinds (e.g., 70° – 80°): These grinds are achieved by grinding the wings of the gouge more aggressively. This creates a more rounded cutting edge that allows the tool to “ride” on the bevel more easily, making it great for sweeping cuts and getting into corners without catching. This requires learning a specific sharpening technique.
Learning to sharpen your tools correctly is a fundamental skill in woodturning. A sharp tool is safer and produces better results. Resources like the Forest Products Laboratory’s publications on wood machining often contain valuable information on tool geometry and best practices, though they can be quite technical.
Safe Use and Handling
Safety is paramount on the lathe. Incorrect usage of any tool can lead to dangerous situations. Always remember these key safety principles:
- Sharp Tools: Always use sharp tools. Dull tools require more force, are harder to control, and are more likely to catch and cause kickback.
- Proper Grip: Hold the tool firmly with both hands. Your hands should guide the tool, not fight it.
- Tool Rest Setup: Ensure your tool rest is positioned correctly – just a small gap (about 1/8 inch or 3mm) between the rest and the workpiece. For spindle work, this is usually around the 3 o’clock position. For bowl work, it’s typically closer to the 6 o’clock position, depending on the rotation.
- Cutting Angle: Understand the bevel angle and how it relates to the wood. For spindle gouges, you’re often presenting the bevel to the wood and slicing. For bowl gouges, you’re excavating with the bevel rubbing or slightly lifted.
- Never Stand in Line with the Cut: Always stand slightly to the side of the cutting path.
- Eye Protection: Always wear safety glasses or a face shield.
- Dust Mask: Wear a dust mask or respirator, especially when sanding.
- Secure Workpiece: Ensure your workpiece is securely mounted between centers or in a chuck.
When using a spindle gouge for the first time, start with light cuts. Practice making beads and coves. Present the bevel to the wood and use a slicing motion. For bowl gouges, start by facing off your blank and then begin to hollow, keeping the bevel rubbing on the wood surface to ensure stability. You can learn more about safe lathe operation from resources like the Occupational Safety and Health Administration (OSHA), which outlines general machine safety requirements.
Basic Techniques for Each Gouge
Spindle Gouge Techniques:
When using a spindle gouge, think about making slicing or shearing cuts. The goal is to remove thin shavings.
- Position the Tool Rest: For spindle work, set the rest at about the 3 o’clock position, angled slightly towards your face.
- Present the Bevel: Approach the wood with the bevel of the gouge rubbing against the surface. This provides stability and prevents the sharp edge from digging in.
- Make a Shearing Cut: Gently pivot the gouge to engage the cutting edge. Move the tool from right to left (for right-handed operation) or vice versa, allowing the bevel to guide the cut.
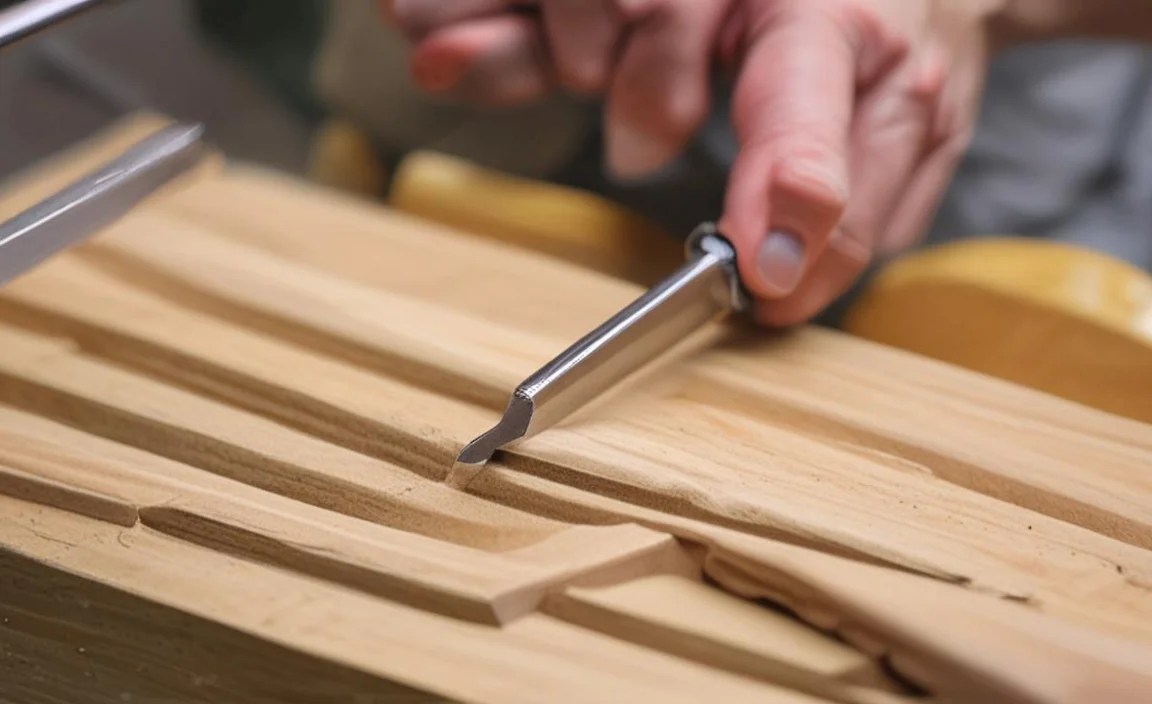
- Creating Coves: Lower the handle of the spindle gouge and move it from side to side under the spinning wood. You’re essentially sweeping out a circular groove.
- Creating Beads: Raise the handle of the spindle gouge and move it from side to side. The shallow flute won’t remove as much material as a bowl gouge, allowing for a crisp bead.
Example: Turning a basic spindle profile
Start with a square blank mounted between centers. Use a roughing gouge to round it into a cylinder. Then, switch to your spindle gouge. Practice making small coves and beads along the length, always presenting the bevel and taking light, shearing cuts. Think of it like using a sharp knife to shave thin curls from a piece of wood.
External Link: For more visual demonstrations, many reputable woodworking channels on YouTube offer excellent tutorials on basic spindle turning. Look for established craftsman who emphasize safety and clear instruction.
Bowl Gouge Techniques:
Bowl gouges are about excavating material and creating sweeping curves. The bevel rubbing on the wood is your best friend for stability.
- Position the Tool Rest: For bowl work, the rest is typically set closer to the bottom of the workpiece, around the 6 o’clock position, and slightly angled to allow clearance for the gouge’s sweep.
- Hollowing the Interior: Bring the bowl gouge into the spinning wood, with the bevel rubbing. Start in the center and gradually work outwards, “scooping” out the material. The deep flute is designed for this.
- Shaping the Exterior: For the outside of a bowl, you’ll often start with a roughing gouge to get a cylinder, then switch to a bowl gouge or a dedicated bowl-skipping gouge to shape the curves. Again, keep the bevel in contact or very close to the wood.
- Using the Wings: Bowl gouges have “wings” on either side of the flute. By angling the tool, you can use these wings to make wider, sweeping cuts.
- Tear-out Prevention: When turning end grain (especially around the rim of a bowl), taking lighter cuts and ensuring the bevel is rubbing is critical to prevent tear-out.
Example: Hollowing a simple bowl
After turning your faceplate or chuck-mounted blank into a basic shape, switch to your bowl gouge. Start at the center of the blank. Present the gouge with the bevel rubbing, and gently lower the handle to engage the cutting edge. Sweep the gouge across the face of the wood, removing shavings. Gradually work your way from the center outwards, creating a smooth, concave surface. Keep refining the shape, always mindful of the bevel.
