Don’t let a stuck tailstock quill stop your woodworking! This guide offers a straightforward, step-by-step solution for beginners to free their wood lathe’s tailstock quill quickly and safely. Get back to turning with confidence!
Hey everyone, Daniel Bates here from Lathe Hub! If you’re working with a wood lathe, you know how essential every part is. Sometimes, things just don’t move like they should. A common headache for woodturners, especially those new to the craft, is a tailstock quill that decides to freeze up. It’s frustrating, right? You’ve got a project ready to go, and then this one little part refuses to budge. Don’t worry, this isn’t a crisis! Most of the time, a stuck quill is a simple fix that doesn’t require fancy tools or a trip to a repair shop. We’ll walk through exactly what to do, step by step, to get your tailstock moving freely again. Let’s dive in and get your lathe back in action!
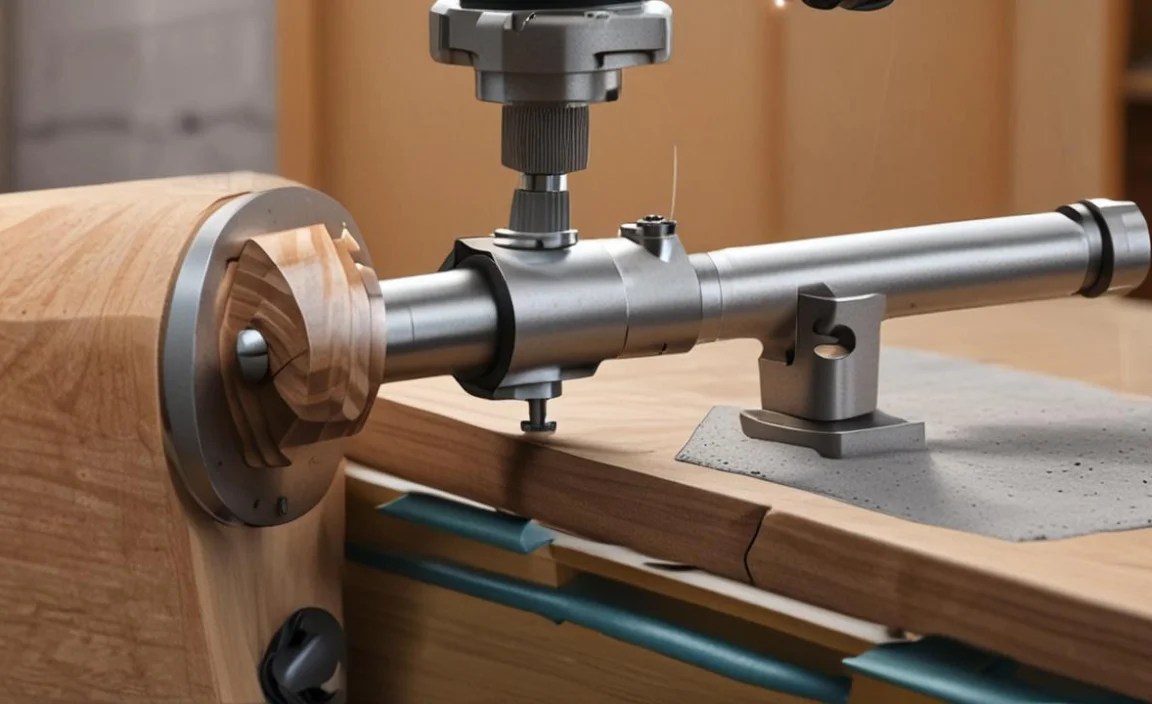
Why Does a Wood Lathe Tailstock Quill Get Stuck?

Understanding why your tailstock quill might be sticking is the first step to fixing it. It’s usually not a sign of major trouble, but rather a result of normal woodworking conditions and occasional neglect. Think of it like your car needing an oil change; your lathe needs a little TLC too!
Common Culprits:
- Dust and Debris: Woodworking generates a lot of dust. Tiny particles can find their way into the quill mechanism, acting like sandpaper between the moving parts and eventually causing them to bind.
- Lack of Lubrication: Over time, the grease or oil on the quill and its housing can dry out or get contaminated. Without proper lubrication, friction increases, making it harder for the quill to slide.
- Rust or Corrosion: If your lathe is stored in a humid environment or if moisture gets into the mechanism, rust can form. Even a thin layer of rust can cause significant binding. This is especially true for older or less protected lathes.
- Overtightening the Lock: Sometimes, the easiest “fix” is to just tighten the tailstock lock nut harder to hold something steady. If this lock is significantly overtightened, it can actually deform the housing slightly or put immense pressure on the quill, making it very difficult to move.
- Bent Quill: In rare cases, the quill itself might have been bent, perhaps from an accident or impact. A bent quill won’t slide smoothly within its housing.
- Dried-Out Wood Chips: Similar to dust, larger wood chips can get jammed in the mechanism, creating physical obstructions.
Identifying the likely cause can help you choose the right approach. For most beginners, it’s usually a build-up of dust, lack of lubrication, or minor rust.
Tools You’ll Need for the Job

The good news is you probably already have most of the tools you need right in your workshop. We’re aiming for a simple, effective fix, not a complete overhaul. Here’s what you should gather:
- Safety Glasses (always!)
- Gloves
- Shop Rags or Paper Towels
- Wire Brush (a small brass brush is ideal, but a stiff nylon brush can also work)
- Penetrating Oil (like WD-40, PB Blaster, or a dedicated metal lubricant)
- General Purpose Grease or Lathe Lubricant (lithium grease or a good quality machine oil)
- Allen Wrench or Wrench set (to remove the tailstock locking handle or any specific parts if necessary)
- Optional: Rubber Mallet (for gentle persuasion)
- Optional: Compressed Air (for blowing out debris)
Remember, if your lathe is particularly old or has been neglected, you might lean towards a penetrating oil first. For newer lathes with just a bit of stiffness, a good cleaner and fresh lubricant should do the trick.
Step-by-Step Fix: Getting Your Quill Moving Again
Let’s start with the most common scenarios and work our way to slightly more involved solutions. Always prioritize safety: turn off and unplug your lathe before you begin any hands-on work.
Step 1: Assess and Clean the Exterior
First, take a good look at your tailstock. Can you see any obvious obstructions, like large wood chips or obvious rust patches?
- Safety First: Ensure the lathe is completely off and unplugged.
- Visual Inspection: Look at the quill where it extends from the tailstock body. Check the handwheel, the locking lever, and the area where the quill enters the casting.
- Remove Loose Debris: Use a shop rag to wipe away any loose dust, chips, or shavings. If you have compressed air, give it a blast to clear out hard-to-reach areas. Be mindful of where the dust goes!
Step 2: Loosen the Lock and Gentle Wiggling
Sometimes, the quill is just locked down too tight or has settled into a bind. Loosening things up can be all it takes.
- Locate the Lock: Find the lever or knob that locks the quill in position.
- Loosen It Fully: Turn the locking mechanism until it’s completely disengaged. You want to give the quill maximum freedom of movement.
- Try the Handwheel: Gently try to turn the tailstock handwheel (the part you normally use to advance or retract the quill). Don’t force it yet. Just test its movement.
- Gentle Wiggling: If it’s still stuck, try gently rocking the tailstock body itself (if it’s not bolted down) or apply slight, steady pressure on the quill to see if it will move even a millimeter. Sometimes, a tiny movement is all you need to break the bind.
Step 3: Apply Penetrating Oil (The Go-To for Stuck Parts)
If gentle wiggling didn’t work, it’s time for some lubrication. Penetrating oil is designed to seep into tight spaces and break down rust, grime, and corrosion.
- Target the Entry Point: Spray a generous amount of penetrating oil directly onto the quill where it enters the tailstock body. Try to get it into the gap between the quill and the casting.
- Work It In: Let the oil sit for at least 15-30 minutes. This gives it time to work its way into any stuck areas. For really stubborn quills, you might need to leave it overnight.
- Re-Attempt Movement: After the waiting period, try turning the tailstock handwheel again. Apply steady, even pressure.
- Gentle Persuasion (If Needed): If it still won’t budge, you can try tapping very gently on the handwheel or the end of the quill with a rubber mallet. The idea is to create a slight shock to help break the rust or binding, not to damage anything. Tap, then try turning again.
- Repeat as Necessary: You might need to repeat the spraying and waiting process a few times for severely stuck quills.
Step 4: Cleaning and Brushing
Once you can get some movement, even just a little, it’s time for a more thorough cleaning.
- Extend the Quill: If you can move the quill even a small amount, extend it as far as possible. This exposes more of the quill surface and the internal housing.
- Use the Wire Brush: With the quill extended, use your wire brush (brass is best as it’s softer than steel and less likely to scratch) to scrub the exposed part of the quill and the opening of the tailstock housing. Get into any areas where you see rust or grime.
- Wipe Clean: Use your shop rags to wipe away all the loosened debris and residual oil. You want a clean surface.
- Apply More Oil: Spray a little more penetrating oil and work the quill back and forth fully using the handwheel. Clean again.
This cleaning process might need to be repeated a few times until the quill moves smoothly and the rags come away clean.
Step 5: Lubrication for Smooth Operation
Now that the quill is free and clean, it’s crucial to lubricate it properly to prevent future issues and ensure smooth operation.
- Choose Your Lubricant: Use a general-purpose grease (like lithium grease) or a lubricant specifically designed for machine tools. Avoid using petroleum-based lubricants like Vaseline, which can attract dust and gum up over time. For wood lathes, a good quality machine oil or a light grease works well.
- Apply Lubricant: Extend the quill out as far as it will go. Apply a thin, even coat of grease or oil to the entire exposed portion of the quill.
- Work It In: Carefully retract and extend the quill several times using the handwheel. This helps distribute the lubricant evenly within the tailstock housing.
- Clean Excess: Wipe off any excess lubricant from the quill surface. You want just enough to provide lubrication, not so much that it attracts excessive dust.
Maintaining this lubrication is key. A quick wipe and re-lube every so often will save you a lot of future headaches.
Step 6: Check and Adjust Alignment if Necessary
Sometimes, a stuck quill can be a symptom of misalignment, especially if the tailstock itself has been moved or adjusted improperly.
- Tailstock Alignment: Ensure the tailstock is properly aligned with the headstock centers. Misalignment can put stress on the quill. For guidance on this, check out resources from organizations like the Woodworkers Guild of America on proper lathe setup.
- Quill Squareness: As the quill moves in and out, it should remain square to the tailstock body. If you notice it tilting or binding at a specific point, there might be an internal wear issue or damage.
When to Consider Professional Help or Replacement Parts
If you’ve followed these steps and the quill is still stubbornly stuck, or if you notice significant damage such as a bent quill or worn housing, it might be time to consider more advanced solutions. This could involve disassembling the tailstock further (if you’re comfortable doing so) or contacting the manufacturer or a specialized machine repair service. For very old or damaged tailstocks, replacement might be the most effective long-term solution. You can often find replacement parts or even entirely new tailstocks from lathe manufacturers or reputable woodworking supply stores.
Troubleshooting Common Issues During the Fix

Even with straightforward steps, you might run into minor hiccups. Here are a few common ones and how to handle them.
Problem: The Handwheel Still Won’t Turn, Even After Oil
- Possible Cause: Severe rust, old dried-out grease, or a significant obstruction.
- Solution: Apply more penetrating oil. Let it soak for longer (even a full day). Try tapping more firmly with a rubber mallet. If the quill has any play at all, try to gently pry it with a wide, flat tool (like a putty knife) while reapplying oil and trying to turn the handwheel simultaneously. Be very careful not to gouge the quill.
Problem: The Quill Moves, But It’s Gritty and Rough
Possible Cause: Loose rust particles or old grit still inside the mechanism.
Solution: Repeat the cleaning and brushing steps. Extend and retract the quill multiple times while spraying and wiping. Compressed air can be very effective here if used carefully. Ensure you wipe the quill completely clean before applying fresh lubricant.
Problem: The Lock Lever is Stuck
Possible Cause: Debris jamming the locking mechanism itself, or threads are seized.
Solution: Apply penetrating oil directly to the locking mechanism. Gently try to wiggle the lever while applying steady pressure to unscrew it. If it’s a screw-type lock, ensure you’re turning it the correct way to loosen. Sometimes, carefully tapping the end of the lever can help break it loose.
Preventing Future Stuck Quills
The best fix is often prevention. By incorporating a few simple maintenance habits, you can keep your tailstock quill running smoothly year after year.
- Regular Cleaning: After each significant use, especially when working with dusty or resinous woods, wipe down the tailstock and quill.
- Periodic Lubrication: Apply a thin coat of lubricant to the quill every few months, or more often if you use your lathe heavily.
- Proper Storage: If your lathe is stored for extended periods, especially in a garage or unheated workshop, consider covering it to protect it from dust and moisture.
- Mind the Lock: Avoid overtightening the tailstock lock. Just snug it enough to hold securely.
An ounce of prevention is worth a pound of cure, as they say. A few minutes of routine maintenance will save you hours of frustration.
FAQ: Your Wood Lathe Tailstock Questions Answered
Q1: How often should I lubricate my tailstock quill?
A1: For most users, lubricating the tailstock quill every few months is sufficient. If you use your lathe very frequently or work in a dusty environment, you might want to do it monthly. A good indicator is when the quill movement starts to feel less smooth.
Q2: Can I use regular household oil for lubrication?
A2: It’s best to avoid common household oils like cooking oil or certain multi-purpose oils with petroleum bases. They can attract dust and become gummy. Use a dedicated machine oil, lithium grease, or a lubricant specifically recommended for woodworking machinery to ensure proper performance and longevity.
Q3: My tailstock quill is slightly bent. Can I fix it?
A3: A slightly bent quill can sometimes be straightened with extreme care, but it’s a risky process. It’s often better to replace a bent quill, as straightening can weaken the metal or cause further damage. Check with your lathe manufacturer for replacement part availability.
Q4: What’s the difference between penetrating oil and regular lubricant?
A4: Penetrating oil is thin and designed to creep into tight spaces to break down rust and corrosion, helping to free up seized parts. Regular lubricants (like grease or machine oil) are thicker and meant to provide a protective, low-friction coating between moving surfaces for ongoing use.
Q5: I overtightened the tailstock lock, and now it’s hard to move. What should I do?
A5: Always loosen the tailstock lock fully before trying to advance or retract the quill. If it’s stuck due to overtightening, try loosening it again completely. If it’s still difficult to move, try applying some penetrating oil to the locking mechanism threads if accessible, and gently work it back and forth. Then re-lubricate the quill itself.
Q6: Is it safe to use a hammer on my tailstock?
A6: Never use a metal hammer directly on your lathe parts, especially not on the quill or tailstock body, as this can easily cause damage. A rubber mallet can be used gently for tapping to help break a stubborn bind, but always proceed with extreme caution and focus on steady pressure rather than forceful blows.
Conclusion
Dealing with a stuck wood lathe tailstock quill can seem daunting at first, but as we’ve seen, it’s usually a manageable issue. By following these straightforward steps—from initial assessment and cleaning to using penetrating oil and proper lubrication—you can effectively free up your quill and prevent future problems. Remember that consistent, basic maintenance is your best friend in keeping your tools in top working order. Don’t let a minor mechanical hiccup keep you from enjoying your woodworking projects. With a little patience and the right approach, your tailstock quill will be sliding smoothly again in no time. Happy turning, and always happy to help from Lathe Hub!
