Ensure your wood lathe tailstock is perfectly aligned for flawless turning. Accurate alignment prevents vibration, improves cut quality, and extends tool life. Follow these proven fixes for a smooth, precise woodworking experience.
Hey there, fellow woodturners! Daniel Bates here from Lathe Hub. If you’ve ever fought with a wobbly workpiece, a tool that chatters uncontrollably, or finishes that just aren’t quite right, there’s a good chance your wood lathe’s tailstock might be a little out of sorts. It’s a super common issue, especially for those of us starting out, and it can turn a fun project into a frustrating ordeal. The good news? Getting your tailstock aligned is completely doable, and I’m here to walk you through it, step-by-step. We’ll cover the most effective tips and tricks to get your lathe running true, so you can get back to creating beautiful pieces with confidence. Let’s get your tailstock singing in harmony with your headstock!
Why Tailstock Alignment Matters for Your Wood Lathe

Think of your wood lathe as a well-oiled team. The headstock and tailstock need to work in perfect sync. When they’re aligned, the spindle (your wood) sits perfectly straight between them. This means your tools cut smoothly, your finishes are clean, and you don’t get annoying vibrations that can ruin your work and even damage your tools. When they’re out of alignment, even by a tiny bit, you’ll notice issues like:
- Uneven cuts: One side of your wood might get cut deeper than the other.
- Workpiece wobble: Especially on longer pieces, you’ll see movement that’s hard to control.
- Tool chatter: Your chisels and gouges will skip and jump, leaving rough marks.
- Vibrations: The whole lathe can shake, making it unsafe and unpleasant to use.
- Reduced tool life: Constant vibration and uneven forces can dull your tools faster.
Getting this alignment right is one of the most fundamental steps to consistent, high-quality woodturning. It might seem daunting at first, but with a little patience and these straightforward tips, you’ll be able to dial it in yourself.
Understanding Tailstock Alignment: The Basics
Before we jump into fixing, let’s understand what we’re trying to achieve. For most turning operations, your tailstock should be perfectly parallel to the lathe bed and line up directly opposite your headstock spindle. This ensures that any wood mounted between the centers is held straight and true. There are two main types of alignment for the tailstock that we need to check:
- Horizontal Alignment: This is about ensuring the tailstock’s centerline is parallel to the lathe bed and directly across from the headstock spindle. This is what we focus on most when turning between centers.
- Vertical Alignment: This refers to the height of the tailstock center relative to the headstock center. While less common to go out of adjustment, it ensures they are at the same height.
When we talk about “aligning the tailstock” for beginners, we are almost always referring to getting that horizontal alignment perfect. This is the one that directly impacts how your workpiece spins.
How to Test Your Tailstock Alignment

Before you can fix it, you need to know if it’s actually out of alignment. Here’s a simple, tried-and-true method using a piece of scrap wood. This method is often called the “pencil test,” but we’ll use a dowel or a rod for a more precise measurement.
The Dowel/Rod Test
This is the go-to method for checking horizontal alignment. It’s simple, effective, and doesn’t require fancy tools.
- Select a piece of stock: Grab a reasonably long, straight piece of scrap wood, like a dowel rod or a piece of square stock about 1-2 inches in diameter and at least 12 inches long.
- Mount the stock: Place this piece of stock between your headstock and tailstock centers. Make sure it’s securely mounted, but don’t overtighten. The tailstock should not be jammed tight; it needs a little play for alignment adjustments.
- Mark the ends: Position the tailstock so it’s close to one end of the stock. Use a pencil or a scribe to draw a line along the length of the stock at its center.
- Advance the tailstock: Carefully extend the tailstock ram forward until it just touches the end of your stock. Now, draw another line along the length of the stock, precisely where the tailstock center meets it. Do the same for the other end. You should now have two lines running along your stock, each ending with a mark from the tailstock center.
- Loosen and rotate: Loosen the workpiece and rotate it 180 degrees. Reposition it back between centers, ensuring the tailstock ram is at the exact same extension as before.
- Compare your marks: Now, carefully check where the tailstock center meets the stock on both ends. The center mark should perfectly overlap the line you drew previously. If the marks are off, your tailstock is out of alignment.
Interpreting the Results:
If the tailstock center lines up perfectly with the marks on both ends after rotating, congratulations! Your tailstock is aligned. If, however, the center is either to the left or right of your line on one or both ends, you have an alignment issue. The greater the gap between the center mark and your line, the more the tailstock is out of adjustment.
This test works because if the tailstock is perfectly parallel to the headstock spindle and the bed, rotating the workpiece 180 degrees will present the exact same diameter to the tailstock center on both ends. If it’s out of parallel, the tailstock center will hit the stock higher or lower on one end, revealing the misalignment.
Common Causes for Tailstock Misalignment
A wood lathe’s tailstock can get knocked out of alignment for several reasons. It’s usually not a serious flaw in design, but more a consequence of use and the forces applied during turning.
- Impacts: Dropping a heavy piece of wood, a tool slipping and hitting the tailstock, or even bumping into it can knock it askew.
- Vibration over time: Constant use, especially with unbalanced workpieces, can gradually loosen the tailstock’s connection to ways or bed, allowing it to shift.
- Improper Tightening: Not securely locking the tailstock onto the lathe bed after adjustments can lead to it shifting during use.
- Wear and Tear: Over extended periods, certain components can develop play, but this is less common with modern, well-maintained lathes.
- Lubrication and Maintenance: Lack of proper lubrication on the ways can lead to binding or uneven movement, contributing to shifts.
- Moving the Tailstock: Sliding the tailstock along the lathe bed, especially if it’s over-tightened or dragged forcefully, can sometimes cause it to not settle perfectly parallel.
Understanding these can help you be more conscious of how you operate your lathe and what to check periodically.
Proven Fixes: Adjusting Your Wood Lathe Tailstock Alignment
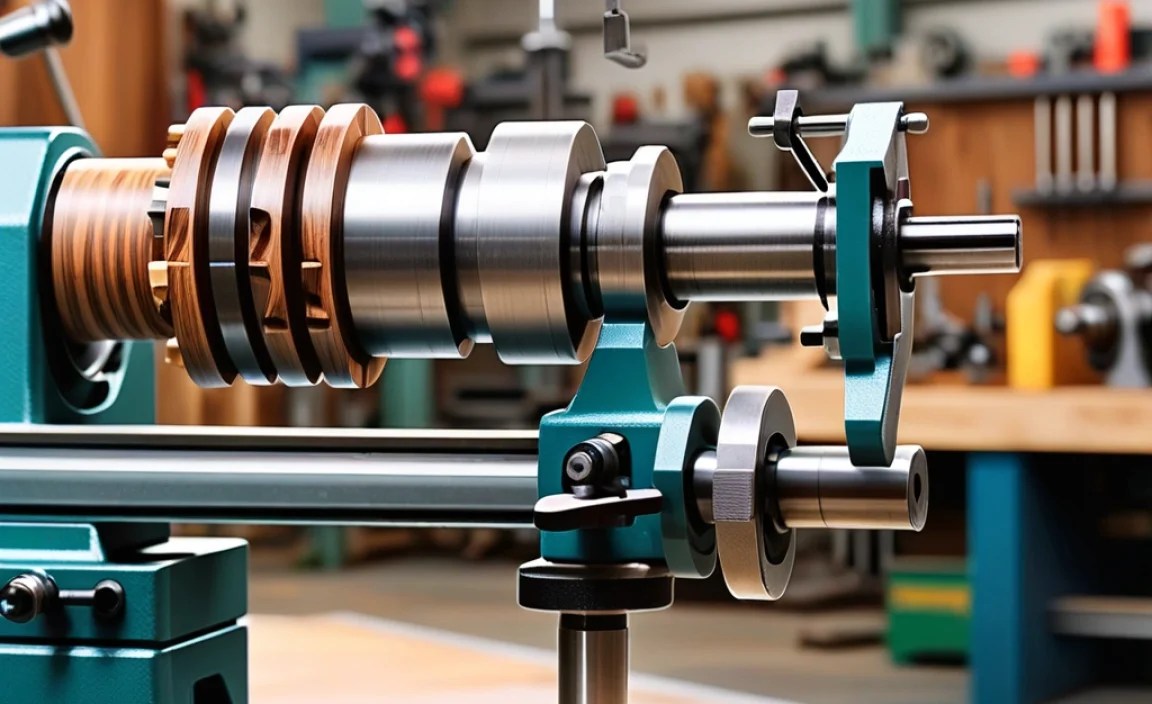
Now for the good part – fixing it! Most adjustable tailstocks will have a mechanism to adjust their alignment to the lathe bed. This is typically done by slightly rotating the tailstock assembly on its base.
The Adjustment Mechanism
On most wood lathes, the tailstock is mounted to a base that slides along the lathe bed. This base assembly often has adjustment slots and bolts that allow you to pivot the tailstock slightly. You’ll usually find two bolts that hold the tailstock casting to its lower sliding base.
These bolts might have slots that allow you to loosen them slightly and then, using a piece of metal or a specialized jig, pivot the tailstock. This pivoting action is what corrects the horizontal alignment.
Step-by-Step Adjustment Process
- Prepare your workspace: Ensure your lathe is powered off and that you have plenty of light. You’ll need basic tools like a wrench or socket set that fits your tailstock mounting bolts.
- Perform the dowel test (if you haven’t already): Confirm your alignment issue and the direction it’s skewed.
- Locate the adjustment bolts: Identify the bolts that secure the tailstock casting to its base on the bed. They are usually two bolts, often located on the sides or front/back of the tailstock base.
- Loosen the bolts: Using your wrench, slightly loosen these bolts. You don’t need to remove them, just loosen them enough so that the tailstock casting can be gently rotated on its base.
- Make a small adjustment: Based on your dowel test, you need to determine which way to pivot the tailstock.
- If the tailstock center is hitting the stock too far out (away from the headstock) on one end, you need to pivot the tailstock towards the headstock on that side.
- If the tailstock center is hitting the stock too close (towards the headstock) on one end, you need to pivot the tailstock away from the headstock on that side.
- Pivot in small increments: Use a block of wood or a brass punch and hammer to gently tap the tailstock casting in the desired direction. You only need to move it a tiny amount. The goal is to achieve perfect alignment, not to force it.
- Tighten and re-test: Once you think you’ve made a sufficient adjustment, carefully tighten the adjustment bolts again. Then, repeat the dowel test (steps 1-6 in “How to Test Your Tailstock Alignment”).
- Iterate as needed: It’s very common to need a few tries. Loosen, tap, tighten, test, and repeat until the tailstock center perfectly aligns with your marks on both ends. Be patient! Small, incremental adjustments are key.
Some higher-end machines have fine adjustment screws specifically for tailstock alignment. If your lathe has these, consult your manual, as the process will be slightly different and often easier.
Using a Dial Indicator for Precision
If you’re looking for absolute precision or if the dowel test isn’t sensitive enough for you, a dial indicator is the professional’s choice. This method is highly accurate and recommended for anyone seeking perfect results.
What you’ll need:
- Dial Indicator (with magnetic base or tailstock attachment)
- Piece of precisely machined metal rod or a perfectly straight dowel
- Tools to adjust tailstock bolts (wrench/socket set)
Steps with a Dial Indicator
- Mount the indicator: Attach the dial indicator to the tool post on your tool rest banjo. Alternatively, you can use a magnetic base to attach it to the lathe bed, or if you have a specialized adapter, mount it directly to the tailstock ram. For this guide, we’ll assume it’s attached to the tool post, measuring against a rod held in the tailstock.
- Insert a reference rod: Chuck a perfectly straight metal rod (like a Morse taper rod, a ground shaft, or a very precisely turned wooden dowel) into the tailstock. Extend the ram so the rod is held securely.
- Position the indicator: Bring the dial indicator tip into contact with the reference rod. Set your dial indicator to zero at the point where the ram is fully extended towards the headstock.
- Slide the tailstock: Carefully retract the tailstock ram completely. Watch the dial indicator. As you retract it, aim for the indicator to read zero (or as close to zero as possible) at the fully retracted position.
- Adjust the tailstock: If the indicator does not return to zero consistently, your tailstock is not parallel to the lathe bed. You will need to loosen the tailstock base bolts as described in the previous section.
- Make incremental adjustments: Similar to the dowel test, use gentle taps to pivot the tailstock.
- If the indicator reads a positive number (e.g., +0.002″) when retracted, it means the tailstock is angled away from you at the ram end relative to the bed. You need to pivot it slightly towards you on that side.
- If the indicator reads a negative number (e.g., -0.002″) when retracted, it means the tailstock is angled towards you at the ram end. You need to pivot it slightly away from you on that side.
- Tighten and re-verify: Tighten the tailstock bolts and repeat steps 3-5. Continue making small adjustments until the dial indicator reads zero (or very close) across the full travel of the tailstock ram.
A dial indicator provides a level of accuracy that’s hard to achieve otherwise. For critical projects or if you find yourself constantly fighting alignment issues, investing in a dial indicator is a wise move. Resources like NIST (National Institute of Standards and Technology) provide excellent information on measurement precision which underpins these techniques.
Table: Common Tailstock Issues and Their Fixes
Here’s a quick reference for common problems and their solutions:
| Symptom | Likely Cause | Fix |
|---|---|---|
| Workpiece chatters or vibrates significantly. | Tailstock out of alignment (not parallel to headstock spindle). | Adjust tailstock alignment using dowel test or dial indicator. |
| Finishes are rough or uneven on one side of the workpiece. | Tailstock is angled, causing uneven pressure or cut depth. | Realignment is needed. |
| Tailstock feels stiff or difficult to slide. | Lack of lubrication on ways, or debris building up. | Clean ways, lubricate with appropriate lathe wax or paste. Check for obstructions. |
| Taiistock center doesn’t hold firmly. | Worn center, damaged ram, or loose locking mechanism. | Inspect and clean center. Check ram for damage. Ensure locking handle is tight. |
| Tailstock moves slightly during heavy cuts. | Insecurely locked tailstock, or worn locking mechanism. | Ensure the tailstock locking lever is fully tightened. For persistent issues, inspect the locking mechanism for wear. |
Advanced Tips and Maintenance
Once your tailstock is aligned and turning smoothly, a little ongoing maintenance will keep it that way.
Lubrication is Key
The ways (the flat surfaces your tailstock slides on) need to be clean and lightly lubricated. Avoid excessive grease, which can attract sawdust and debris. A good paste wax or a specialized lathe bed lubricant works well. Regularly clean the ways with a soft cloth and reapply lubricant as needed, especially if you notice any stiffness or binding when moving the tailstock.
Checking for Wear
If you consistently struggle to keep your tailstock aligned, or if it feels loose even when locked down, it might be a sign of wear. Inspect the mating surfaces between the tailstock base and the lathe bed. Look for any obvious damage, deep scratches, or excessive play. If you suspect significant wear, consult your lathe’s manual or manufacturer. For many common lathes, replacement parts are available, or a skilled machinist could potentially re-surface or shim worn components.
When to Realign
It’s good practice to perform a quick alignment check periodically. This could be:
- After moving your lathe.
- If you notice any new vibrations or chatter.
- Before starting a critical or large project.
- Once every few months as part of general maintenance.
A quick dowel test takes only a few minutes and can save you a lot of frustration down the line. Reputable woodworking sites like Woodworking Network often feature maintenance tips for various tools.
Frequently Asked Questions (FAQ)
Q1: How often should I check my tailstock alignment?
A1: For regular use, checking your tailstock alignment every few months or whenever you start to notice issues like vibration or chatter is a good practice. If you move your lathe or experience an impact, it’s wise to check it.
Q2: My tailstock is out of alignment, but I can’t find the adjustment bolts. What should I do?
A2: Tailstock adjustment methods vary by lathe model. Most lathes have two bolts that secure the tailstock to its sliding base. If you can’t locate them, consult your lathe’s owner’s manual. If you don’t have the manual, search online for your specific lathe model’s documentation.
