Wood lathe tailstock parts explained: Knowing these key components will help you achieve stable workpiece support and accurate turning.
Having trouble getting a steady hold on your wood projects? The tailstock on your wood lathe is the unsung hero of workpiece support and alignment. It might seem simple, but understanding its individual parts is crucial for safe and successful turning. Don’t worry, we’ll break down each piece so you can get back to creating with confidence. Let’s make sure your tailstock is working perfectly for you!
Understanding Your Wood Lathe Tailstock: An Essential Guide

As a seasoned machinist and tool enthusiast, I know that sometimes the “simple” parts of a machine can be the most overlooked. The tailstock on your wood lathe is definitely one of those. It’s the stationary end of your lathe that supports the free end of your workpiece. When it’s set up correctly, it provides stability, allowing you to turn everything from delicate spindles to robust bowls. But what happens when things aren’t quite right? Frustration, shaky cuts, and even safety hazards can follow.
This guide is designed to demystify the wood lathe tailstock. We’ll explore each of its essential parts, explaining what they do and why they matter. By understanding these components, you’ll gain the knowledge to properly adjust, maintain, and utilize your tailstock for precise and safe woodturning. Whether you’re a complete beginner or looking to refine your skills, this breakdown will empower you to use your lathe with newfound confidence. Let’s dive in and give your tailstock the attention it deserves!
Why the Tailstock Matters for Woodturning

The tailstock is more than just a block of metal holding up one end of your wood. It’s a vital component for many turning operations.
Workpiece Support: Its primary job is to hold one end of the workpiece, often in conjunction with the headstock’s drive center. This prevents vibration and sag.
Centering and Alignment: It houses the live center or drill bit, ensuring your workpiece is perfectly aligned with the lathe’s axis.
Offset Turning: When you need to create round shapes from non-round stock, or when turning larger bowls, the tailstock can be offset.
Drilling and Boring: The quill can be extended to hold drill bits or specialized boring tools for hollowing out cavities.
Without a properly functioning tailstock, your turning experience will be significantly hindered.
The Core Components of a Wood Lathe Tailstock

Let’s break down the tailstock into its main parts. While designs can vary slightly between manufacturers, the fundamental components and their functions remain consistent.
1. The Tailstock Casting (Body)
This is the main housing of the tailstock. It’s a substantial piece of iron or steel that slides along the lathe bed.
Function: It provides structural integrity and houses all the other internal mechanisms. It also often includes a locking mechanism to hold it firmly in place on the lathe bed.
Importance: A solid, well-machined casting ensures stability. Any looseness here will translate to vibration and poor turning results.
Maintenance: Keep the ways (the mating surfaces with the lathe bed) clean and free from debris. A light coat of wax can help it slide smoothly.
2. The Tailstock Ways and Locking Mechanism

These are the surfaces on the tailstock casting that engage with the lathe bed. The locking mechanism is what secures the tailstock in its desired position.
Function: The ways allow the tailstock to move fore and aft along the bed for positioning. The locking mechanism could be a lever, a bolt, or a screw that you tighten to prevent the tailstock from moving during operation.
Importance: A secure lock-down is paramount for safety and vibration control. If the tailstock shifts mid-cut, it can be dangerous and ruin your workpiece.
How to Use: Position your tailstock near the workpiece, align it, and then firmly tighten the locking mechanism. Always check it’s secure before starting your lathe.
3. The Tailstock Quill
This is the retractable part of the tailstock that extends and retracts. Think of it like a sleeve that moves in and out.
Function: The quill holds the work-holding attachments like the live center, drill chuck, or spur drive. Its extension and retraction adjust the position of these tools relative to the workpiece.
Importance: The quill must move smoothly and lock securely. The internal mechanism that drives the quill is critical.
Maintenance: The quill should be kept clean and lightly lubricated. Dust and chips can impede its smooth operation.
4. The Quill Advance Mechanism (Handwheel/Lever)

This is the part you interact with to move the quill in and out. It’s typically a handwheel or a lever that engages with a screw mechanism.
Function: Turning the handwheel or moving the lever rotates a screw inside the tailstock body, which in turn pushes or pulls the quill.
Importance: A smooth-operating handwheel/lever allows for precise adjustments, which are essential for accurately seating a live center or starting a drill bit.
Common Issues: A stiff or jerky handwheel can indicate dirt, lack of lubrication, or wear in the screw mechanism.
5. The Quill Lock Screw (or Knob)

Once you’ve extended the quill to the desired position, you need to lock it in place. This is what the quill lock does.
Function: It physically secures the quill, preventing it from retracting or extending further. This is critical when a live center is engaged or when drilling.
Importance: Without a locked quill, the tailstock can retract under pressure, causing a dangerous loss of workpiece support.
How to Use: After you’ve brought the quill into contact with your workpiece, tighten the quill lock screw firmly.
6. The Tailstock Center (Live Center/Dead Center)

While technically an accessory, the center that fits into the quill is vital to the tailstock’s function.
Live Center: This center rotates with the workpiece, minimizing friction. It’s the most common type for general turning.
Dead Center: This center is stationary. It’s typically used briefly for tasks like marking a center point or for specific operations where rotation isn’t desired.
Function: Supports the end of the workpiece and maintains alignment with the headstock.
Importance: A sharp, well-aligned center is key to a stable and smooth turning experience. A dull or damaged center can cause vibration and damage your wood.
A Quick Table: Tailstock Center Types
| Center Type | Description | Primary Use | Notes |
Live Center | Revolves with the workpiece | General turning, bowls, spindles | Minimizes friction, less likely to bind. Available in various nose styles. |
| Dead Center | Stationary, does not rotate | Marking/layout, brief support | Can cause friction and score wood if used for extended turning. |
| Cup Center | A cone with a hollowed tip | Supporting large or rough-sawn blanks | Helps prevent tear-out on end grain. |
| Drill Chuck | Holds drill bits | Drilling holes in the center of the workpiece | Mounted directly in the quill for precise drilling. |
7. Tailstock Taper (Morse Taper)

Most wood lathe tailstocks are equipped with a Morse taper (usually a #1 or #2 MT). This is a standardized angled socket for holding tools.
Function: It provides a self-holding, accurate, and strong connection for various accessories like centers, drill chucks, and faceplate adapters.
Importance: The taper ensures that tools are held firmly and centered, which is crucial for vibration-free operation and safety.
Removal: Most Morse taper accessories have a tang or a method for removal using a drift key and hammer.
Step-by-Step: Using Your Tailstock Correctly

Getting the tailstock dialed in is a simple process once you understand the parts.
1. Positioning the Tailstock
Tool: Lathe bed, tailstock assembly.
Step: Loosen the tailstock locking mechanism. Slide the tailstock along the lathe bed until it’s roughly aligned with the headstock.
Tip: For initial setup and between centers turning, position the tailstock so the quill is extended just enough to lightly engage your workpiece.
2. Securing the Tailstock
Tool: Tailstock locking lever/knob.
Step: Once the tailstock is in the desired position, tighten the locking mechanism firmly. Ensure it cannot move under any pressure.
Safety First: ALWAYS ensure the tailstock is locked before turning on the lathe.
3. Inserting the Tailstock Center (Live Center)

Tool: Live center, quill advance handwheel/lever, quill lock.
Step: Insert the Morse taper of the live center into the tailstock quill. If it’s a comfortable fit, a light tap might seat it. You shouldn’t need excessive force.
Tip: A clean taper on both the center and the quill ensures a snug fit.
4. Advancing the Quill and Seating the Center

Tool: Quill advance handwheel/lever.
Step: Slowly turn the handwheel or move the lever to advance the quill. Bring the point of the live center into light contact with the center mark of your workpiece.
Dovetail Fit: For between centers turning, the point of the live center should meet the spur drive at the headstock, forming a perfect “V” or dovetail shape.
5. Applying Tailstock Pressure
Tool: Quill advance handwheel/lever.
Step: Continue to advance the quill, applying steady pressure. You want the live center to grip the workpiece firmly, but not so tight that it distorts the wood or makes it difficult to turn the workpiece by hand.
The “Hand Turn” Test: After you think it’s tight enough, turn off the lathe (if it was on) and try to turn the workpiece by hand. It should move with some resistance, but not be completely stuck. If you can easily rotate the wood by hand, the tailstock pressure is too light. If it’s impossible to turn, it’s too tight.
6. Locking the Quill
Tool: Quill lock screw/knob.
Step: Once correct pressure is achieved, firmly tighten the quill lock screw or knob to prevent the quill from retracting.
Crucial Step: Never skip this!
7. Adjusting for Tailstock Offset (for Bowl Turning)

Tool: Tailstock base locking bolts, quill advance handwheel/lever.
Step: For off-center turning (like bowls), you’ll loosen the tailstock’s base bolts, offset the tailstock body away from the headstock, and then re-lock the base. Then, you’ll advance the quill to meet the edge of your blank.
Guidance: Many lathes provide scale markings on the tailstock body to help with accurate offsetting. Consult your lathe’s manual for specific instructions.
Troubleshooting Common Tailstock Issues
Even with the best intentions, sometimes things don’t go perfectly. Here are a few common problems and how to fix them:
Tailstock Won’t Lock Firmly:
Cause: Worn locking mechanism, dirt or debris on the locking surfaces, or the tailstock ways themselves.
Solution: Clean all mating surfaces thoroughly. Check for damaged parts. Some locking levers can be adjusted. If it’s significantly worn, professional repair might be needed.
Quill is Stiff or Jerky:
Cause: Dirt, old grease, or damage to the quill or its internal screw mechanism.
Solution: Extend the quill fully. Clean it and spray with a penetrating lubricant like WD-40, then work it back and forth. Wipe away dirt and old grease. Follow up with a light application of machine oil or a dedicated lathe lubricant. If it remains stiff, the internal screw might be damaged, requiring disassembly.
Tailstock Won’t Center Workpiece Accurately:
Cause: Worn tailstock ways, a bent quill, or a damaged Morse taper.
Solution: Ensure the tailstock is locked securely. Check your live center and drill chuck for damage or runout. If the tailstock body ways are worn, it can cause slight movement. A bent quill is a more serious issue requiring repair or replacement.
Quill Won’t Retract Fully:
Cause: Debris or damage in the quill mechanism.
Solution: Clean the quill thoroughly. Try applying a lubricant. If it persists, the internal screw threads might be damaged.
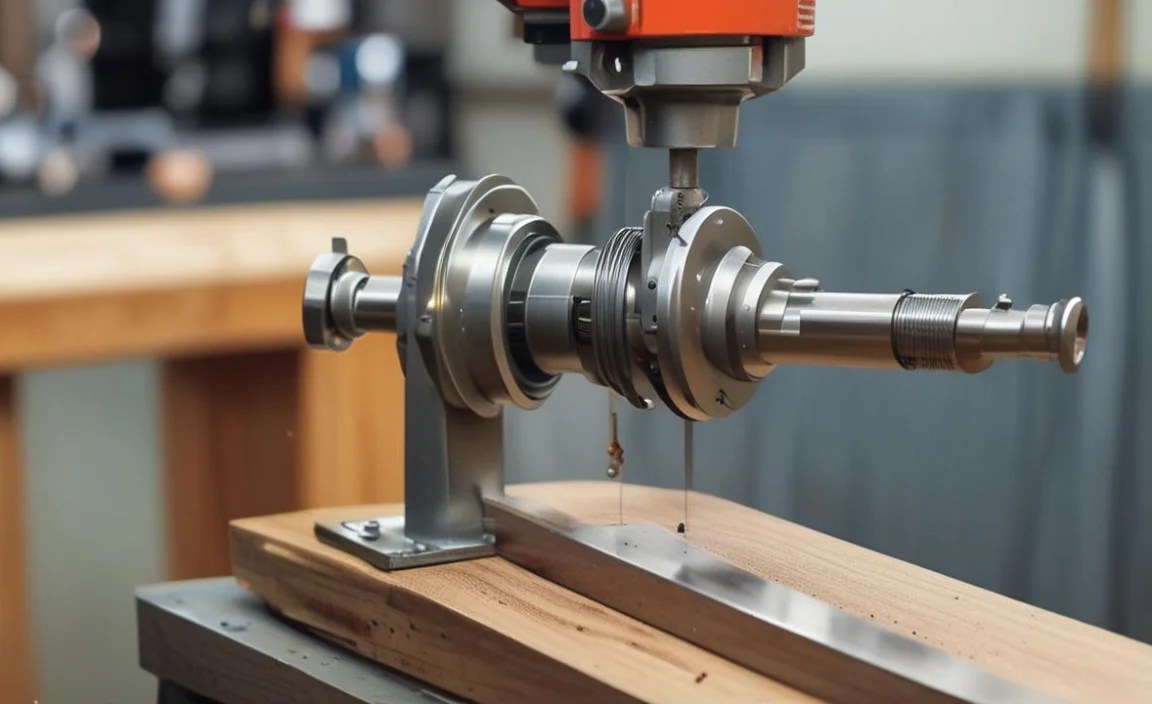
Enhancing Your Tailstock’s Capabilities:](https://en.wikipedia.org/wiki/Tailstock)
](https://i2.wp.com/lathehub.com/wp-content/uploads/2026/06/enhancing-your-tailstocks-capabilitieshttpsenwikipediaorgwikitailstock.webp)
Beyond its basic function, the tailstock can be enhanced with accessories to perform a wider range of tasks. For advanced learners, understanding these can open up new project possibilities.
Tailstock Drill Chuck: As mentioned, this replaces the center and allows you to hold various drill bits for creating dowel pin holes, mortises, or hollowing out vessels. Always chuck your drill bit securely.
Revolving or Live Centers: These come in many forms, including pointed centers, cup centers (with a groove for the wood’s tenon), and ball-bearing centers. Each offers specific advantages.
Faceplate Adapter: Some tailstocks can accept a faceplate adapter, allowing you to mount larger faceplates for turning very large bowls or platters.
Offset Boring Tools: Specialized tools can be mounted in the tailstock quill for hollowing out large bowls precisely.
Maintaining Your Tailstock for Longevity
Just like any tool, a little care goes a long way. Regular maintenance ensures your tailstock performs reliably and safely for years.
Cleanliness: After each use, wipe down the tailstock casting, ways, and quill to remove dust and shavings. A buildup of fine dust can act like sandpaper and cause wear.
Lubrication: Periodically apply a light coat of machine oil or paste wax to the tailstock ways and the quill. This helps it slide smoothly and prevents rust.
Check for Tightness: Regularly ensure that the tailstock locking mechanism is functioning correctly and that the quill lock is secure.
* Inspect Tapers: Keep the Morse taper inside the quill and on your accessories clean and free from nicks or burrs, as this ensures a precise fit.
Frequently Asked Questions about Wood Lathe Tailstocks
Q1: How tight should the tailstock be on the lathe bed?
A1: It needs to be locked down very firmly. Any movement during operation can be dangerous and will ruin your project. You shouldn’t be able to slide it by hand with reasonable force.
Q2: What’s the difference between a live center and a dead center?
A2: A live center spins with the workpiece, reducing friction. A dead center is stationary. For most turning, a live center is preferred to prevent scoring the wood and binding.
Q3: My tailstock quill is hard to move. What should I do?
A3: First, ensure it’s clean. Remove any dust or old grease. Apply a little light machine oil or a penetrating lubricant, and work the quill back and forth. If it’s still stiff, the internal screw or ways might need more detailed cleaning or lubrication.
Q4: Can I drill holes with the tailstock?
A4: Yes! By replacing the live center with a drill chuck, you can accurately drill holes into the end of your workpiece, provided it’s held securely.
Q5: How do I know when I’ve applied enough tailstock pressure?
A5: The best test is the “hand turn” test. With the lathe off and the quill locked, try to turn the workpiece by hand. It should resist turning but still be possible. If it’s impossible to turn, you’re too tight. If it turns easily, you’re too loose.
Q6: Why would I offset my tailstock?
A6: Offsetting the tailstock is a technique used primarily for turning bowls or other asymmetrical shapes. It allows you to create a larger diameter circle than would be possible with the tailstock perfectly aligned with the headstock.
Q7: Do I need to lubricate my tailstock ways?
A7: Yes, it’s highly recommended. Applying paste wax or a light machine oil to the ways helps the tailstock slide smoothly along the bed and protects against rust.
Conclusion: Mastering Your Tailstock for Better Turning
Understanding the individual parts of your wood lathe tailstock — from the robust casting to the precise quill advance — transforms it from a simple support into a critical tool for precision and safety. You’ve learned how each component contributes to stable workpiece holding, accurate centering, and the ability to perform a variety of operations, including drilling and off-center turning.
By following the steps for proper positioning, securing, and applying pressure, you can ensure your tailstock is always ready for task. Remember that regular cleaning and a touch of lubrication will keep your tailstock functioning smoothly, preventing frustrating stiffness and ensuring reliable performance. Don’t hesitate to use the hand turn test to dial in that perfect amount of pressure.
With this knowledge, you’re well-equipped to tackle your woodworking projects with greater confidence and achieve superior results. A well-understood and properly used tailstock is fundamental to safe and enjoyable woodturning. Now, go forth and create with the support of your perfectly functioning tailstock!
