Replacing wood lathe spindle bearings is a straightforward DIY task that will restore smooth operation and accuracy to your machine, ensuring your woodworking projects are a joy to create. This guide breaks down the process into simple steps for beginners.
Your wood lathe is a fantastic tool for bringing your creative visions to life, turning simple blocks of wood into beautiful bowls, spindles, and more. But sometimes, you might notice things aren’t quite as smooth as they used to be. A common culprit for a noisy or vibrating lathe is worn-out spindle bearings. Don’t let this setback stop your passion! Replacing these bearings might sound tricky, but with the right guidance, it’s a very achievable project for any home workshop enthusiast. We’ll walk you through it, step-by-step, so you can get your lathe running like new and get back to turning with confidence.
Understanding Your Wood Lathe Spindle Bearings

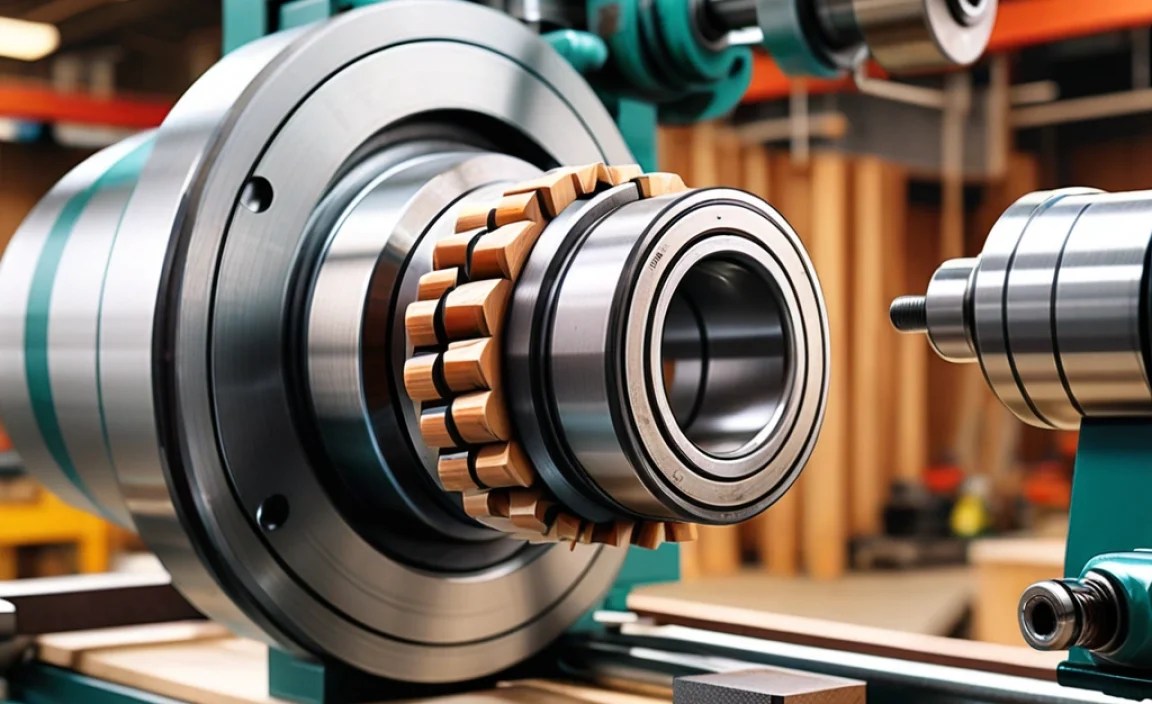
The spindle bearings are the unsung heroes of your wood lathe. They are crucial components that support the spindle, allowing it to rotate smoothly and accurately at high speeds. Think of them as the quiet professionals ensuring everything turns precisely. When these bearings wear out, they can cause a host of problems that affect your work and can even be a safety hazard.
Why Do Bearings Wear Out?
Like any moving parts subjected to stress and friction, lathe spindle bearings have a lifespan. Several factors can contribute to their wear and tear:
- Usage: The more you use your lathe, especially for demanding tasks like turning large or dense woods, the more wear your bearings will experience.
- Lubrication: Insufficient or improper lubrication is a major cause of premature bearing failure. Metal-on-metal contact without a protective film of lubricant leads to rapid wear, heat, and eventual seizing.
- Contamination: Wood dust, chips, and other debris can find their way into the bearings, acting like sandpaper and grinding away at the delicate internal components.
- Overloading: Forcing cuts or operating the lathe at speeds beyond its design limits can put excessive stress on the bearings, reducing their lifespan.
- Age and Environment: Even with minimal use, bearings can degrade over time due to factors like humidity and corrosion.
Signs of Failing Spindle Bearings
Catching bearing issues early is key to preventing more significant damage. Listen and feel for these common signs:
- Noise: Grinding, rumbling, or squealing sounds that change with spindle speed are strong indicators of worn bearings.
- Vibration: An increase in vibration, especially when the lathe is running at speed, can signal that the bearings are no longer providing stable support.
- Heat: If the area around the spindle nose feels unusually hot to the touch after running the lathe, it’s a sign of excessive friction, often due to bad bearings.
- Wobble or Runout: The spindle might develop a noticeable wobble, or your workpieces may exhibit runout (not spinning perfectly true), indicating play or damage in the bearings.
- Difficulty Turning: The spindle might feel stiff or resistant to turning by hand.
Tools and Materials You’ll Need

Gathering the right tools before you start will make the process much smoother and safer. Think of this as prepping your workpiece for a perfect finish – preparation is everything!
Essential Tools:
- Safety Glasses (always!)
- Gloves
- Socket set or combination wrenches (appropriate sizes for your lathe)
- Allen wrenches (metric and imperial, depending on your lathe)
- Pry bar or large, flat-head screwdriver (for gentle persuasion)
- Rubber mallet or dead-blow hammer
- Bearing puller (universal or specific to your lathe model)
- Bearing or race installer set (optional, but highly recommended for proper seating)
- Penetrating oil (like WD-40 or PB Blaster)
- Shop rags or paper towels
- Wire brush
- Threadlocker (e.g., Loctite Blue, medium strength)
- Grease or appropriate lubricant for new bearings
New Spindle Bearings:
This is the most critical part! You’ll need to acquire the exact replacement bearings for your specific wood lathe model. Consult your lathe’s manual or the manufacturer’s website. Bearing numbers are usually stamped directly on the bearing housing. Common bearing types for wood lathes include deep groove ball bearings and sometimes angular contact bearings, depending on the lathe’s design.
Tip: It’s often recommended to replace both spindle bearings at the same time, even if only one seems problematic. This ensures balanced performance and prevents the other bearing from failing soon after.
Step-by-Step Guide to Replacing Wood Lathe Spindle Bearings
Let’s get your lathe back into top shape! We’ll break this down into manageable steps. Remember to work patiently and methodically. Safety first – always disconnect power to the lathe before beginning any maintenance.
Step 1: Disconnect Power and Access the Spindle
This is non-negotiable. Ensure the lathe is unplugged from the power source. You may need to remove guards, covers, or the headstock casting depending on your lathe’s design. Consult your owner’s manual if you’re unsure about disassembly.
Step 2: Remove the Drive Pulley and Any Retaining Components
Often, the drive pulley is the first thing holding the spindle assembly in place. It might be secured by a bolt that threads directly into the spindle, or it could be a press-fit or keyed component. Loosen any set screws or bolts. If it’s a bolted-in pulley, determine if it threads on or off. Some pulleys are secured from the end of the spindle, while others might secure a plate or collar that holds the spindle. You may need a wrench or socket. If the pulley is stubborn, a gentle tap with a rubber mallet or a bit of penetrating oil can help.
Step 3: Remove the Spindle from the Headstock
This is where the process can vary significantly between lathe models.
- Press-Fit Bearings: On many lathes, the spindle is supported by two bearings that are pressed into the headstock casting. The spindle itself may thread into or out of the front bearing. In this case, you’ll likely need to unscrew the spindle from the front bearing. Sometimes, there’s a locknut or collar behind the front bearing that needs to be loosened first.
- Captive Bearings: Some designs have bearings that are retained by snap rings, collars, or the casting itself, allowing the spindle to slide out once these retainers are removed.
For a spindle that threads into the front bearing, you will typically need to hold the rear of the spindle (perhaps by the chuck mounting threads or a flat on the spindle) and rotate the headstock casting or a locking collar to release the spindle from the front bearing. If the spindle is a slide-fit, it might require gently tapping it out from the rear once any retaining clips or collars are removed. A rubber mallet is often sufficient. Avoid excessive force, which could damage the headstock casting.
Step 4: Remove the Old Bearings
This is often the most challenging part, especially if the bearings are seized in the headstock bore.
Using a Bearing Puller:
- Access: Ensure you have clear access to the bearing. You might need to remove a snap ring or collar if present.
- Grip: Position the puller jaws carefully to grip the outer race of the bearing. You want to pull evenly on the race, not the inner cone or cage, to avoid damage.
- Tighten: Gradually tighten the puller’s screw. As you apply pressure, you might hear a pop as the bearing breaks free from the bore.
- Patience: If a bearing is very stubborn, apply penetrating oil and let it soak. Reapply tension gradually.
Alternative Methods (Use with Caution):
- Heat: Gently heating the headstock casting around the bearing (never the bearing itself directly, as this can damage it further) with a heat gun or propane torch can cause the casting to expand slightly, loosening its grip. Be extremely careful not to overheat, as you could warp the casting or damage nearby components.
- Frostbite: Spraying the bearing with compressed air held can cool and contract it.
- Driving Out (Last Resort): In some cases, with careful alignment, you might be able to use a punch or dowel to tap the outer edge of the bearing out. Again, extreme caution is needed to avoid damaging the bore.
Step 5: Clean the Bearing Bores
Once the old bearings are out, thoroughly clean the bores in the headstock casting. Use a wire brush and rags to remove any old grease, dirt, carbon buildup, or rust. A clean bore is essential for the new bearings to seat properly and achieve optimal performance. Check for any damage or scoring in the bore that might require professional attention.
Step 6: Install the New Bearings
This should be done with care to avoid damaging the new bearings or the headstock bore.
- Preparation: Lightly grease the outside of the new bearing and the bore it will sit in. This helps them slide in and also provides some initial lubrication.
- Front Bearing: If your spindle threads into the bearings, you’ll install the front bearing first. It might be retained by a snap ring or a threaded collar. Ensure it’s seated squarely.
- Bearing Installer: The ideal method is to use a bearing installer or bearing race driver set. These tools have faces that match the bearing race, allowing you to apply even pressure directly to the race. Place the new bearing in the bore and use the installer tool with a rubber mallet or a press (if available) to gently tap it into place. Ensure it goes in perfectly straight.
- Rear Bearing: Install the rear bearing in the same manner, ensuring it’s fully seated. On lathes with collars or snap rings, make sure they are reinstalled correctly to retain the bearings.
Important: Never hammer directly on the inner race or cage of a bearing when installing. Always apply force to the outer race.
Step 7: Reinstall the Spindle
Reverse the removal process. Carefully align the spindle with the front bearing and rotate it (or the headstock casting/collar) to thread it in. Ensure it goes in smoothly without cross-threading. If your spindle was a press or slide fit, carefully guide it into place and gently tap it home with a rubber mallet, ensuring it seats correctly against the bearings.
Step 8: Reinstall Drive Pulley and Other Components
Reattach the drive pulley. If it was threaded onto the spindle, remember to use a bit of thread locker (like Loctite Blue) on the threads, especially if it was a slip fit or prone to loosening. Tighten any set screws or retaining bolts securely. Reinstall any guards or covers that you removed.
Step 9: Test and Lubricate
Reconnect the power. Slowly rotate the spindle by hand to check for any binding or resistance. Then, with the power on (and safety glasses on!), start the lathe at its lowest speed. Listen carefully for any unusual noises and feel for vibrations. Gradually increase the speed and repeat the checks. If everything sounds and feels smooth, you’ve successfully replaced your spindle bearings!
Maintaining Your New Spindle Bearings
You’ve done a great job replacing your lathe’s spindle bearings! To ensure they last as long as possible and keep your lathe running smoothly, a little regular maintenance goes a long way.
Lubrication Schedule
Check your lathe’s manual for specific lubrication points and recommended intervals. For spindle bearings, especially if they are sealed units, lubrication might not be a regular user task. However, if your lathe has grease fittings associated with the spindle bearing housing, follow the manufacturer’s recommendations. For bearings that require greasing, use a high-quality bearing grease and avoid over-greasing, which can cause heat buildup.
Keep it Clean
Wood dust is the enemy of precision machinery. After each woodworking session, take a moment to wipe down your lathe, paying attention to the headstock area. A brush or compressed air (used carefully) can help remove dust and chips that might otherwise find their way into bearings or other moving parts. Regularly cleaning the area around the spindle nose will prevent contaminants from getting into the bearing races.
Inspect Regularly
Make it a habit to listen and feel for any changes in your lathe’s operation. A quick visual inspection before starting work, checking for any obvious signs of damage or wear, can catch problems early. If you start hearing new noises or feeling vibrations, investigate them immediately before they lead to more serious issues.
Avoid Overloading
While your lathe is designed for woodturning, pushing it too hard can stress the components. Avoid taking overly aggressive cuts, especially with very hard woods or unusually shaped blanks. Allow the tool to do the work, and if the lathe starts to labor, slow down or take smaller cuts. This reduces strain on the spindle bearings and other parts.
Troubleshooting Common Issues
Even with the best care, you might encounter a few hiccups. Here’s how to address them:
Stubborn Bearing Removal
If a bearing refuses to budge, reapply penetrating oil and let it soak longer. Gentle, consistent pressure with a bearing puller is key. Sometimes, a slight rotation back and forth can help break the bond. If you’re considering heat, use it very cautiously on the housing around the bearing, not the bearing itself. Ensure you have the correct puller size and type for the job.
Damaged Headstock Bore
If the bore where the bearing sits is scored, grooved, or damaged, it can prevent the new bearing from seating properly, leading to runout and premature wear. Minor imperfections might be addressed with careful cleaning or a light honing, but significant damage might require professional repair or replacement of the headstock casting.
New Bearing Doesn’t Seat Properly
If the new bearing feels tight or doesn’t go in straight, stop immediately. Forcing it can damage both the bearing and the bore. Ensure the bore is absolutely clean, and use a bearing installer tool to apply pressure evenly to the outer race. If it’s still difficult, check for burrs or obstructions. Lubrication of the outer race and bore can help.
Noise or Vibration Persists After Replacement
While bearing replacement often fixes these issues, other problems can cause similar symptoms. Double-check that the spindle is correctly threaded and seated. Ensure the drive pulley is properly secured. Inspect the tailstock for any issues, as it can sometimes cause perceived vibrations. Also, consider checking the motor and belt drive for any problems.
Frequently Asked Questions (FAQ)
Q1: How often should I replace my wood lathe spindle bearings?
There’s no set schedule, as it depends heavily on usage, brand, and maintenance. Listen for signs of wear like noise, vibration, or increased heat. It’s not a routine replacement unless you notice issues.
Q2: Can I use regular ball bearings from an auto parts store?
While tempting, it’s best to use bearings specifically designed for woodworking lathes. Lathe bearings are often precision-manufactured to handle specific loads and speeds, and using generic replacements can lead to poor performance or premature failure.
Q3: What are the risks of not replacing worn spindle bearings?
Worn bearings can lead to inaccurate cuts, vibration that affects workpiece finish, increased tool wear, and in severe cases, can cause the spindle to seize or break, posing a significant safety risk.
Q4: Is it safe to use heat to remove stubborn bearings?
Cautiously, yes. Apply heat only to the headstock casting around the bearing, never directly to the bearing. This causes the metal to expand, potentially loosening its grip. Overheating can warp the casting, so use a heat gun or a propane torch with moderation and keep a fire extinguisher nearby.
Q5: How do I know I’m buying the correct replacement bearings?
The best way is to consult your lathe’s owner’s manual. If you don’t have it, the bearing numbers should be stamped directly on the old bearings. You can also contact the lathe manufacturer or a specialized bearing supplier with your lathe model details.
Q6: What is a bearing puller and why is it important?
A bearing puller is a tool designed to grip and extract bearings from their housings without damaging them or the housing itself. Using the correct puller ensures even pressure on the bearing’s outer race, making removal safer and easier than makeshift methods.
Conclusion
Replacing your wood lathe’s spindle bearings is a rewarding DIY project that breathes new life into your machine. By following these clear, step-by-step instructions, you can confidently tackle this task, ensuring your lathe runs smoothly, accurately, and safely for many projects to come. Remember, regular maintenance and attentive listening to your machine are key to longevity. Now, with your lathe operating at its best, get back to the bench and enjoy the art of turning!
