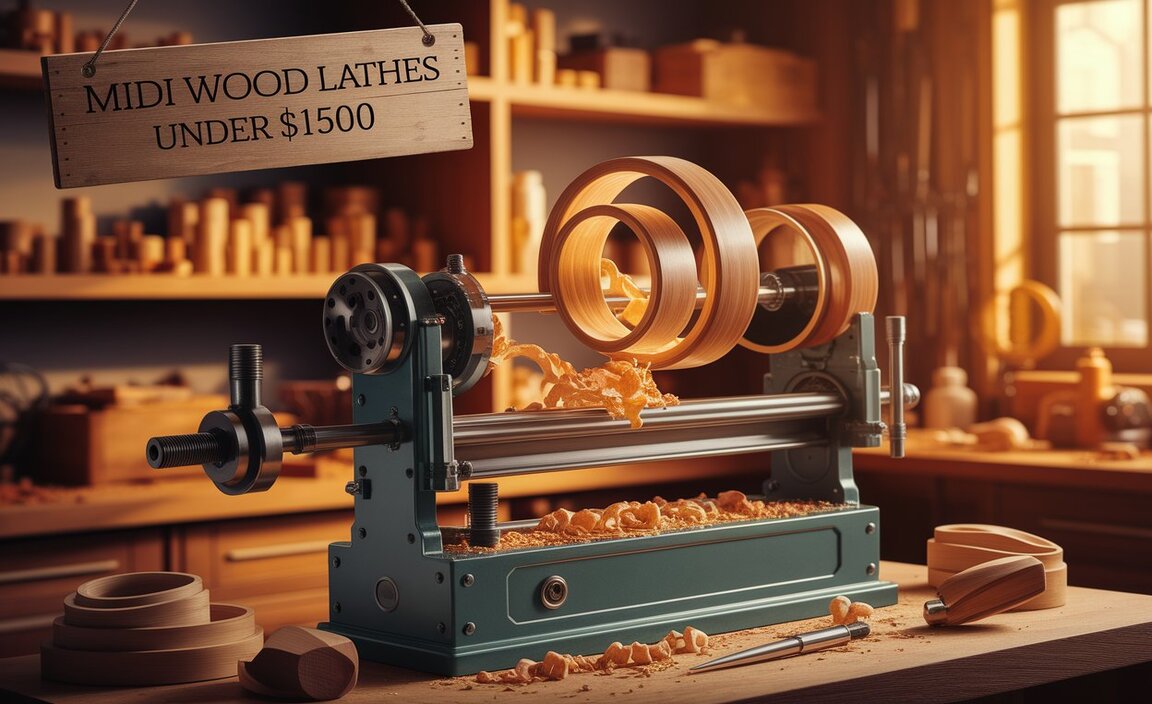
A wood lathe with a reverse function gives you more control and versatility, especially when working with certain woods or specialized turning techniques. It’s an essential feature for smoother sanding, easier parting off, and tackling challenging grain patterns, making your woodworking projects more successful and enjoyable.
Have you ever struggled to get a perfectly smooth finish on your turned projects? Maybe you’ve found certain wood grains are a nightmare to work with, leaving tear-out no matter how sharp your tools are. Or perhaps you’ve seen impressive bowl turning techniques that seem to require a different kind of control. For many woodturners, these frustrations often point to one missing, yet incredibly powerful, feature: a reverse function on their wood lathe. While not every lathe has it, understanding why it’s so important can make a big difference in your turning journey. Let’s dive into what this function is, why you might need it, and how it can unlock new possibilities for your woodworking.
Why Your Wood Lathe Needs the Reverse Function
Think of your wood lathe’s direction control as a fundamental tool in your arsenal. Most wood lathes spin the workpiece in one direction (usually clockwise, when viewed from the tailstock end). This works perfectly well for a vast majority of turning tasks. However, some situations benefit greatly, or even absolutely require, the ability to spin the wood the other way. Adding a reverse function isn’t just a neat trick; it’s about achieving better results, working with difficult materials, and improving safety in specific scenarios.
This feature can be a game-changer for achieving that flawless surface finish, especially when sanding. It also opens doors to advanced techniques and helps manage tricky wood properties. We’ll explore exactly why this is so, covering everything from delicate sanding to dealing with challenging grains. Stick around, and you’ll see why many woodturners consider the reverse function an essential power-up for their lathe.
What is a Wood Lathe Reverse Function?
At its core, a wood lathe reverse function is a switch or control that allows you to change the direction of spindle rotation. Instead of the workpiece always spinning clockwise, you can, with appropriate safety checks, make it spin counter-clockwise. This isn’t about making your lathe spin backward constantly, but rather having the option to do so when beneficial.
Most modern electronic variable speed (EVS) wood lathes offer this feature, often built directly into the speed control mechanism. Older or simpler belt-drive lathes might not have this capability without significant modification. The ability to reverse the direction adds a layer of finesse and problem-solving that can significantly improve your turning experience. It’s like having an extra gear that lets you tackle specific challenges with more ease and precision.
The Game-Changing Benefits of Reverse Turning
The appeal of a wood lathe with reverse function lies in the practical advantages it brings to your workshop. These benefits aren’t just minor conveniences; they can directly impact the quality of your work, the types of projects you can undertake, and your overall satisfaction with the woodworking process.
Let’s break down the key advantages:
1. Superior Sanding Surfaces
This is arguably the most celebrated benefit of reverse turning. When sanding wood, the abrasive moves with the rotation of the wood. If you’re only sanding in one direction, the abrasive grit tends to dig into the grain in its path. This can leave fine scratches or a slightly fuzzy surface, especially on softer woods or those with prominent grain patterns. When you reverse the lathe, the sandpaper effectively cuts across the grain from the opposite direction. This action breaks up any established scratch patterns from the initial sanding, leading to a significantly smoother, cleaner surface. Many turners advocate for reversing the lathe, especially for the final sanding stages, to achieve a glass-like finish.
2. Easier and Cleaner Parting Off
The process of “parting off”—cutting a tenon at the end of your workpiece to separate it from the waste block—can be tricky. When parting off in the standard direction, the tool can sometimes catch the outgoing fibers, leading to a ragged edge or even an undesirable break. By reversing the lathe’s direction, you can often make a cleaner cut. The tool interacts with the wood differently, and the cutting action can be less prone to tear-out, leaving a much neater end to your piece. This is especially true when parting off thicker sections.
3. Taming Difficult Grain and In-Lays
Some woods, like those with interlocked grain, bird’s-eye patterns, or curly figures, can be notoriously difficult to turn. The grain seems to change direction unpredictably, leading to frustrating tear-out and unpredictable tool behavior. By changing the direction of rotation, you can sometimes find an angle where the cutting tool rides over the grain more favorably, significantly reducing or eliminating tear-out. This is also beneficial when working with in-layed materials or contrasting wood species where smooth transitions are critical. Experimenting with both directions can help you find the sweet spot for these challenging materials.
4. Improved Detail and Control with Certain Tools
Certain turning tools are designed to work best when cutting in a specific direction relative to the grain. For instance, when scraping or using specific gouge bevels for fine detail work, reversing the lathe can sometimes provide a cleaner cut or a more predictable interaction with the wood. This allows for greater precision when shaping delicate features or creating tight curves. It gives you more options for how your tool engages with the material, leading to finer control over the final shape.
5. Enhanced Safety in Specific Situations
While not a primary safety feature, reverse turning can enhance safety in niche situations. For example, when you’re parting off a bowl and have a very thin tenon remaining, accidentally catching the wood with your parting tool can cause it to lurch, potentially towards you. Reversing the lathe while making that final parting cut can sometimes allow the tool to cut cleanly through with less risk of grabbing. It’s a technique that requires careful execution, but in the right hands, it can reduce the likelihood of unexpected movements.
Understanding How Reverse Function Works (Technically Speaking)
The implementation of a reverse function can vary, but it typically relies on the lathe’s motor control system. For most modern electronic variable speed (EVS) lathes, the reverse capability is integrated into the motor controller. When you engage the reverse switch, the controller sends power to the motor in a way that causes it to spin in the opposite direction.
Here’s a simplified look at how it’s often achieved:
- A.C. Motors with Variable Frequency Drives (VFDs): Many higher-end EVS lathes use AC motors controlled by a Variable Frequency Drive (VFD). A VFD adjusts the motor’s speed by changing the frequency of the electrical power it receives. It can also reverse the motor’s direction by changing the phase sequence of the power supplied to the motor. This allows for smooth transitions between forward and reverse and precise speed control.
- D.C. Motors with Electronic Controllers: Some lathes might use DC motors or AC motors with different types of electronic controllers. These controllers are designed to manage the direction of current flow to the motor, effectively reversing its rotational path.
- Mechanical Reversing (Less Common): In older or very basic belt-drive lathes that are not EVS, achieving reverse is usually not possible without complex and potentially unsafe mechanical modifications. These lathes are designed to run in one direction via belt pulleys and motor placement.
Regardless of the motor type, the key is that the lathe’s electronics allow it to reverse the direction of rotation. It’s important to remember that even with electronic control, it’s crucial to stop the lathe completely before engaging the reverse function, especially when starting out. Some advanced users might be able to feather the speed and direction, but for beginners, a full stop is the safest approach.
When to Use the Reverse Function: Practical Applications
Knowing that your lathe has a reverse function is one thing; knowing when and how to use it effectively is where the real magic happens. It’s not an every-task necessity, but being able to switch gears can save you a lot of time and frustration. Here are the most common and beneficial scenarios for engaging reverse:
1. Sanding Bowls and Platter Edges
When you’re sanding the rim or edge of a bowl, especially on the outside, you’re working on a curved surface. Sanding in the standard direction can sometimes leave a slight “lip” or unevenness at the very edge as the sandpaper rounds over. By reversing the lathe, you can sand against the direction the edge is forming. This helps to produce a much crisper, cleaner edge without that slight rollover. It’s a professional trick that makes a significant difference in the final presentation of a turned bowl.
2. Finishing the Tenon/Recess of Bowls
When turning a bowl that will be mounted on a chuck for finishing the underside, you’ll create a tenon or recess to grip it. The surface of this tenon/recess needs to be perfectly flat and smooth for a secure and stable hold. Sanding this area in the standard direction can sometimes leave marks that prevent the chuck jaws from getting a perfect grip. Reversing the lathe allows you to sand the tenon or recess from the opposite direction, ensuring a clean, smooth surface for chucking.
3. Working with Highly Figured or Quilted Woods
Woods like curly maple, quilted maple, or those with a lot of bird’s-eye figure can be incredibly beautiful but also a turning nightmare. The grain can change direction abruptly, causing tools to dig in and rip out pieces of wood. By experimenting with both forward and reverse rotation, you might discover that one direction allows your tools to cut more cleanly through the complex grain patterns, significantly reducing tear-out and producing a much smoother finish before you even get to sanding. This is a crucial technique for unlocking the beauty of these challenging woods.
4. Achieving a Perfectly Flat Bottom on Vessels
When turning a vessel or bowl that will sit flat on a surface, you need to ensure the bottom is perfectly flat. If you’re hollowing out the bottom, it’s easy to create a slight concave or convex surface. By reversing the lathe once you’ve achieved the desired shape, you can use a scraper or even fine sandpaper to flatten the bottom to perfection. This is especially useful for ensuring a stable resting spot for your finished piece.
5. Recovering from Minor Tool Marks
Sometimes, despite your best efforts, a tool mark can slip into your work. If it’s a minor one and you haven’t progressed too far in your sanding, sometimes reversing the lathe for a specific sanding pass can help to smooth out that mark more effectively than continuing in the original direction. The change in angle of the abrasive can sometimes lift or blend the mark better.
6. In-Lays and Segmented Turning
When working with segmented turnings or pieces with intricate in-lays of contrasting wood, dimensional stability and clean lines are paramount. Sometimes, the direction of the cut can affect how the different woods meet or how the segments align. Reversing the lathe can offer a different cutting action that might be more forgiving or produce a cleaner transition between materials, ensuring a more professional and seamless look.
Safety First: Using the Reverse Function Wisely
While the reverse function offers significant advantages, it’s paramount to approach its use with safety as the top priority. Because the dynamics of cutting change, and because unexpected catches can still occur, a mindful and cautious approach is essential. Here are key safety considerations:
- Always Stop the Lathe: Unless you have a particularly advanced EVS system where the manufacturer explicitly states you can reverse on the fly at low speeds, always bring the lathe to a complete stop before engaging the reverse function. This prevents sudden jolts and potential damage to the motor or controller.
- Secure Your Workpiece: Ensure your workpiece is extremely well-secured, whether it’s held in a chuck, mounted on centers, or using screw chucks. A workpiece that is not properly secured is dangerous in either direction, but the potential for unexpected movement needs extra attention when reversing.
- Use Appropriate Speed: Start with a very slow speed when first experimenting with reverse turning, especially for sanding or parting off. As you gain confidence and understand how the wood reacts, you can gradually increase the speed, but always stay within safe operating limits for the size and shape of your workpiece. Consult your lathe’s manual for recommended speed ranges. A good rule of thumb is to keep the wood turning slowly enough that you can still read a newspaper held at arm’s length.
- Be Aware of Tool Rest Placement: Ensure your tool rest is positioned correctly and securely. Never let the tool rest extend too far into the path of the rotating workpiece, especially when reversing, as it could snag. Keep it close to the work.
- Maintain a Sturdy Stance: Stand in a balanced and stable position, ready to react. Keep your hands and body clear of the rotating mass.
- Understand Your Tools: Know how your tools will interact with the wood in reverse. Some scraping tools might behave differently, and sharp gouges still require respect.
- Tool Grinding: While most traditional bevels on tools are ground for forward rotation, some turners experiment with slightly modified grinds for reverse turning. For beginners, focus on mastering standard techniques first. If you are grinding tools specifically for a reverse-only task (which is rare), ensure you understand the implications. Generally, standard grinds work well enough but may require slight adjustments in how you present the tool.
- Never Force It: If the wood is fighting you in reverse, don’t force it. Step back, reassess the situation, and consider if reverse turning is the best approach for that particular piece or tool.
- Know Your Lathe’s Capabilities: Read your lathe’s manual thoroughly. Understand how its reverse function is intended to be used. Some advanced EVS systems might have specific protocols for reversing.
By adhering to these safety practices, you can harness the power of reverse turning without compromising your well-being or the integrity of your equipment.
Comparing Lathes: What to Look For
When considering a wood lathe, especially if the reverse function is a priority for you, there are several factors to evaluate. Not all lathes are created equal, and understanding these differences will help you make an informed decision. Here’s a breakdown of what to look for:
Key Features to Evaluate:
| Feature | Importance Level | Description | What to Look For |
|---|---|---|---|
| Reverse Function | Must-Have for Advanced Benefits | Allows the spindle to rotate counter-clockwise. | Electronic control is preferred for smoothness. Integrated switch is safer than manual belt changes. |
| Motor Power (HP) | High | Determines the lathe’s ability to handle larger workpieces and resist bogging down. | Aim for at least 1/2 HP for smaller tasks, 1 HP or more for larger bowls and spindle turning. Consider a DC motor or a robust AC motor with VFD for better torque control. |
| Variable Speed Control | Essential | Allows adjustment of RPMs to match different wood types, sizes, and turning operations. | Look for an Electronic Variable Speed (EVS) system, preferably with a digital RPM readout. Smooth adjustments are key. |
| Swing and Distance Between Centers | High | Swing is the maximum diameter of workpiece the lathe can accommodate. Distance between centers is the maximum length. | Choose based on your anticipated project sizes. Larger swing and distance offer more versatility. Check if the headstock can swivel for outboard turning. |
| Build Quality & Weight | High | A heavier, well-built lathe vibrates less, providing a more stable and safer turning experience. | Cast iron construction for the bed, headstock, and tailstock is ideal. Look for minimal wobble. |
| Tool Rest System | Important | The system for holding and positioning your turning tools. | A robust, easily adjustable tool rest post and banjo are crucial. Quick locking mechanisms are a plus. |
| Index Head/Locking Pin | Useful for Specific Tasks | Allows you to lock the spindle in place for tasks like carving or reeding. | A sturdy pin that engages a wheel or plate on the spindle. |
Lathe Types and Reverse Function Availability:
- Entry-Level Belt Drive Lathes: Often have limited or no reverse function. Speed changes involve moving belts, which can be cumbersome and time-consuming. Limited features overall.
- Mid-Range EVS Lathes: Most commonly feature integrated reverse function through electronic controls. Offer good balance of features, power, and price. Great for serious hobbyists.
- High-End EVS Lathes: Come standard with robust reverse functions, often with very fine control over speed and direction. Built for heavy use and demanding projects. Typically include superior motor technology (like true DC or advanced VFDs).
When buying, especially if you’re keen on the advantages of reverse turning, prioritize lathes that clearly state “electronic reverse” or “forward/reverse switch” in their specifications. For a comprehensive overview of wood turning tools and their functions, resources like Woodturners Guild


