Wood lathe sanding pads using these essential polishing kits will give your projects a flawlessly smooth finish, making them shine with professional quality. Master this key step for stunning results.
Ah, the wood lathe. It’s a magical machine that can transform a rough block of wood into a graceful vase, a spinning top, or even a chair leg. You’ve picked out your wood, mounted it carefully, and made your first cuts. The shape is coming along nicely! But then comes the moment of truth: sanding. Getting that perfectly smooth, ready-to-finish surface can feel like a challenge, especially when you’re starting out. Don’t worry, we’ve all been there! The secret to a truly stunning, professional finish often lies in using the right tools for the job, and that’s where wood lathe sanding pads and polishing kits come in. They’re designed to make this crucial step easier and more effective, so you can spend less time struggling with dust and more time admiring your handiwork. Let’s dive into how these essential kits can help you achieve that showroom shine.
The Magic of Momentum: Why Sanding Pads are a Wood Lathe Game Changer

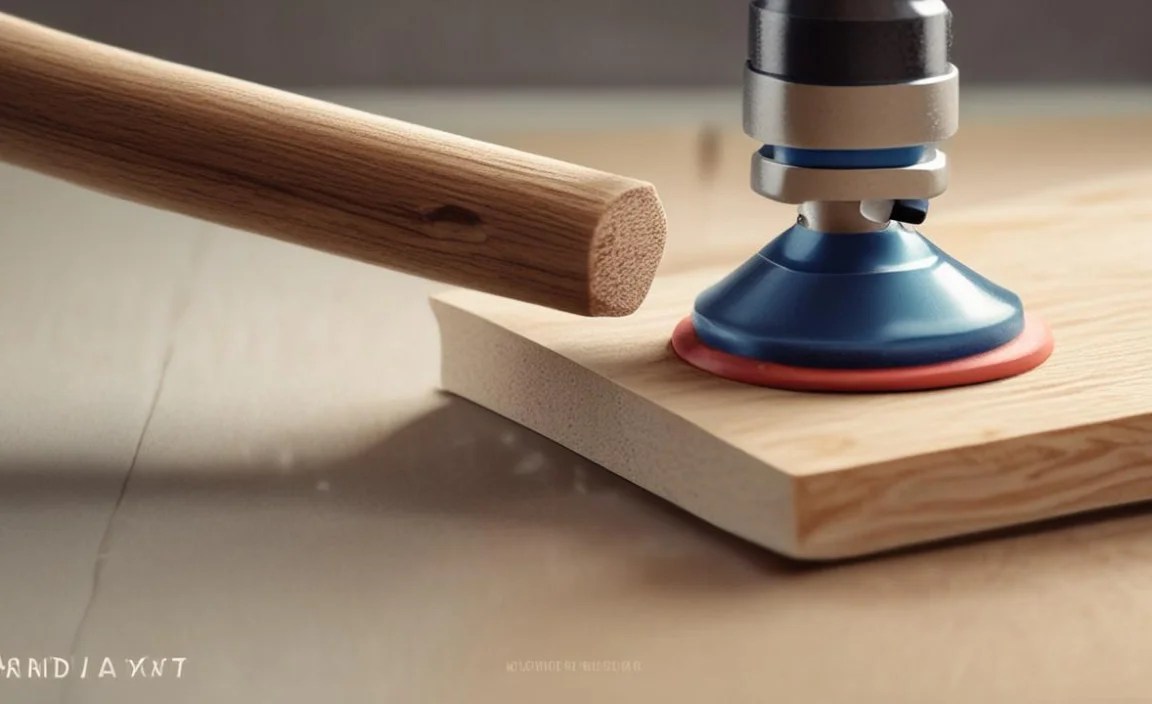
When you’re spinning wood at high speeds on a lathe, the way you apply sandpaper makes a huge difference. Simply wrapping sandpaper around your fingers or a block and holding it against the spinning wood can be effective for rough shaping, but it’s rarely ideal for that final, silky-smooth finish. That’s where specialized wood lathe sanding pads and polishing kits shine. These tools are designed to work with the lathe’s rotation, providing consistent pressure and allowing for more even abrasion. They help distribute the pressure, prevent gouging, and make it easier to achieve a uniform surface across curved or complex shapes.
Think about it: a spinning piece of wood is moving quickly. Holding a flat piece of sandpaper against it can create high spots and low spots, leading to an uneven finish. A sanding pad, especially those designed with some flexibility or contouring ability, can conform to the shape of your workpiece better. This means more of the sandpaper is making contact, and that contact is more consistent. This leads to faster material removal (in a controlled way!) and a smoother final result. Plus, many sanding pad systems allow you to easily change grits without having to stop the lathe and re-wrap sandpaper, which saves a ton of time and frustration.
Types of Wood Lathe Sanding Pads and Kits

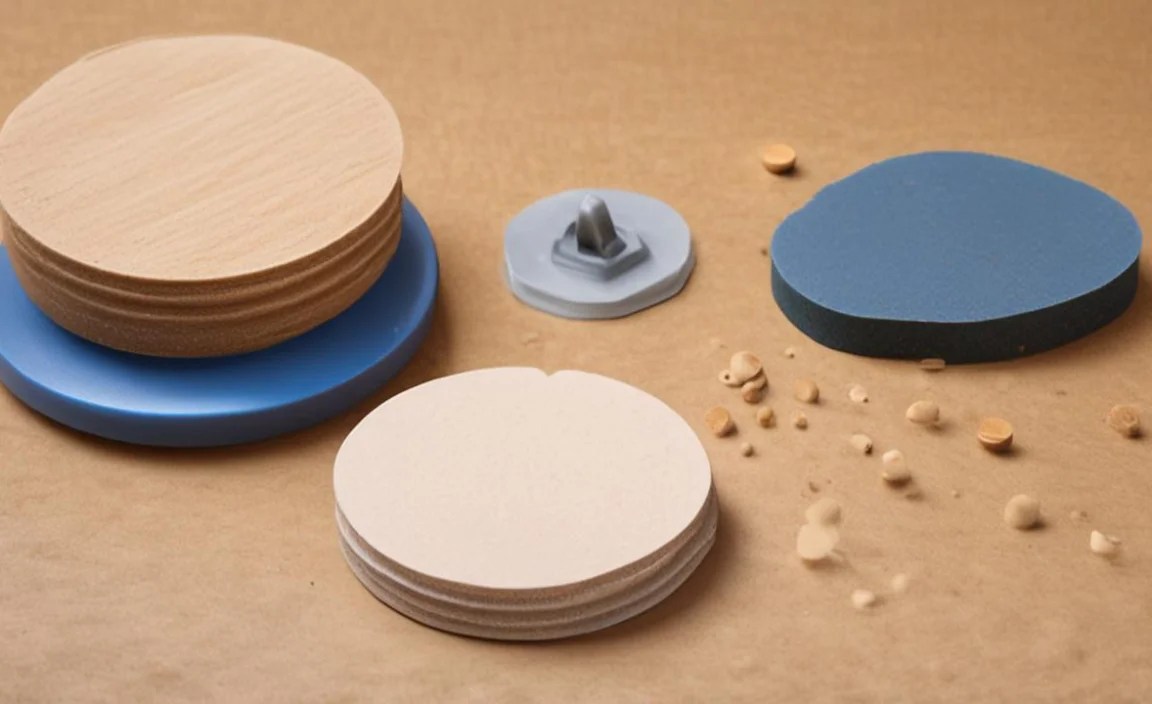
Just like there are different types of wood and different turning projects, there are various styles of sanding pads and kits available. Understanding these options will help you choose the best ones for your needs and budget.
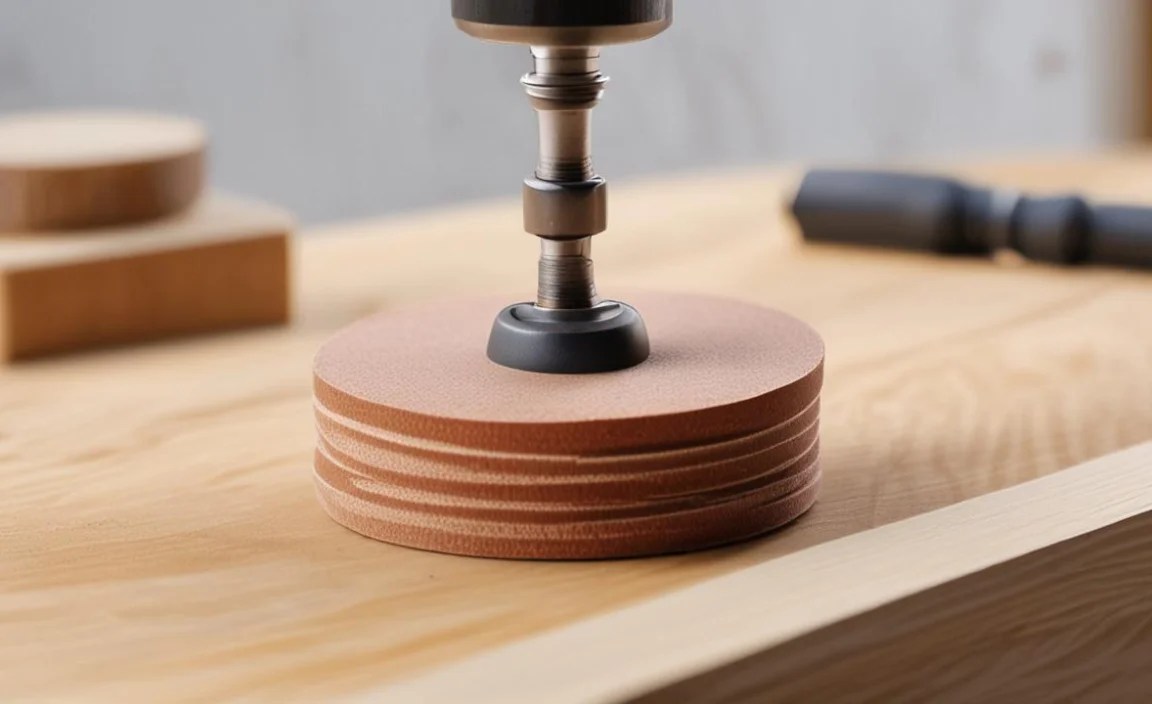
Hook-and-Loop (Velcro) Systems
These are incredibly popular for a reason. Hook-and-loop systems consist of two main parts: the pad itself, which attaches to your lathe (usually via a threaded arbor) and has a hook surface, and sanding discs that have a loop backing. You simply press the disc onto the pad, and it sticks securely.
- Pros: Extremely easy and fast to change grits. Discs are readily available in a wide range of grits from coarse to very fine. Good adhesion prevents discs from flying off the lathe.
- Cons: The initial pad purchase can be an investment. Some users find that the hook-and-loop interface can sometimes trap dust and lose some grip over time if not cleaned.
Stick-On Abrasive Systems
Similar to hook-and-loop, these systems use an arbor with a backing pad, but instead of loop material, the pad has a sticky adhesive surface. You then apply PSA (Pressure Sensitive Adhesive) sandpaper discs directly to it.
- Pros: Can be very secure. PSA discs are widely available. Often a more economical initial setup than hook-and-loop.
- Cons: Changing grits is slower as you need to peel off the old disc and apply a new one. The adhesive can sometimes leave residue on the workpiece if not removed carefully. Less convenient for frequent grit changes.
Foam or Rubber Pads
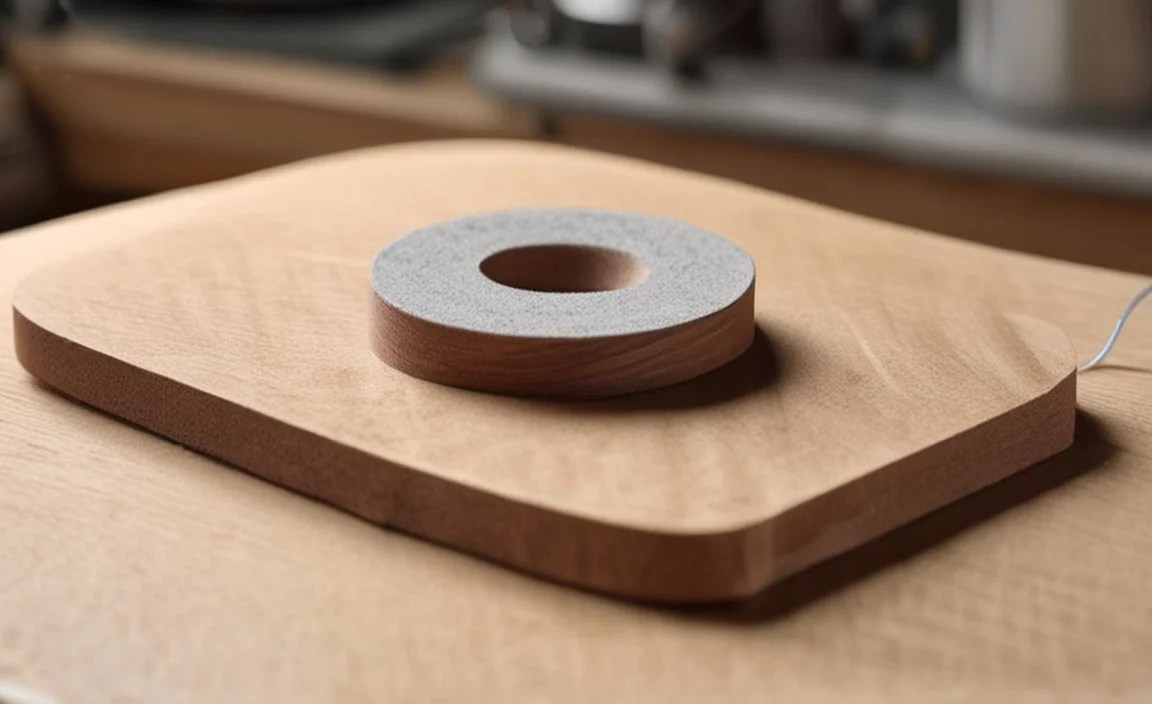
These are often integrated into hook-and-loop or stick-on systems. The pad itself is made of a slightly compressible material like foam or rubber. This flexibility allows the pad to conform to the workpiece’s surface, providing a more even sanding action, especially on curved or irregularly shaped items.
- Pros: Excellent conformity to contours. Can help reduce “fingering” or leaving lathe lines. Offers a softer sanding touch.
- Cons: May wear out faster than rigid pads. Can be slightly less aggressive on flat surfaces compared to rigid pads.
Faceplate Sanders

These are essentially flat discs that attach directly to your lathe’s faceplate. You then attach sandpaper sheets to them, often using screws or clips. While effective for larger, flatter surfaces, they are less common for general-purpose sanding on turned items compared to other methods.
- Pros: Very stable for flat surfaces. Can accommodate larger sandpaper sheets.
- Cons: Not ideal for curved workpieces. Can be less convenient to change sandpaper.
Sanding Mops and Buffers
While not strictly “pads,” these are often part of a comprehensive finishing kit. They consist of numerous fabric or abrasive-coated strips attached to a central hub. As they spin, the strips conform to the workpiece, providing a very gentle and effective sanding or buffing action, especially for intricate details or final polishing stages.
- Pros: Conforms exceptionally well to complex shapes. Great for final finish stages and getting into nooks and crannies.
- Cons: Can generate a lot of fine dust. May require specific polishing compounds for best results.
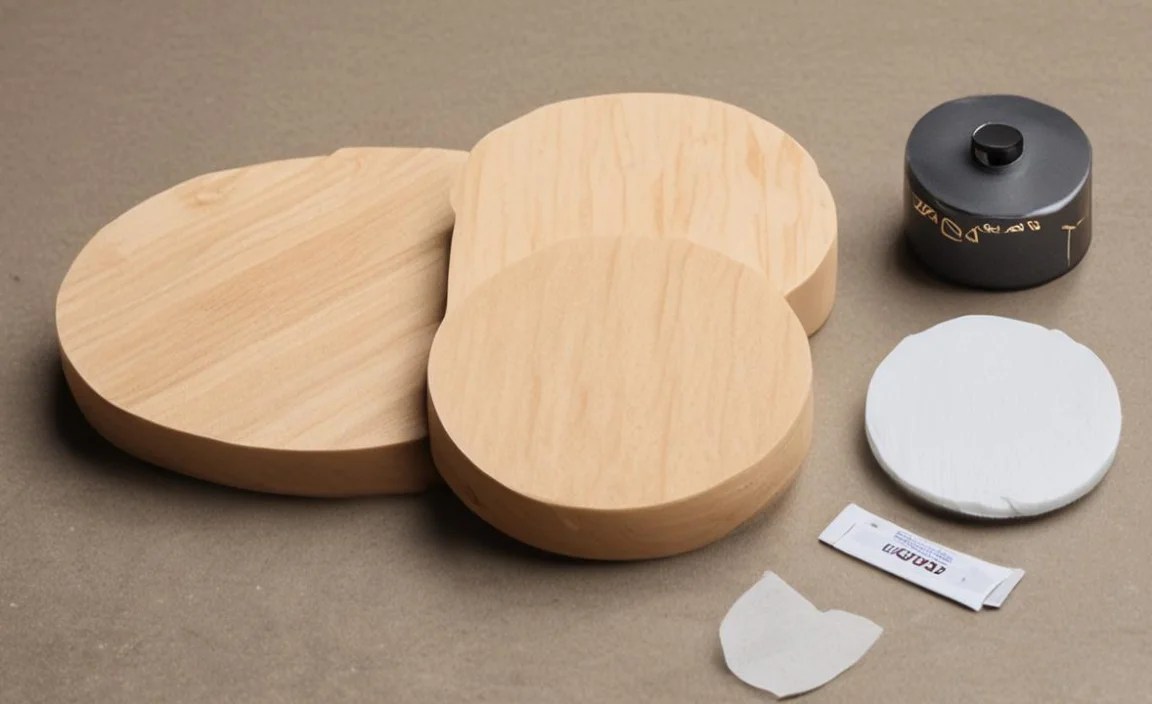
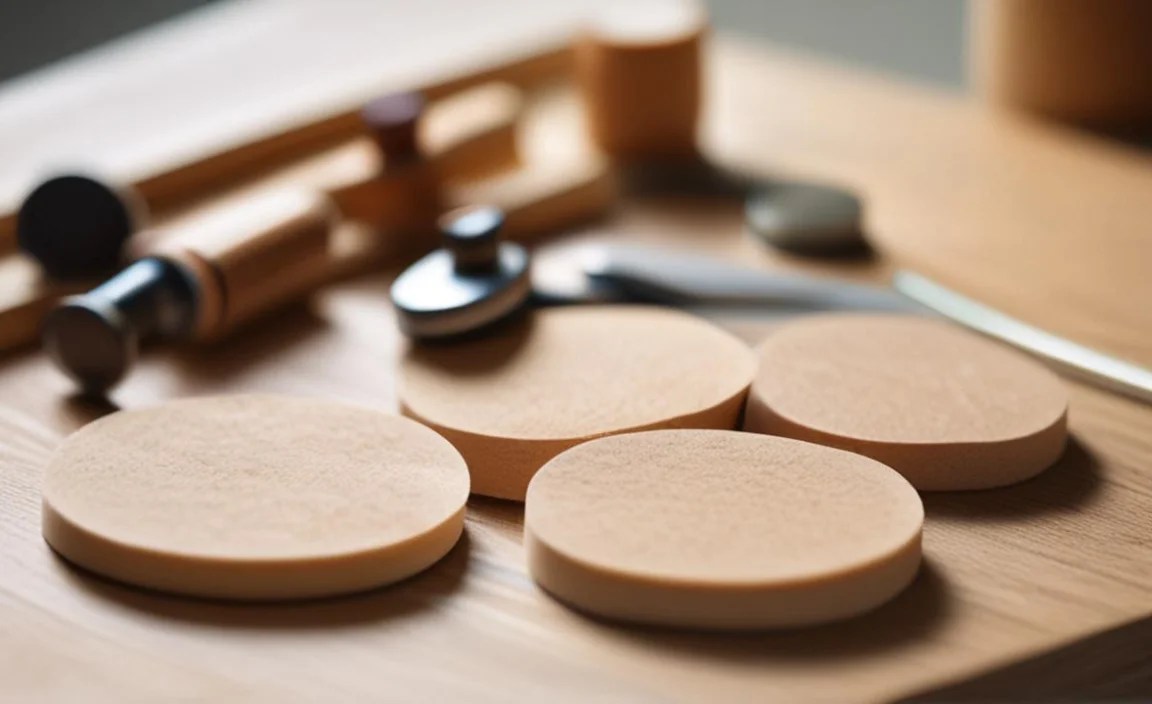
Building Your Essential Wood Lathe Sanding Pad Polishing Kit

For a beginner looking to get that perfect polish, a good starting kit often revolves around a quality hook-and-loop system. Here’s what I’d consider essential:
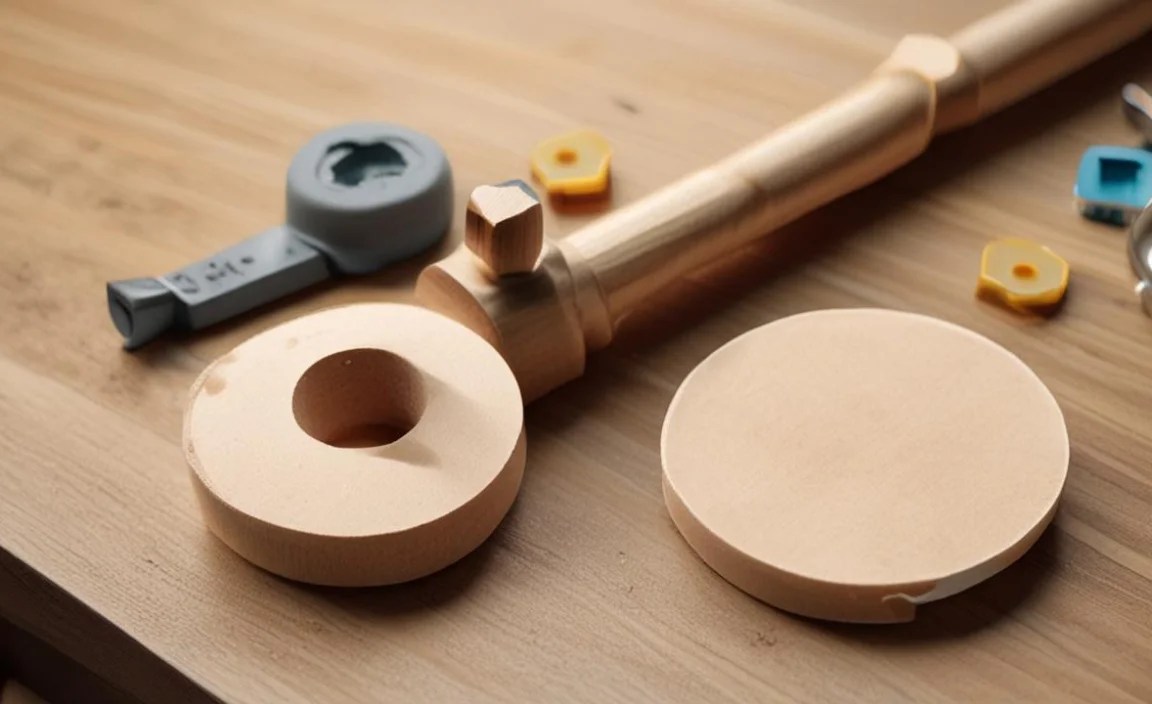
- Hook-and-Loop Backing Pad with Arbor: This is the core of the setup. Look for a reputable brand with a sturdy construction. The arbor should match your lathe’s headstock thread. Many kits come with a standard 3/4″ x 10 TPI (Threads Per Inch) arbor, but always check your lathe’s specifications. Foam-backed pads are excellent for versatility.
- Variety Pack of Sanding Discs: You’ll need a range of grits. A good starting point includes:
- Coarse (e.g., 80-100 grit) for initial shaping and removing tool marks.
- Medium (e.g., 150-180 grit) for removing coarser scratches.
- Fine (e.g., 220-320 grit) for smoothing the surface.
- Very Fine (e.g., 400-600 grit) for preparing for finishes.
Many manufacturers offer pre-packaged assortments that are perfect for beginners.
- Detail Sanding Attachments: For smaller projects or intricate areas, a smaller hook-and-loop pad (like a 2-3 inch diameter) or even specialized sanding pens can be invaluable.
- Polishing Compound and Applicators: Once you achieve a smooth surface with fine grits, polishing compounds can take it to the next level. These often come in paste or liquid form and are applied with soft cloth pads (like lambswool or microfiber) to create a mirror-like shine.
- Dust Collection System or Mask: Sanding wood creates a lot of fine dust. A good dust collection system is ideal, but at a minimum, wear a high-quality dust mask designed for fine particulates. Protecting your lungs is paramount.
Step-by-Step: Achieving a Flawless Finish with Your Sanding Kit

Now, let’s put your new gear to work! Here’s a general process for sanding a turned wood project to a beautiful finish. Remember to always wear safety glasses and a dust mask.
Step 1: Initial Assessment and Tool Mark Removal
Before you even touch sandpaper, ensure your piece is well-balanced and securely mounted. Use your lathe’s lowest setting for aggressive sanding if necessary. Attach your hook-and-loop backing pad with a coarse grit disc (e.g., 80 or 100 grit). Start the lathe at a relatively slow speed (around 500-800 RPM depending on the piece size). Gently bring the spinning sandpaper into contact with the wood. Move the pad steadily across the surface, overlapping passes. Your goal here is to remove any prominent tool marks or unevenness. Don’t try to get it perfectly smooth yet; focus on removing the deepest imperfections.
Step 2: Progressing Through Grits
Once the major marks are gone, it’s time to move up in grit. Crucially, you should generally move up by one grit at a time. This ensures that each grit removes the scratches left by the previous one. So, after the 80-grit pass, swap for a 120-grit disc. Sand the entire piece again, using the same technique as before: steady pressure, overlapping passes, and covering the whole surface. Repeat this process for each subsequent grit: 150, 180, 220, 320, and so on. On larger pieces, you might want to slow the lathe down as you move to finer grits. For smaller pieces or bowl interiors, you can often maintain a moderate speed.
A common mistake is skipping grits. If you go from 100-grit directly to 320-grit, you’ll still see the deeper scratches left by the 100-grit paper, and you’ll have to go back. Patience is key here!
Step 3: Handling Curves and Complex Shapes
This is where a flexible foam-backed pad really earns its keep. As you sand curved sections, the foam allows the sandpaper to conform to the shape, ensuring even contact. If you’re using a rigid pad, you might find yourself struggling to get an even finish on concave areas. In such cases, consider a smaller diameter pad or a specialized sanding attachment designed for curves. Some woodworkers even use small pieces of sandpaper wrapped around a gloved finger or a custom-shaped sanding block for very specific contours, but the pad system is best for overall smoothness.
Step 4: The “Burning” Trick (Optional but Effective)

Wood dust is flammable, and friction creates heat. Sometimes, after sanding with a grit like 220 or 320, you might notice the wood starting to “fuzz up” or look a bit rough. This is especially common with softer woods. You can often use a very light pass with sandpaper at a slightly higher speed to “burn” away this fuzz. Be extremely cautious with this step, keep the sandpaper moving, and only apply it briefly. It’s a quick way to get a smoother surface before moving to finer abrasives.
Step 5: Preparing for Finish (400 Grit and Higher)

As you reach grits like 400, 600, or even higher depending on the desired finish, your goal is no longer to remove material but to create a surface that is perfectly smooth and ready to accept a finish. At these finer grits, you can often slow down the lathe considerably. Ensure you’ve removed all dust from the previous grit before applying the new one. A clean workspace and clean hands are crucial at this stage.
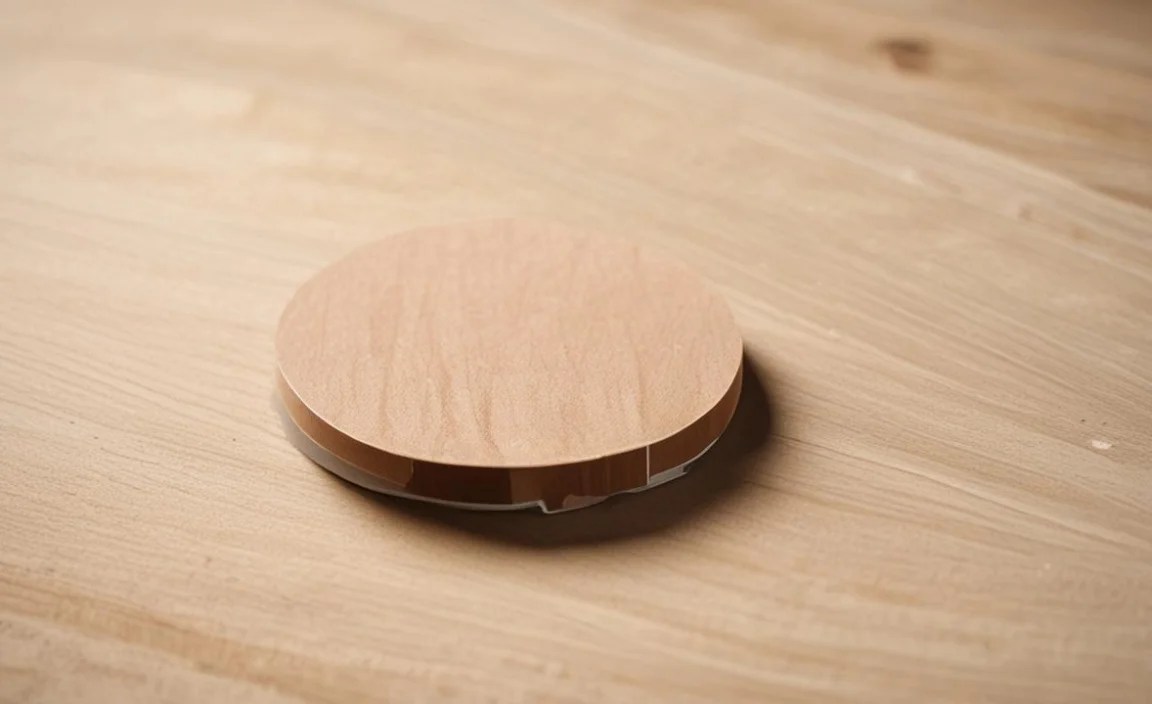
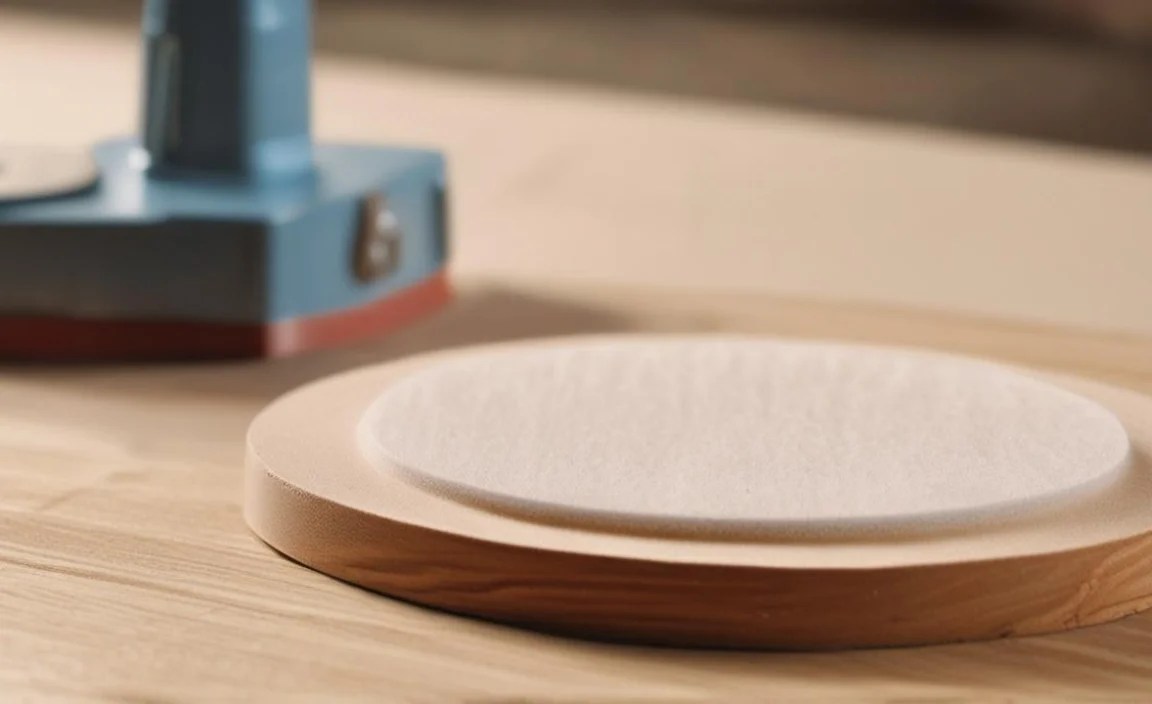
Step 6: Polishing for Ultimate Shine
After you’ve finished your sanding (often around 600-800 grit is sufficient for many finishes), you can move to polishing. For this, you’ll likely switch from abrasive discs to a polishing pad (often a lambswool or soft foam pad that attaches to your hook-and-loop system). Apply a small amount of wood polishing compound to the pad. Start the lathe at a medium speed. Gently bring the polishing pad into contact with the spinning workpiece. The compound, combined with the friction of the pad, will create a high-gloss shine. Work your way around the piece, and you’ll be amazed at how much gloss you can achieve. Learn more about the process from resources like the Forest Products Laboratory’s Wood Handbook, which offers deep insights into wood properties and finishing.
Maintaining Your Sanding Pads and Discs

To get the most out of your sanding pads and discs, a little maintenance goes a long way:
- Clean Your Pads: Regularly brush off dust and debris from hook-and-loop pads. Compressed air can be useful. If the grip starts to fail, a brass brush can sometimes revive the hooks.
- Store Discs Properly: Keep your unused sanding discs in their original packaging or a storage container to prevent damage and contamination.
- Use the Right Tool for the Job: Don’t try to use a fine grit disc for heavy material removal, and don’t use a coarse grit for final finishing. This wastes abrasive and leads to poor results.
- Don’t Overload: Once a sandpaper disc becomes loaded with dust or glues, it’s no longer effective. It’s better to switch to a fresh disc than to force a worn-out one, which can lead to burns and an uneven finish.
Safety First: Always a Priority in the Workshop
Working with a lathe involves inherent risks, and sanding is no exception. Always remember:
- Eye Protection: Always wear safety glasses or a face shield. Wood chips, dust, and even stray abrasive particles can cause serious eye injuries.
- Dust Mask: Wood dust is a respiratory irritant and can be harmful over time. A good quality dust mask or respirator is essential.
- Secure Workpiece: Ensure your workpiece is firmly mounted. A wobbling or unsecured piece can be thrown from the lathe, causing damage or injury.
- Lathe Speed: Start sanding at slower speeds and increase gradually if needed. Higher speeds generate more heat and can lead to burns or catchfire. Always consult your lathe manual for recommended speeds.
- Clothing: Avoid loose clothing, jewelry, or long hair. These can get caught in the spinning lathe.
- Damp Cloth: For extremely fine sanding or between certain grits, a light wipe with a tack cloth or a slightly damp cloth can remove dust and improve adhesion for the next grit.
The Occupational Safety and Health Administration (OSHA) provides extensive resources on woodworking safety that are highly recommended for all users.
When to Use Sanding Pads vs. Hand Sanding

While sanding pads are fantastic, hand sanding still has its place. Here’s a quick comparison:
| Feature | Wood Lathe Sanding Pads | Hand Sanding |
|---|---|---|
| Speed & Efficiency | Significantly faster and more efficient, especially on larger surfaces and curves. | Slower, requires more physical effort. |
| Consistency | Easier to achieve a uniform, consistent surface finish. | Can be difficult to achieve perfect uniformity, especially on complex shapes. |
| Control | Good control with practice, pad conformity helps. | Excellent control on small areas or specific details. |
| Dust Control | Works well integrated with dust collection systems. | More difficult to manage dust without external systems. |
| Best For | Overall surface smoothing on turned items, bowls, spindles, faster finishing. | Small touch-ups, intricate details, very specific areas that are hard for pads to reach. |
Troubleshooting Common Sanding Issues

Even with the best tools, you might run into problems. Here are a few common ones and how to solve them:
- “Fingers” or Lines: If you see distinct lines or “fingers” of unsanded wood between your sanding passes, you’re likely not overlapping enough or not applying consistent pressure. Ensure your passes overlap by at least 50%.
- Burn Marks: This usually happens at too high a speed or by holding the sandpaper in one spot for too long. If you get a burn mark, you’ll likely need to sand it out starting with a coarser grit than you were using previously.
- Dust Buildup: If dust is clogging your sandpaper and reducing its effectiveness, ensure you have good dust extraction, or consider gentle brushing of the disc between passes. If it’s severely clogged, it’s time for a new disc.
- Uneven Finish on Curves: A flexible, foam-backed pad is your best friend here. If you’re still struggling, try a smaller diameter pad or a specialized contoured sanding tool.
