The ideal wood lathe spindle roughing gouge angle is around 30-45 degrees for a balanced cut, offering efficient material removal without digging in. Mastering this angle chart is key for smooth turning and tool longevity.
Ever found your wood lathe work feeling a bit… unpredictable? You’re not alone. Getting that roughing gouge to glide smoothly and remove wood efficiently can be a puzzle for many beginners. It’s easy for the tool to catch or not take a clean cut, leading to frustration and imperfect projects. But what if a simple angle could make all the difference? Understanding the right angle for your spindle roughing gouge is crucial for clean cuts, a safer experience, and extending the life of your tools. Get ready to unlock smoother turning!
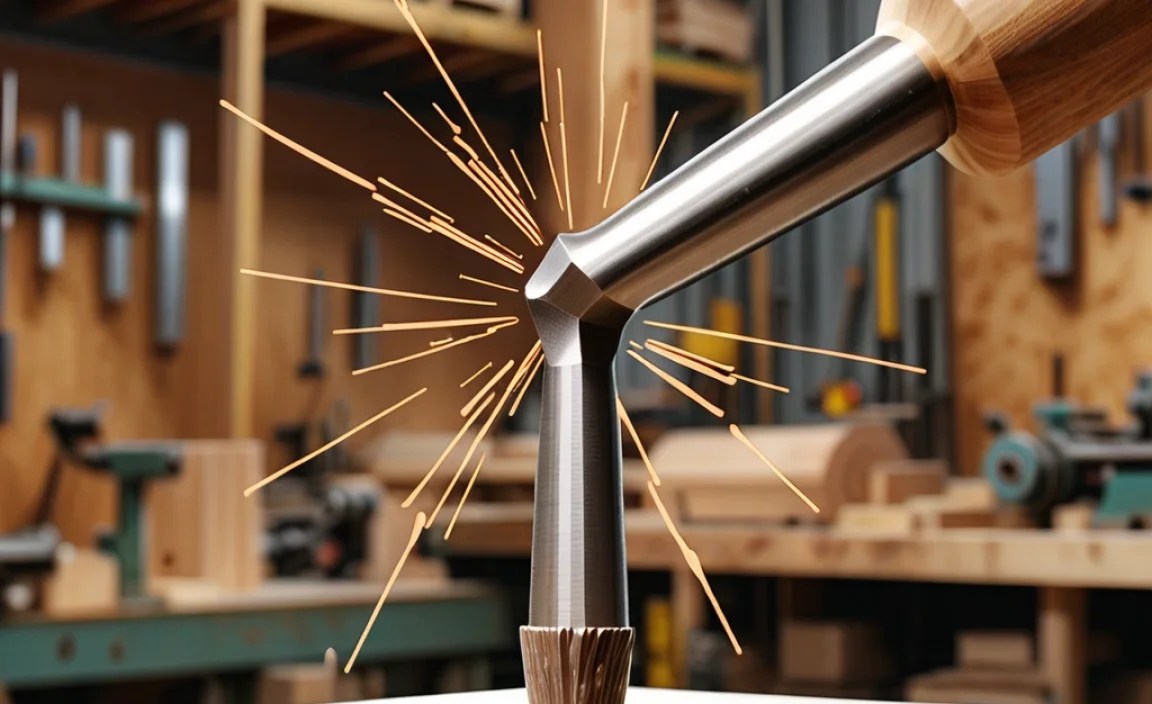
Understanding Your Wood Lathe Spindle Roughing Gouge Angle

The heart of efficient wood turning often lies in the seemingly small details, and the angle at which you present your spindle roughing gouge to the workpiece is a prime example. This isn’t just about aesthetics; it’s about the physics of cutting wood. The right angle ensures the tool’s bevel glides against the wood, allowing the sharp edge to shear material cleanly. Too steep, and you risk digging in, which can lead to catches and torn grain. Too shallow, and the tool will chatter or simply rub without removing material effectively.
For general spindle turning, where you’re shaping a piece of wood round and reducing it to a consistent diameter, the spindle roughing gouge is your workhorse. It’s designed for rapid material removal, helping you quickly get from a square stock to a basic cylindrical form. The angle we’re talking about is the angle between the flute of the gouge and the surface of the wood as it cuts. This angle profoundly impacts how the cutting edge interacts with the wood fibers.
Why the Angle Matters: Safety and Efficiency
Safety is paramount in any workshop, and lathe work is no exception. A gouge set at the wrong angle can easily dig into the wood, causing the lathe to stop abruptly. This sudden halt can throw the workpiece, the tool, or even the turner off balance, leading to potential injury. A well-controlled cut, facilitated by the correct gouge angle, is a safer cut.
Efficiency is the other major player. When your roughing gouge is cutting optimally, it removes waste material quickly and smoothly. This means less time spent wrestling with the wood and more time spent refining your shape and enjoying the process. The correct angle allows the tool to shear the wood fibers rather than tear them, resulting in a cleaner surface that requires less subsequent sanding or refinement with other tools. Think of it like using a sharp knife versus a dull one – the right angle and sharpness make all the difference in how easily the material yields.
The specific angle can also depend on a few factors, including:
- The type of wood you’re working with (hardwoods versus softwoods).
- The speed of your lathe.
- The ‘hollow’ or geometry of the gouge itself.
- Your personal comfort and the specific cut you’re trying to achieve.
However, for most beginners and for general spindle turning, a reliable range exists. This is where our essential chart will come in handy.
The Anatomy of a Spindle Roughing Gouge Cut

Before diving into angles, let’s quickly orient ourselves with the tool and the cut. A spindle roughing gouge has a distinctive curved flute, designed to scoop out wood as it’s moved across the workpiece. When you’re performing a roughing cut, you’re typically moving the gouge from the tailstock towards the headstock, or vice-versa, along the length of the spinning wood.
The key to a good cut is managing the tool rest height and the angle of the gouge relative to the wood. The tool rest should generally be set slightly below the center of the spindle. The gouge is then laid on the rest, and its cutting edge is brought into contact with the wood. The magical part is how much you tilt the gouge up or down from this position.
Imagine the gouge flute is a smile. You’re trying to get that smile to gently kiss the spinning wood. If the smile is too wide open (too steep an angle), it bites too hard. If the smile is too tightly closed (too shallow an angle), it doesn’t get a good grip and might slip or just rub.
The ideal cutting action involves:
- The bevel of the gouge riding smoothly on the wood.
- The sharp edge of the gouge shearing the wood fibers.
- A consistent, controlled movement of the tool along the spindle.
This is why the angle between the gouge and the wood surface is so critical. It dictates how the bevel interacts and how the cutting edge engages.
Wood Lathe Spindle Roughing Gouge Angle Chart: The Basics
Getting the precise angle right can feel like a bit of a guessing game at first. To demystify this, we’ve compiled an essential chart and some guidelines. This refers to the angle at which the flute of the gouge is presented to the spinning workpiece, while you’re standing at the lathe.
Think of it this way: if the gouge were perfectly flat on the tool rest and you were pushing it into the wood horizontally, that would be a 0-degree angle. If you tilted it up so the cutting edge was pointing straight out of the lathe, that’s a 90-degree angle. We’re working somewhere in between.
| Gouge Angle (approximate) | Resulting Cut | When to Use | Beginner Tip |
|---|---|---|---|
| 10-25 degrees | Light scraping, gentle shaving. Slow material removal. | Finishing passes, smoothing already well-formed shapes, delicate woods. | Avoid this angle for roughing; it’s inefficient and can lead to burning. |
| 30-45 degrees | Balanced, efficient cutting. Good chip formation. Smooth material removal. | General spindle turning, reducing square stock to cylinders, shaping curves. This is your go-to range. | Start here. This is the sweet spot for most situations. |
| 45-60 degrees | Aggressive cutting. Can dig easily if not controlled. Deeper gouge possible. | Removing significant material quickly (requires confidence and steady hand), heavy timbers. | Use with caution. Ensure you have a firm grip and a steady tool rest. |
| 60+ degrees | Very aggressive, high risk of catching. Often too steep for effective shearing. | Rarely used for spindle roughing with this type of gouge. Might be for specialized cuts. | Avoid for general spindle roughing. Focus on the 30-45 degree range. |
As you can see, the 30-45 degree range is highlighted as the prime zone for spindle roughing. This angle allows the tool to slice through the wood efficiently without being so aggressive that it becomes unstable. It promotes a good shearing action, which is precisely what you want for clean, fast material removal.
Factors Affecting the “Perfect” Angle
While the chart provides a solid starting point, the “perfect” angle isn’t static. It’s a dynamic sweet spot influenced by several factors:
- Wood Type: Softer woods might allow for slightly more aggressive angles (closer to 45 degrees) for faster removal. Hardwoods, like maple or oak, might benefit from slightly shallower angles (closer to 30 degrees) to prevent tearing and ensure a clean shear.
- Wood Condition: Green wood is softer and more forgiving than dry, seasoned wood. Kiln-dried denser hardwoods will require more precise angles and a sharp tool.
- Lathe Speed: When turning at higher speeds, you might find that a slightly shallower angle provides more control to prevent catches. Conversely, at lower speeds, you might be able to handle a slightly steeper angle for faster removal. Always consult safe operating speeds for your lathe and piece size, like those outlined by organizations such as the Woodturning Guild or manufacturers’ guidelines.
- Gouge Grind and Sharpness: The specific grind and how sharp your roughing gouge is will significantly impact how it cuts. A well-honed edge will perform beautifully even at the upper end of the recommended angle range, whereas a duller tool might struggle and require a more aggressive presentation (which, again, increases risk). Ensure your tools are sharp for optimal results.
- Tool Rest Height: As mentioned, the tool rest generally sits slightly below the center line of the spindle. However, subtle adjustments here can also influence how the gouge contacts the wood and, by extension, the effective cutting angle.
The best approach is to start with the recommended 30-45 degree range and make minor adjustments based on how the tool is behaving. Listen to the sound of the cut – a crisp shearing sound is good; a scraping or chattering sound indicates something is off.
Setting Up for Success: Tool Rest and Gouge Presentation
Before you even think about that perfect angle, proper setup is crucial. This involves the tool rest and how you hold and present the gouge.
Tool Rest Height
For spindle turning with a roughing gouge, the tool rest should be positioned so that its top surface is just slightly below the centerline of the spindle. This placement allows the bevel of the gouge to sit on the rest while the cutting edge is presented to the wood.
Why slightly below center? If the rest is too high (level with or above center), the heel of the gouge can catch the wood, leading to a dangerous dig-in. If it’s too low, you lose leverage and control.
Gouge Handling and Presentation
Once the tool rest is set, place your roughing gouge on it. The handle should be held firmly, often with one hand controlling the handle and the other on the flute or body of the gouge for stability and control. Your body should be balanced, with your feet apart, ready to react to any unexpected movements.
Now, bring the gouge’s cutting edge into contact with the spinning wood. This is where you’ll control the angle:
- Start with the bevel on the rest.
- Tilt the gouge upwards. This is how you set the cutting angle. You are essentially adjusting the angle between the flute/cutting edge and the horizontal plane of the tool rest.
- Engage the wood. Start with a light cut. Feel how the wood is being removed.
- Listen and observe. Is it a clean cut? Is it removing material smoothly? Or is it chattering, scraping, or digging in?
- Adjust subtly. If it’s digging, you might need to reduce the angle slightly. If it’s not cutting, you might need to increase it or ensure your tool is sharp.
Remember, you are not “digging” the gouge into the wood. You are guiding it so the sharp edge shears the material as the bevel glides along. Think of it as a controlled slicing action, sweeping the gouge along the length of the spindle.
Visualizing the Angles: A Simple Diagram Concept
To help solidify understanding, let’s visualize the angles. Imagine a side-view of your roughing gouge on the tool rest, with the dark, spinning spindle to its right.
Scenario 1: Shallow Angle (e.g., 15 degrees)
The gouge is tilted up only a little. The bevel is almost flat against the wood. The cutting edge might just scrape, or barely engage the surface. This would be inefficient for roughing.
Scenario 2: Ideal Angle (e.g., 35 degrees)
The gouge is tilted up a moderate amount. The bevel is resting on the tool rest and the wood. The cutting edge is presented at an angle that allows it to slice into the wood effectively, creating a clean curl of wood. This is where the shearing action is optimized.
Scenario 3: Steep Angle (e.g., 55 degrees)
The gouge is tilted up significantly. The cutting edge is now pointing much more aggressively into the wood. This can work for heavy material removal but increases the risk of the “nose” of the gouge digging in if not perfectly controlled.
Mastering the Gouge: Practice and Refinement
Theory is one thing, but practice is where mastery truly happens. Don’t be discouraged if your first few attempts aren’t perfect. Lathe turning is a tactile skill that improves with repetition.
Here’s a recommended practice routine:
- Start with a manageable piece of wood. A 2×4 cut to length is often a good start.
- Mount it securely between centers.
- Set your tool rest position.
- Use a safe lathe speed. If you’re unsure about safe speeds, consult resources like Wood web‘s safety guidelines or your lathe’s manual. Wood speed charts are essential here.
- Begin with the 30-45 degree angle.
- Make light, controlled passes. Focus on consistent movement along the spindle.
- Observe the chips. Are they curling nicely?
- Gradually increase your cuts as you gain confidence and feel the tool working effectively.
- Listen to the lathe and the wood. Any signs of chattering or bogging down mean you should adjust your angle, depth of cut, or speed.
Experimentation within the recommended range is encouraged. Try a cut at 30 degrees, then adjust to 40 degrees. See how the feel and the wood removal change. This hands-on experience is invaluable.
Beyond Roughing: Other Gouge Angles to Consider
While this article focuses on the spindle roughing gouge, it’s worth noting that different gouges and different turning tasks often require different angles.
- Spindle Turning vs. Bowl Turning: Bowl turning often uses different gouges (like bowl gouges) with different grinds and presented at varying angles relative to the side or end grain, which can be more complex.
- Detail/Parting Tools: These tools are used differently, often held more vertically or at an angle that allows for precise cuts rather than broad material removal.
- Scrapers: While not technically gouges, scrapers are used with their flat face presented to the wood, often at a very slight negative angle, to smooth surfaces.
The principles of presenting a sharp edge at an angle that allows shearing rather than scraping are common, but the specific angles vary. For now, focus on mastering your spindle roughing gouge, as it’s fundamental.
Troubleshooting Common Spindle Turning Issues
Even with the right angle, you might encounter problems. Here’s a quick guide:
Issue: Tool is digging in or catching.
- Possible Causes: Angle too steep, tool rest too high, lathe speed too fast, dull cutting edge, poor control.
- Solutions: Reduce the gouge angle, lower the tool rest slightly, reduce lathe speed, sharpen the gouge, take lighter cuts, ensure a firm grip and stable stance.
Issue: Tool is only scraping or burning.
- Possible Causes: Angle too shallow, dull cutting edge, too much pressure on the tool rest, lathe speed too slow.
- Solutions: Increase the gouge angle (within the 30-45 range), sharpen the gouge, ensure bevel is riding the wood, increase lathe speed slightly (safely!).
Issue: Rough surface finish, lots of fuzzy fibers.
Possible Causes: Dull tool, angle too shallow or inconsistently applied, trying to take too aggressive a cut. This is a classic sign of not shearing the wood properly.
- Solutions: Sharpen your gouge! This is often the primary culprit. Ensure your angle is in the 30-45 degree range and that the bevel is riding the wood. Take lighter, smoother passes.
Frequently Asked Questions (FAQ)
What is the main purpose of a spindle roughing gouge?
Its main purpose is to efficiently remove material from square stock to create a basic cylindrical shape for spindle turning, allowing for subsequent shaping.
Is a 30-degree angle always perfect for roughing gouges?
While 30-45 degrees is the recommended range, the “perfect” angle can vary slightly based on wood type, lathe speed, and the specific gouge grind. Experimentation within this range is key.
