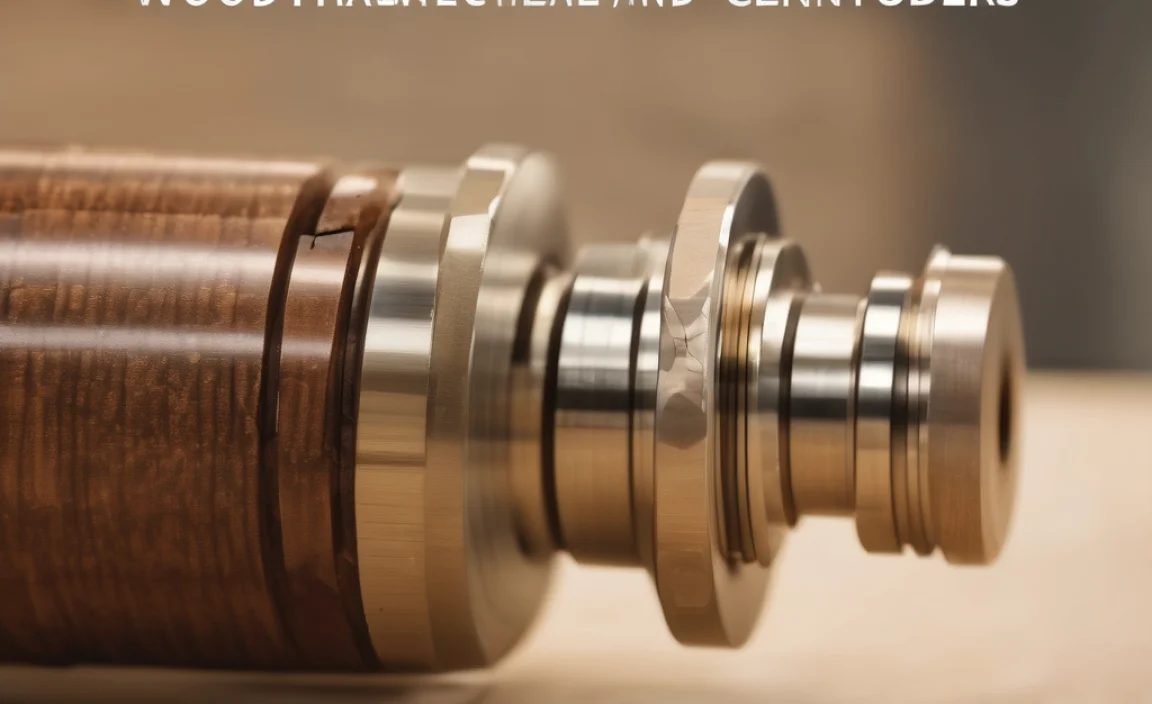
Quick Summary: An 1/8-inch carbide end mill, particularly a stub length designed for copper, is your best bet for maximizing tool life. Choosing the right type, operating it correctly, and keeping it well-maintained will ensure you get the most cuts out of this small but mighty tool, especially when working with copper.
We’ve all been there. You’ve got a brilliant idea, a piece of metal ready to be shaped, and a brand new tool. But after just a few passes, something’s not quite right – the cut is rough, the tool feels strained, and you know its lifespan is already shrinking. When it comes to machining softer metals like copper, the right tool makes all the difference, especially when you’re using something as precise as an 1/8-inch end mill. It might seem like a small detail, but the type of end mill you choose and how you use it can dramatically impact its longevity and the quality of your work. Don’t let frustrating tool wear get you down; we’re going to break down exactly how to get the longest life out of your 1/8-inch carbide end mill when cutting copper, making your projects smoother and more successful.
Carbide End Mill 1/8 Inch: Proven Copper Longevity
When you’re diving into the world of machining, especially with softer metals like copper, choosing the right cutting tool is crucial. The 1/8-inch carbide end mill is a popular choice for detailed work, but getting the most out of it, particularly for longevity, requires understanding a few key things. We’re going to explore why a specific type of 1/8-inch end mill, often a stub length designed for non-ferrous materials, is ideal for copper, and how you can ensure it stays sharp and effective for as long as possible.
Why Choose Carbide for Copper?
Carbide, specifically tungsten carbide, is a composite material known for its incredible hardness and wear resistance. Compared to High-Speed Steel (HSS) cutters, carbide tools can operate at much higher speeds and feed rates, and they maintain their cutting edge under tougher conditions. For softer, “gummy” materials like copper, this hardness prevents the material from welding to the cutting edge, which is a common problem that leads to premature tool failure and a poor finish.
Copper, while relatively soft, can be “gummy” and prone to building up chips on the cutting edge. This buildup, known as ” Built-Up Edge” (BUE), can quickly dull a sharp tool and lead to poor surface finishes. Carbide’s inherent hardness and its ability to handle higher temperatures generated during machining make it an excellent choice to combat BUE and maintain a sharp edge for longer periods.
The 1/8-Inch Carbide End Mill: Specs Matter
When we talk about a 1/8-inch end mill, there are nuances that significantly affect its performance, especially when paired with the material you’re cutting. For copper, several features of the 1/8-inch carbide end mill are particularly important for longevity:
Stub Length vs. Standard vs. Extended Reach
The length of the flutes and the overall stick-out of the end mill play a vital role. For machining copper, a stub length end mill is often preferred.
- Stub Length: These end mills have shorter flute lengths and a reduced overall length compared to standard end mills. The benefit here is increased rigidity. Less overhang means less chance of vibration and chatter, which are enemies of tool life and surface finish in softer materials. For precise work on copper, where rigidity is key to preventing deformation and ensuring clean cuts, a stub length is usually the best starting point.
- Standard Length: These are the most common and versatile. They offer a good balance between reach and rigidity. If a stub length isn’t available or you need a bit more reach for a specific operation, a standard length can still work well.
- Extended Reach: These have a much longer flute length and overall length. While useful for reaching into deep cavities, they introduce significant flexibility issues. For detailed work on copper with a 1/8-inch end mill, extended reach is generally not recommended due to the increased risk of chatter and breakage.
Number of Flutes
The number of cutting edges (flutes) on an end mill also dictates its suitability for different materials. For softer, chip-forming materials like copper, fewer flutes are generally better.
- 2-Flute End Mills: These are often the go-to for softer metals, plastics, and aluminum. The wider chip gullets (the space between the flutes) allow for efficient chip evacuation. In copper, this is critical to prevent chip packing and buildup on the cutting edge, which leads to tool wear.
- 3-Flute End Mills: While sometimes used for aluminum, 3-flute cutters can sometimes struggle with chip evacuation in very gummy materials. They offer a slightly better finish than 2-flute in some applications but can be more prone to chip loading in copper.
- 4-Flute End Mills: Typically used for harder steels and cast iron. The tighter chip gullets make them unsuitable for soft, gummy materials like copper as they can easily lead to chip packing and premature tool failure.
Therefore, for the best longevity when working with copper, a 2-flute, stub length, 1/8-inch carbide end mill is generally the ideal choice.
Coating
While plain carbide is excellent, coatings can further enhance performance and lifespan. For copper, certain coatings offer specific advantages:
- Uncoated: Plain carbide is still very effective in copper due to its hardness.
- ZrN (Zirconium Nitride): This yellow-gold coating is excellent for aluminum and copper. It’s slick, reduces friction, and provides good lubricity, which helps prevent material buildup and extends tool life.
- TiCN (Titanium Carbonitride): A harder, darker coating that offers excellent wear resistance and is good for a broader range of materials, including copper. It’s very durable but might be overkill for simple copper tasks.
For consistent results and extended tool life in copper, a ZrN coated 2-flute stub length 1/8-inch carbide end mill is a strong contender.
Key Factors for Maximizing Longevity
Even with the perfect tool, how you use it is paramount. Here are the critical factors to consider for extending the life of your 1/8-inch carbide end mill in copper:
1. Proper Speeds and Feeds
This is arguably the most important factor. Running too fast or too slow can both lead to premature wear. Carbide tools tolerate higher speeds than HSS, but pushing them too hard without adequate chip load can cause them to overheat, leading to edge wear or chipping. Conversely, feeding too slowly creates a “rubbing” action instead of a clean cutting action, which can also dull the edge quickly and generate unwanted heat and BUE.
Finding the sweet spot involves understanding Surface Feet per Minute (SFM) for the tool material and Inches per Tooth (IPT) for the feed rate, adjusted for your specific machine and material.
For a 1/8-inch carbide end mill in copper, a good starting point (always on the conservative side, and adjust from there) could be:
- Speed (SFM): 300-600 SFM (Surface Feet per Minute)
- Feed per Tooth (IPT): 0.001 – 0.002 inches per tooth
Let’s break down how to calculate this:
- Spindle Speed (RPM):RPM = (SFM 12) / (π Diameter)For our 1/8″ (0.125″) end mill at 400 SFM:RPM = (400 12) / (3.14159 0.125) ≈ 12,200 RPM
- Feed Rate (IPM – Inches Per Minute):IPM = RPM IPT Number of FlutesUsing 12,200 RPM, 0.0015 IPT, and 2 flutes:IPM = 12,200 0.0015 2 ≈ 36.6 IPM
Important Note: These are starting points. Always consult the end mill manufacturer’s recommendations if available. The rigidity of your machine and workholding setup will also influence what speeds and feeds are achievable. Start slower and increase gradually while listening to the machine and observing the chip formation.
2. Chip Evacuation is King
As mentioned, copper can produce long, stringy chips that tend to stick to the cutter. Inadequate chip evacuation is a primary cause of BUE and tool failure. Here’s how to ensure good chip flow:
- Use Coolant/Lubricant: A flood coolant or even a mist coolant spraying directly at the cutting zone is highly beneficial. It lubricates the cut, cools the tool and workpiece, and helps wash chips away from the flutes. Isopropyl alcohol can also be effective for smaller hobbyist machines as a lubricant and to help break surface tension for chip removal. For industrial applications, specialized cutting fluids are used. The U.S. Department of Labor provides valuable guidance on machining practices and safety, which includes understanding optimal cutting parameters for various materials. [OSHA – Machine Guarding] (While this link is about guarding, OSHA’s general stance on safety and machinery implies adherence to best practices for tool operation, including lubrication).
- Peck Drilling (Plunge Cuts): When plunging into the material, use a pecking strategy. Rather than plunging straight through, retract the tool periodically (e.g., retracting halfway into the flute depth) to clear chips from the hole.
- Optimize Tool Paths: When milling pockets, try to use climb milling where possible, as it tends to produce smaller chips and better surface finish in copper. Ensure your CAM software is set up to manage chip evacuation effectively.
3. Workholding and Rigidity
A wobbly workpiece or tool holder is a recipe for disaster. Ensure your copper is securely clamped, and your end mill is held firmly in a good quality collet or tool holder. Any vibration or flex will lead to inconsistent cutting, uneven wear, and potentially breakage of the delicate 1/8-inch tool. A stub length end mill inherently helps with rigidity.
Consider the clamping method. For softer copper, you don’t want to apply excessive force that could deform the material. Use soft jaws or appropriate clamping techniques to hold the workpiece without distortion.
4. Depth of Cut and Stepover
For an 1/8-inch end mill, especially in tougher operations, you’ll likely need to take lighter depths of cut than you might with a larger tool. This is dictated by the tool’s rigidity and the power of your machine.
- Depth of Cut (DOC): For roughing, start with a DOC of 0.050″ to 0.100″ (about 40-80% of the tool diameter). For finishing passes, a much lighter DOC (e.g., 0.005″ – 0.010″) is recommended to achieve a good surface finish without stressing the tool.
- Stepover: This is how much the tool moves sideways in each pass when milling a pocket or contour. A smaller stepover (e.g., 20-40% of the tool diameter) will result in a better finish and reduce the load on the tool, but it will take longer. A larger stepover will be faster but may lead to a rougher finish requiring more finishing passes.
For best longevity in copper, aim for an approach that prioritizes cutting action over brute force. Taking multiple lighter passes is always better than trying to hog out material.
5. Avoid Interrupted Cuts
When possible, try to avoid operations that lead to heavily interrupted cuts, where the tool is constantly engaging and disengaging the material in rapid succession. This can cause shock loads on the cutting edge, leading to chipping and reducing lifespan. Designing toolpaths that minimize this can help.
Common Pitfalls and How to Avoid Them
Let’s look at some common mistakes beginners make, along with how to steer clear of them when using small carbide end mills on copper.
Table: Common Pitfalls with 1/8″ Carbide End Mills in Copper
| Pitfall | Why it Happens | Solution | Impact on Longevity |
|---|---|---|---|
| Built-Up Edge (BUE) | Copper material welds to the cutting edge due to friction and heat, dulling the tool. | Use lubricant/coolant, choose a coated tool (like ZrN), ensure sufficient feed rate. | Rapid dulling of the cutting edge, poor finish, increased cutting forces. |
| Excessive Chipping/Breathing | Tool is too rigid for the setup, leading to vibration and chatter. | Use a stub-length end mill, ensure rigid workholding, reduce overhang. | Tool edge chipping, premature breakage, poor surface finish. |
| Chip Packing | Insufficient chip evacuation in the flutes. | Use a 2-flute end mill, use coolant to flush chips, peck with plunge cuts. | Overheating, BUE, increased cutting force, tool breakage. |
| Running Too Slow (Feeds) | Tool rubs rather than cuts, generating heat. | Increase feed rate (IPM) to achieve adequate chip load (IPT). | Edge glazing and dulling, increased heat, potential for BUE. |
| Running Too Fast (Spindle Speed) | Exceeding the tool’s ability to dissipate heat or maintain chip integrity. | Calculate RPM based on SFM recommendations, start conservative and listen. | Overheating, rapid wear, potential for melting/welding material to the edge. |
| Taking Too Deep a Cut | Overloading the tool or machine. | Use lighter depths of cut (DOC), especially for finishing. | Tool breakage, increased wear, poor surface finish, machine strain. |
Choosing the Right 1/8-Inch End Mill for Copper: A Buyer’s Guide
When you’re looking to purchase an 1/8-inch end mill specifically for copper, here’s what to look for:
- Material: Always choose Carbide.
- Diameter: 1/8 inch (0.125″).
- Shank Diameter: Likely 1/8 inch for a direct fit in many collets.
- Flute Count: 2 flutes are ideal for copper.
- Length Type: Stub length is preferred for maximum rigidity.
- Coating: ZrN (Zirconium Nitride) is highly recommended for copper. Uncoated is also viable, but coating adds protection.
- End Type: For general milling, a flat end mill is standard. Ball nose or radius end mills are for specific shaping tasks.
It can be helpful to look for tools specifically marketed for “non-ferrous metals” or “aluminum” as these often perform exceptionally well in copper.
Maintenance and Care for Longevity
Even the best tools wear out, but proper care can extend their useful life significantly. For your 1/8-inch carbide end mill:
- Cleaning: After each use, clean the end mill thoroughly. Remove any residual copper or built-up material. A stiff brush and some solvent can work wonders. Compressed air is also useful.
- Inspection: Regularly inspect the cutting edges under magnification if possible. Look for signs of chipping, dulling, or excessive wear. Early detection allows you to adjust cutting parameters or retire the tool before it causes problems.
- Storage: Store your end mills properly in a tool holder or protective case to prevent damage to the cutting edges. Keep them away from moisture and corrosive substances. Proper storage protects your investment.
Advanced Techniques and Considerations
Once you’re comfortable with the basics, you might consider a few advanced tips:
- Finishing Passes: Always dedicate a finishing pass with a very light depth of cut and appropriate feed rate to achieve the best surface finish. This also helps reduce stress on the tool compared to a single aggressive cut aiming for finishing quality.
- Tool Wear Compensation: In CNC machining, you can use tool wear compensation in your control to make minor adjustments to the toolpath diameter as the tool wears, helping to maintain tight tolerances for longer.
- Material Properties: Not all copper


