Quick Summary: Properly aligning your wood lathe’s headstock ensures smooth, accurate turning. Our essential tips guide beginners through checking and adjusting headstock alignment for better results and a safer workshop experience.
Wood Lathe Headstock Alignment: Proven Essential Tips

Ever feel like your woodworking projects aren’t turning out quite right? Sometimes, the issue isn’t your skill or your tools, but a simple misalignment. For wood lathes, the headstock is the heart of accuracy. When it’s not perfectly aligned with the tailstock, you can experience vibrations, wobbly workpieces, and frustratingly imperfect results. But don’t worry! Getting your headstock aligned is a straightforward process, and with these essential tips, you’ll be turning with confidence in no time. We’ll walk you through exactly what to check and how to fix it, making your lathe work smoother and your projects shine.
Why Headstock Alignment Matters
A properly aligned wood lathe headstock is crucial for several reasons. Think of it as the foundation of your turning. If your headstock isn’t perfectly in line with the tailstock, your workpiece won’t be supported evenly. This can lead to:
- Vibrations: An unbalanced setup causes the lathe to shake, making it hard to control your cuts and creating a noisy, uncomfortable working environment.
- Out-of-Round Projects: When the centerlines of the headstock and tailstock don’t match, your turned piece will likely be oval or egg-shaped, not perfectly round.
- Tool Chatter: Vibrations can cause your cutting tools to jump or skip across the wood, leading to rough surfaces and making it difficult to achieve a smooth finish.
- Increased Wear and Tear: Constant vibration and stress from an misaligned lathe can put extra strain on your machine’s bearings and other components, potentially shortening its lifespan.
- Safety Concerns: While less common, severe misalignment can contribute to unsteady workpieces that could potentially break free from the lathe, posing a safety hazard.
Getting this alignment right is one of the first steps to unlocking the full potential of your wood lathe and ensuring enjoyable, successful turning sessions.
The good news is that most modern wood lathes are designed to allow for headstock adjustment. This adjustment usually involves a set of bolts or locking mechanisms that allow you to pivot the headstock slightly. We’ll explore how to find and use these, along with simple methods to check your alignment.
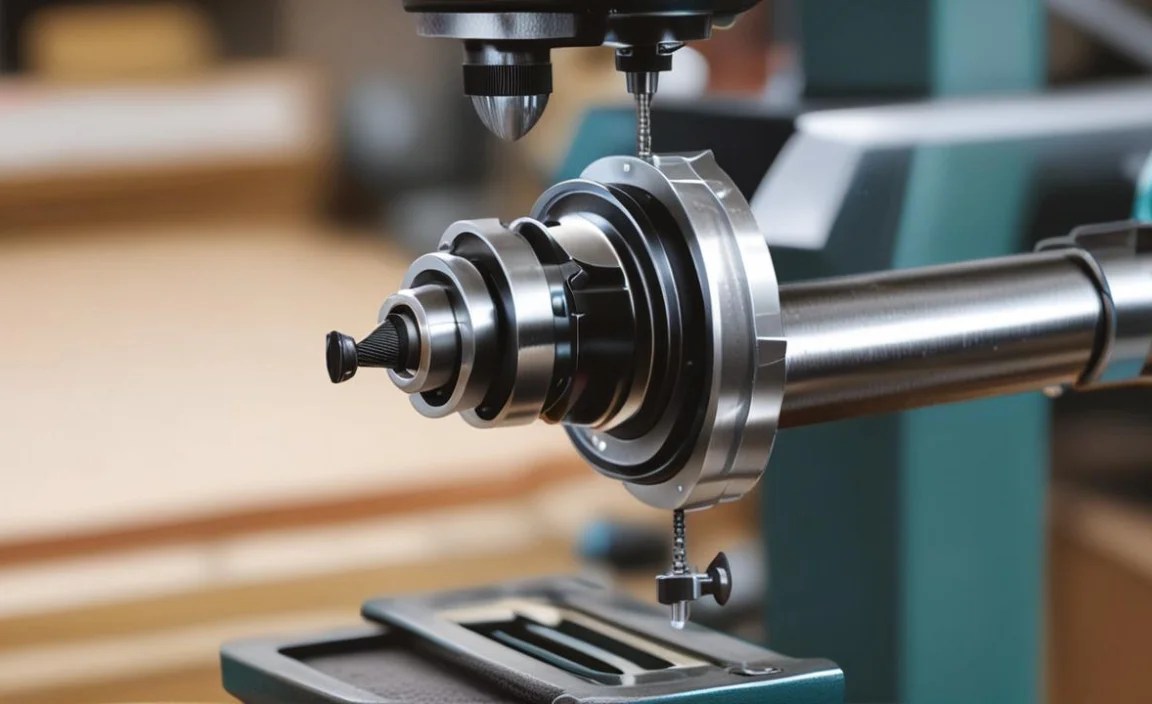
Understanding Your Wood Lathe’s Headstock

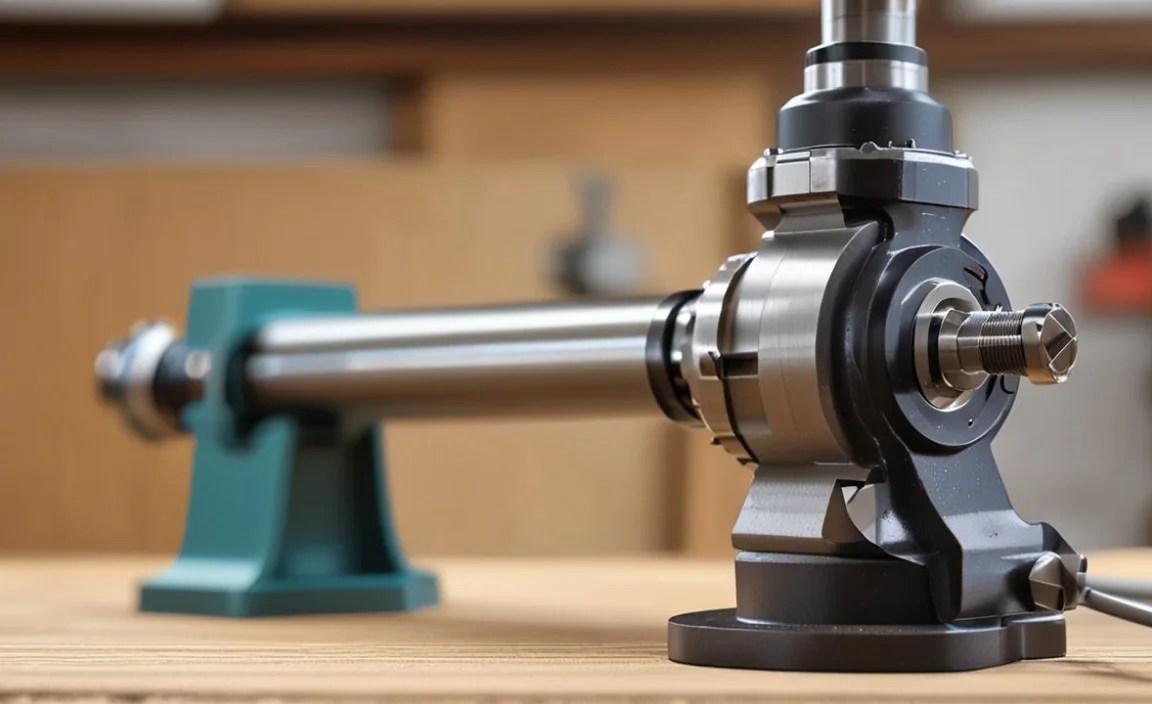
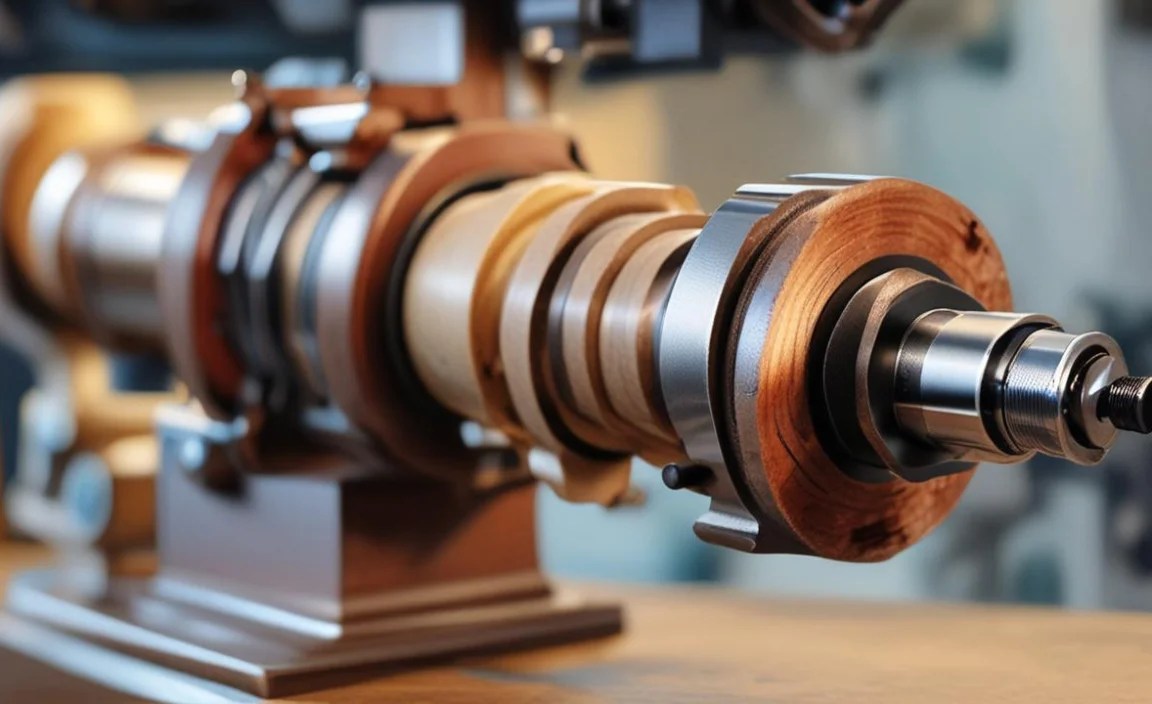
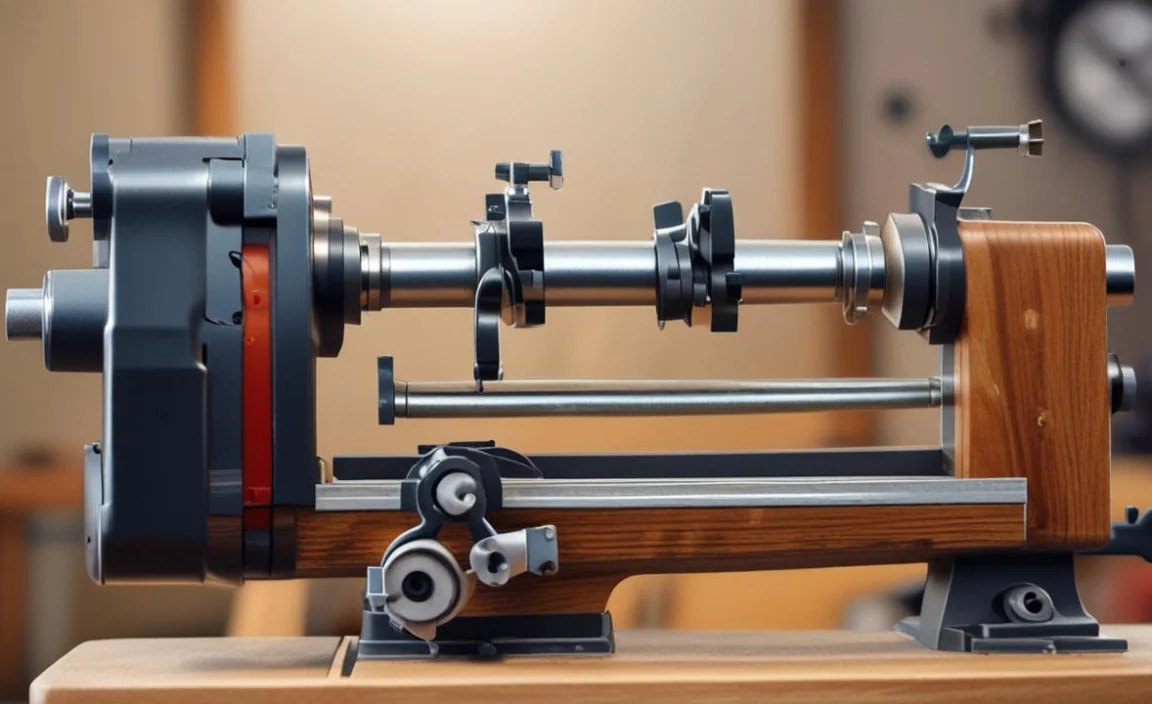
Before we dive into alignment, let’s quickly understand what the headstock is. The headstock is the part of the lathe that houses the motor, drive system, and the spindle. The spindle is the rotating shaft that holds your workpiece securely, usually via a chuck or drive center.
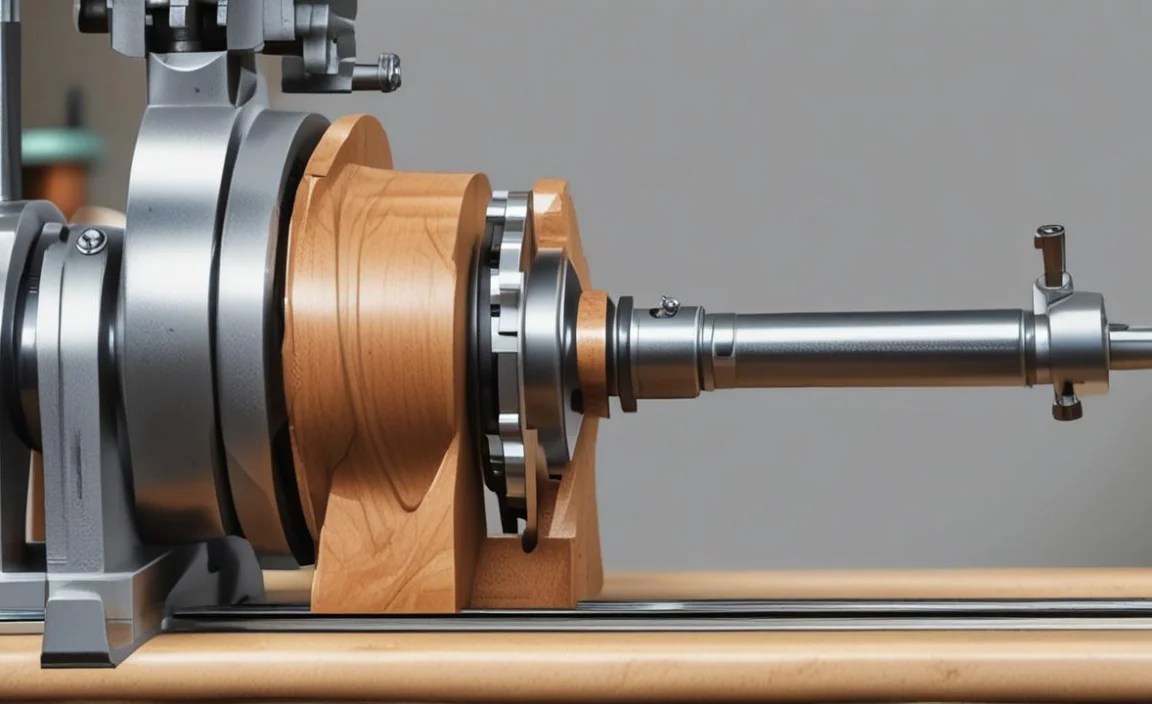
The headstock typically sits stationary on the lathe bed, but it often has a pivot mechanism that allows its angle to be adjusted. This is essential for off-center turning (faceplate turning) but can also be the source of misalignment if not properly set for parallel turning. The tailstock, on the other hand, is usually designed to slide along the bed and is locked in position. For most turning operations, the spindle axis of the headstock must be perfectly parallel to the axis of the tailstock.
Tools You’ll Need for Alignment
You don’t need a workshop full of specialized tools for this job. Here’s a basic list of what will make the process much easier:
- A good quality ruler or metal straightedge: For checking the alignment of the headstock and tailstock centers over a distance.
- Dial indicator (optional but highly recommended): For precise measurements.
- A piece of round stock (e.g., dowel, scrap spindle): To mount between the centers. This helps visualize and measure any runout.
- Allen wrenches or wrenches: To loosen and tighten the headstock pivot bolts.
- A magnifying glass (optional): To help read small measurements on a dial indicator.
- Safety glasses: Always wear safety glasses when working around machinery.
Step-by-Step: Checking for Headstock Misalignment
There are a few common methods to check if your headstock is aligned correctly. We’ll start with the simplest and move to more precise techniques.
Method 1: The Ruler/Straightedge Test
This is a quick and easy way to get a general idea of alignment.
- Ensure the lathe is unplugged. Safety first!
- Position the headstock and tailstock centers: Move your tailstock close to the headstock. Extend the tailstock quill so its center (the point sticking out) is just beyond your ruler’s capacity if needed. Bring the tailstock up to the headstock center until they are very close, but not touching.
- Place the ruler: Lay a long, flat ruler or metal straightedge on the lathe bed between the headstock center and the tailstock center.
- Check the gap: See if you can slide a thin piece of paper (like printer paper) or a feeler gauge between the ruler and the headstock center, and then between the ruler and the tailstock center.
- What to look for: If the ruler sits flat against both centers with no visible gap, or if the gap is consistent, your alignment is likely good. If you can easily slide the paper under one center but not the other, or if there’s a noticeable difference in the gap, your headstock is likely misaligned. You might need to adjust the headstock’s angle.
This method is good for a quick check but lacks precision for very slight misalignments.
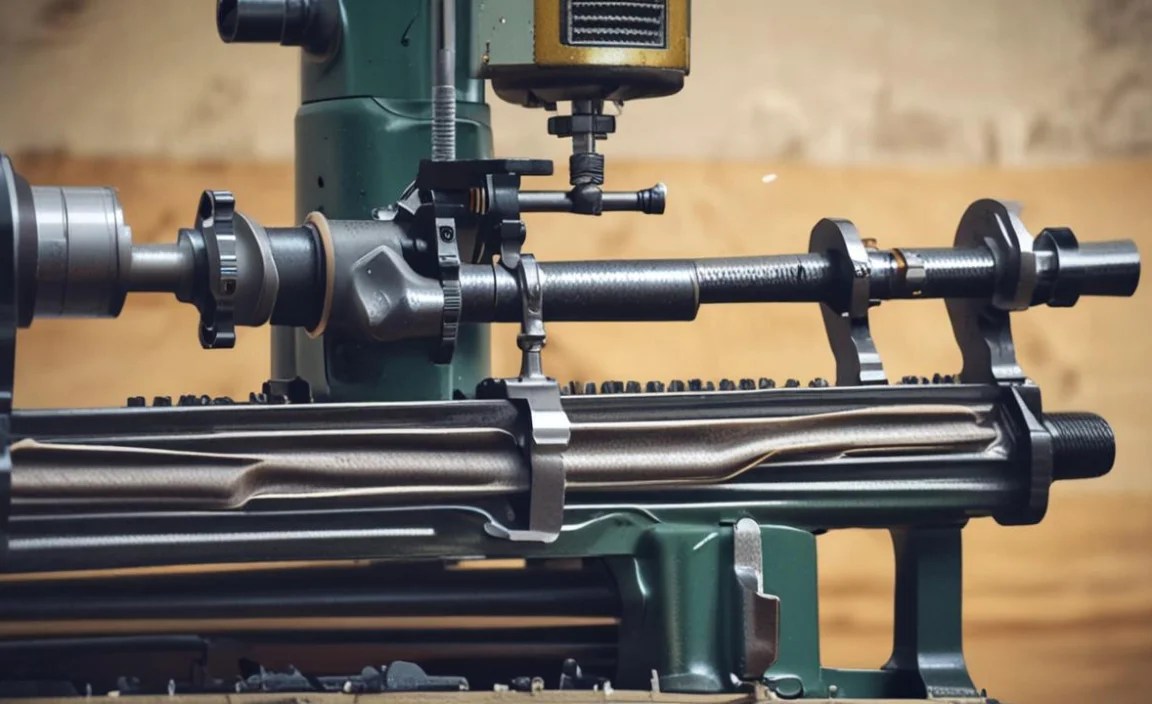
Method 2: The Dowel/Round Stock Test
This is a more effective method that uses a mounted piece of material.
- Unplug the lathe.
- Mount a piece of round stock: Find a relatively straight piece of dowel rod or a scrap spindle of decent length. Mount it securely between the headstock and tailstock centers. Use a live center in the tailstock for best results.
- Mark your stock: With the piece mounted and the lathe power OFF, use a pencil to mark a line lengthwise along the top of the round stock. Extend this line as far as you can.
- Position the tailstock: Slide the tailstock to the far end of the lathe bed.
- Make a rotation check: Now, turn the headstock by hand, not with power. Carefully observe how the pencil line interacts with the tailstock center. If the headstock is aligned, the pencil line should run exactly parallel to the horizontal split line of the tailstock center as it rotates.
- Measure the offset:
- Start with the headstock and tailstock centers perfectly aligned (you can use a dial indicator for this, see below).
- Rotate the workpiece with the pencil line.
- Loosen any locking mechanism on your tailstock.
- With a ruler held absolutely stationary against the lathe bed, slide the tailstock quill back (away from the headstock) by a consistent amount, say 12 inches.
- Now, with the lathe power OFF, carefully rotate the workpiece by hand.
- Use your ruler to measure the distance from the tailstock center to the pencil line.
- Now, move the tailstock quill back out again by the same amount, and measure again.
- If your headstock is aligned, these two measurements (from the center to the line) should be identical. If they differ, your headstock is misaligned. The difference in measurement tells you how much adjustment you need.
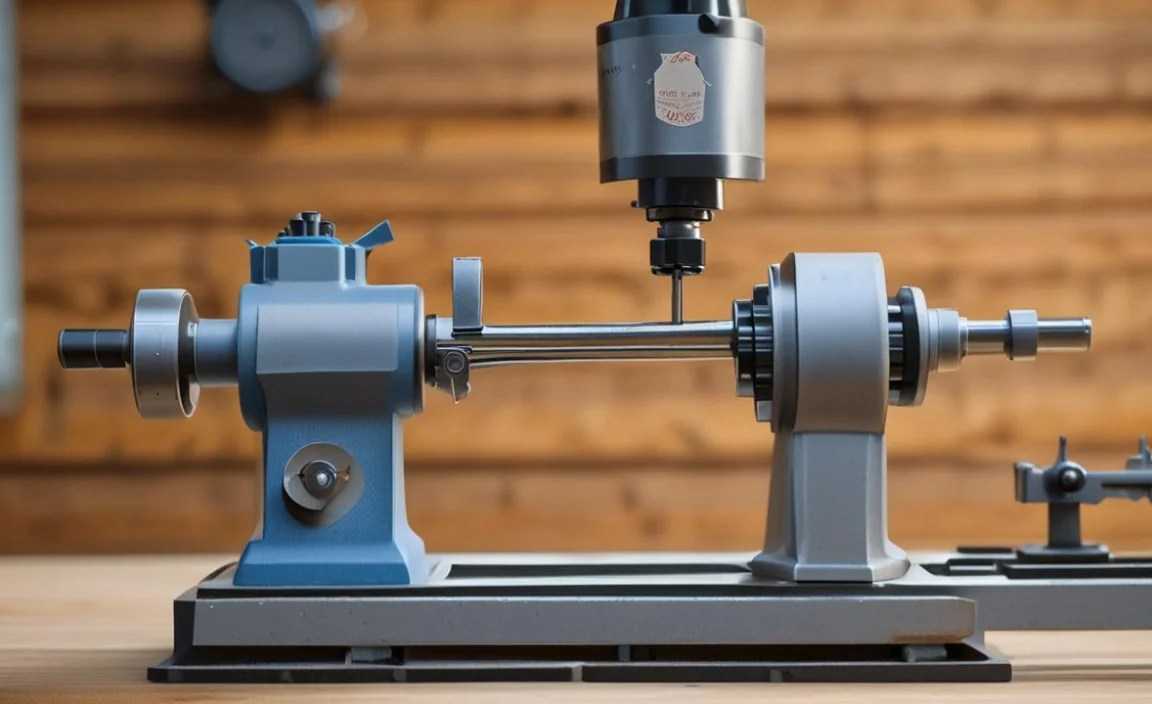
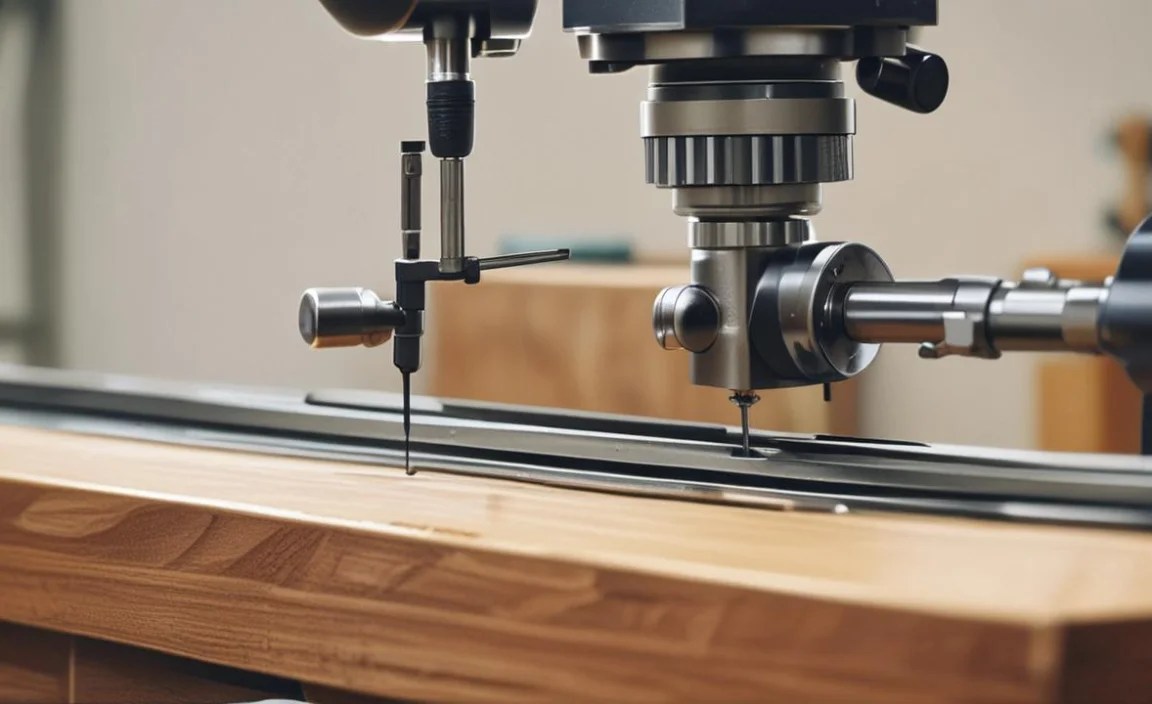
Method 3: Using a Dial Indicator (Most Precise)
This method provides the most accurate measurement of misalignment.
- Safety First: Unplug the lathe.
- Mount the dial indicator: Attach a dial indicator securely to the lathe bed or tool rest. Position it so the indicator’s probe can touch the rotating spindle or a mounted workpiece near the headstock.
- Mount a test piece: Mount a piece of round stock (dowel or a scrap spindle) to the lathe centers. Ensure the tailstock is snugged up to the headstock center.
- Zero the indicator: Carefully bring the dial indicator’s probe to make contact with the test piece or the spindle nose. Rotate the spindle by hand and adjust the probe’s position until it reads the lowest possible value (this is the true center runout). Note this reading. Now, set the dial indicator to zero.
- Slide the tailstock: With the dial indicator still at zero, slide the tailstock along the bed to the far end.
- Take a reading at the tailstock end: Rotate the spindle by hand again. The dial indicator will now show how much the spindle has moved away from its original center line over the length of the bed.
- Interpret the reading: If the reading is zero, your headstock is perfectly aligned with the tailstock center at that point. Any reading other than zero indicates misalignment. The amount shown on the dial indicator is the amount of misalignment over the length of the bed.
This is the most professional way to check and will tell you exactly how much adjustment is needed.
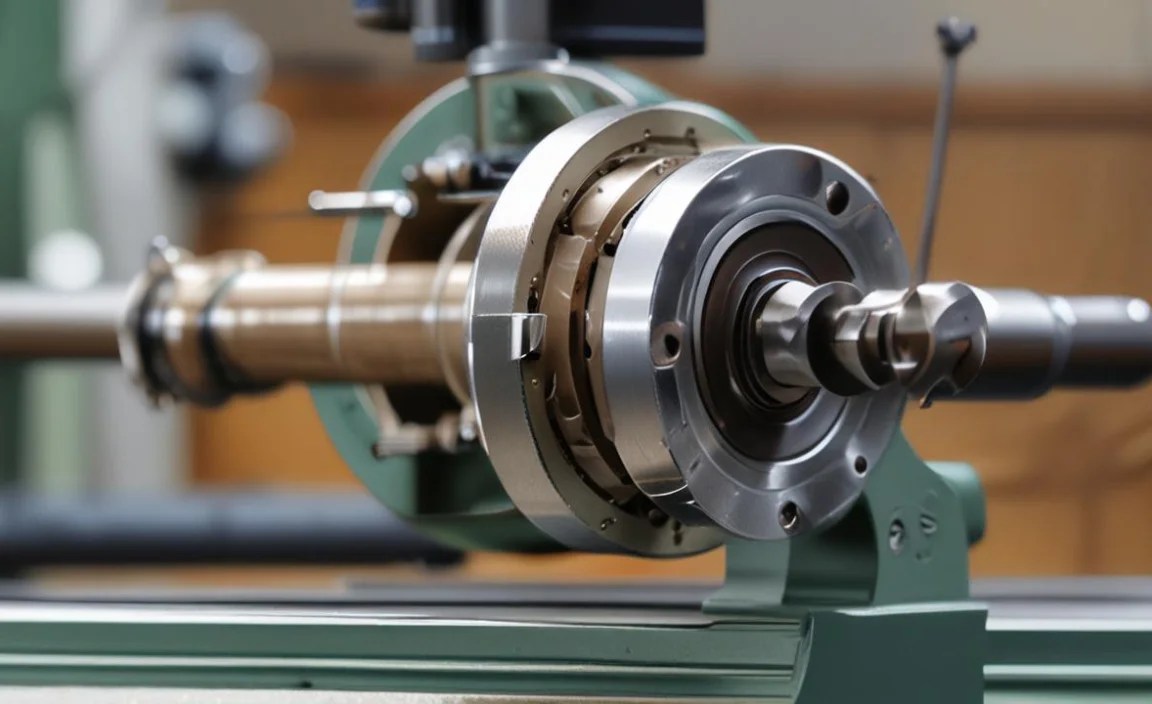
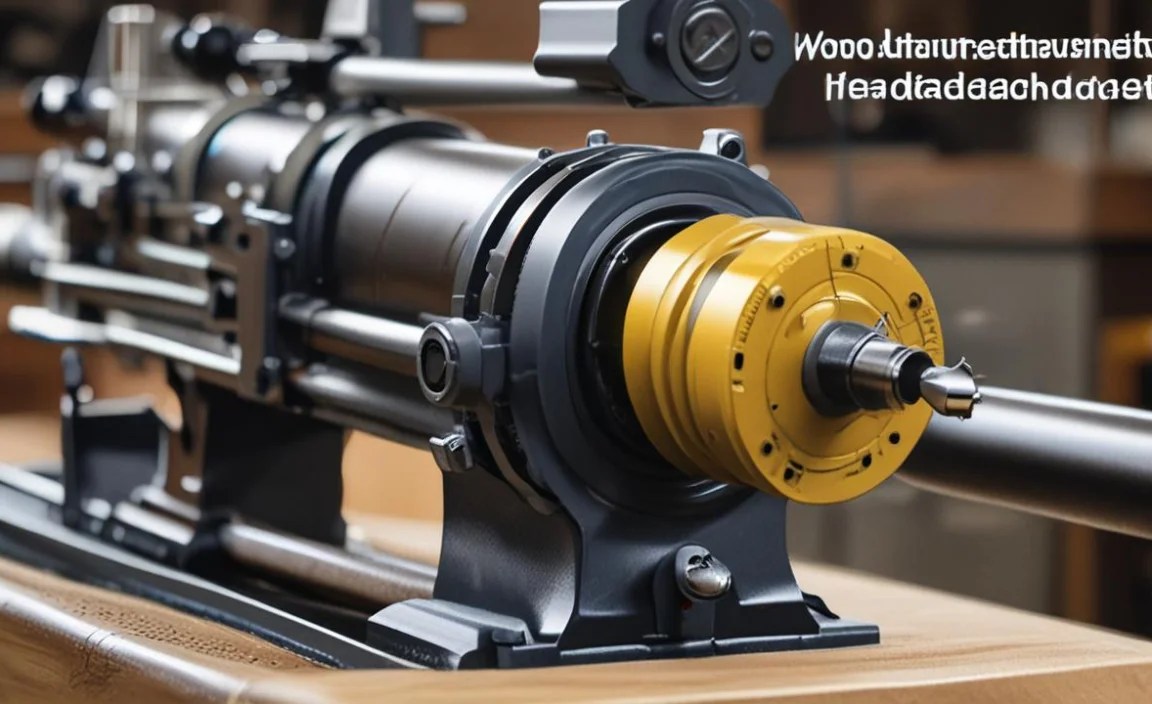
Locating and Adjusting the Headstock
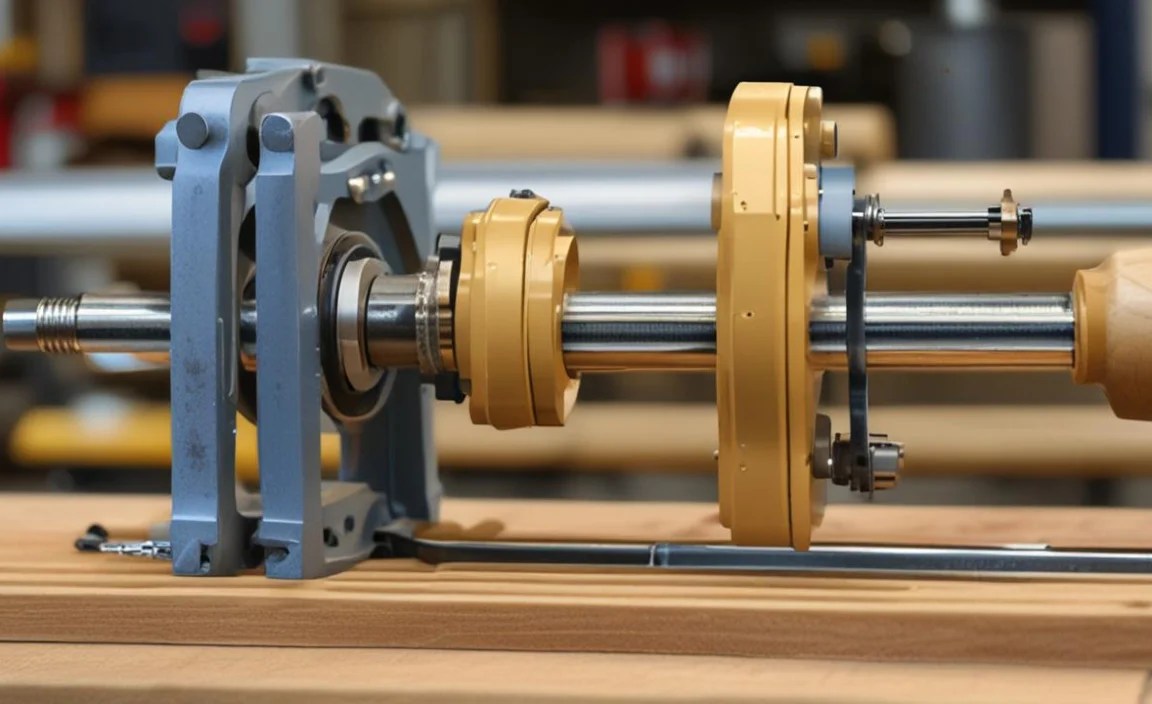
Most wood lathes have a way to adjust the headstock’s angle. This is usually found where the headstock casting meets the main lathe bed or the frame that supports it.
Common Adjustment Mechanisms:
- Pivot Bolts: Many lathes have one or two bolts that clamp the headstock to the bed. Loosening these bolts allows the headstock to pivot. There might be a separate adjustment screw or just the ability to nudge the headstock into position.
- Locking Plates: Some designs use a plate that bolts to the bed and has slots that allow the headstock to pivot.
- Sliding Gibs: More complex machines might have gibs that allow for fine adjustment of the headstock’s position along the bed.
The Adjustment Process:
- Identify adjustment points: Consult your lathe’s manual if you’re unsure where to find the headstock adjustment bolts. They are typically located on the underside or rear of the headstock casting, connecting it to the lathe bed.
- Loosen the locking bolts: Just loosen them enough to allow movement – don’t remove them entirely. You want the headstock to be snug enough to stay put once adjusted, but loose enough to be nudged.
- Perform the adjustment: This is where patience comes in.
- If using the ruler method, try nudging the headstock slightly and re-checking the ruler.
- If using the dial indicator or round stock test, you’ll need to make small adjustments and then re-measure.
- For minor adjustments, sometimes carefully tapping the headstock casting with a rubber mallet can help.
- If there are dedicated adjustment screws, use these for finer control.
- Tighten and Re-check: Once you believe you’ve achieved alignment, carefully tighten the locking bolts. Then, repeat your chosen alignment test (ruler, round stock, or dial indicator) to confirm the adjustment. It’s common to need a few cycles of loosen, adjust, tighten, and re-check to get it perfect.
Table: Common Lathe Alignment Issues and Solutions
Here’s a quick reference for common problems:
| Symptom | Likely Cause | Solution |
|---|---|---|
| Wobbly workpiece, egg-shaped turning | Headstock and tailstock centers not parallel. | Adjust headstock pivot bolts to achieve alignment. |
| Excessive vibration during operation | Headstock misalignment, worn centers, or unbalanced workpiece. | First, check and adjust headstock alignment. Then, ensure centers are sharp and that your workpiece is balanced. |
| Tool chatter marks on the wood | Poor headstock alignment or tool being held incorrectly. | Verify headstock alignment. Ensure your tool rest is properly positioned and your cutting tool is sharp and held at the correct angle. |
| Inconsistent cuts between headstock and tailstock ends | Headstock slowly drifting out of alignment. | Ensure headstock locking bolts are fully tightened. Re-check alignment periodically. |
Tips for Maintaining Alignment
Once you’ve got your lathe perfectly aligned, you’ll want to keep it that way. Here are some tips:
- Regular Checks: Make it a habit to check your alignment every few months, or anytime you notice unusual vibrations or turning inaccuracies.
- Tighten Securely: Always ensure the headstock locking bolts or clamps are properly tightened after making any adjustments. Vibration can loosen them over time.
- Cleanliness is Key: Keep the lathe bed, headstock mounting surfaces, and adjustment mechanisms clean and free of dust and debris. This ensures a solid fit and prevents grit from interfering with alignment.
- Avoid Over-Tightening: While you want things secure, don’t overtighten bolts, as this can strip threads or damage components.
- Protect Your Lathe: If you move your lathe or if it experiences any bumps, it’s a good idea to re-check the alignment.
Proper alignment isn’t a one-time job; it’s part of good lathe maintenance. Think of it like keeping your car’s tires aligned – it ensures everything works better and lasts longer.
When to Seek Professional Help
For most home workshop users, headstock adjustment is a manageable task. However, if your lathe is extremely old, has been heavily modified, or if the adjustment mechanism seems frozen or damaged, it might be time to consult a professional or the manufacturer. Some specialized lathes have more complex alignment systems that may require expert knowledge.
Also, if you’ve followed all the steps and still can’t achieve proper alignment or are experiencing persistent issues, there might be a deeper problem with the machine’s casting or internal components. Resources like the Occupational Safety and Health Administration (OSHA) standards for woodworking machinery emphasize the importance of properly maintained and aligned equipment for safety.
Common Pitfalls to Avoid
Even with the best intentions, it’s easy to make a mistake. Here are a few common pitfalls to watch out for:
- Adjusting with Power On: Never attempt to adjust the headstock while the lathe is powered. Always disconnect the power source.
- Over-Loosening Bolts: Loosen bolts just enough to allow adjustment. If you remove them entirely, you risk the headstock shifting unpredictably.
- Assuming Alignment is Perfect: Even if it looks okay, perform a test to measure and confirm.
- Rushing the Process: This is a job that requires patience. Take your time with each step.
- Ignoring the Manual: Your lathe’s manual is the best resource for understanding its specific design and adjustment points.
By being aware of these common mistakes, you can ensure a smoother and safer alignment process.
Frequently Asked Questions (FAQ)
Q1: How often should I check my wood lathe’s headstock alignment?

A1: It’s a good practice to check the alignment every few months, or whenever you notice unusual vibrations, hear strange noises, or your turned pieces are consistently out of round. Regular checks can prevent minor issues from becoming major problems.
Q2: My headstock adjustment bolts are very stiff. What should I do?

A2: First, ensure you’ve completely loosened the bolts. If they are still stiff, a small amount of penetrating oil applied to the bolt threads and around the mounting surfaces might help. Allow it to soak in. Gentle tapping with a rubber mallet on the casting might also free it up. If they remain stubborn, consult your manual or a professional.
Q3: Can I turn things between centers if my headstock is slightly misaligned?

A3: While you can, it’s highly discouraged. Slight misalignment can lead to rough surfaces, vibrations, and difficulty achieving roundness. For critical projects or even basic turning, proper alignment is key to good results and safe operation.
Q4: What’s the difference between headstock alignment and tailstock alignment?

A4: Headstock alignment refers to the angle and position of the headstock spindle relative to the lathe bed and the tailstock. Tailstock alignment typically refers to its ability to slide along the bed and lock in place securely, and its center being at the correct height relative to.
