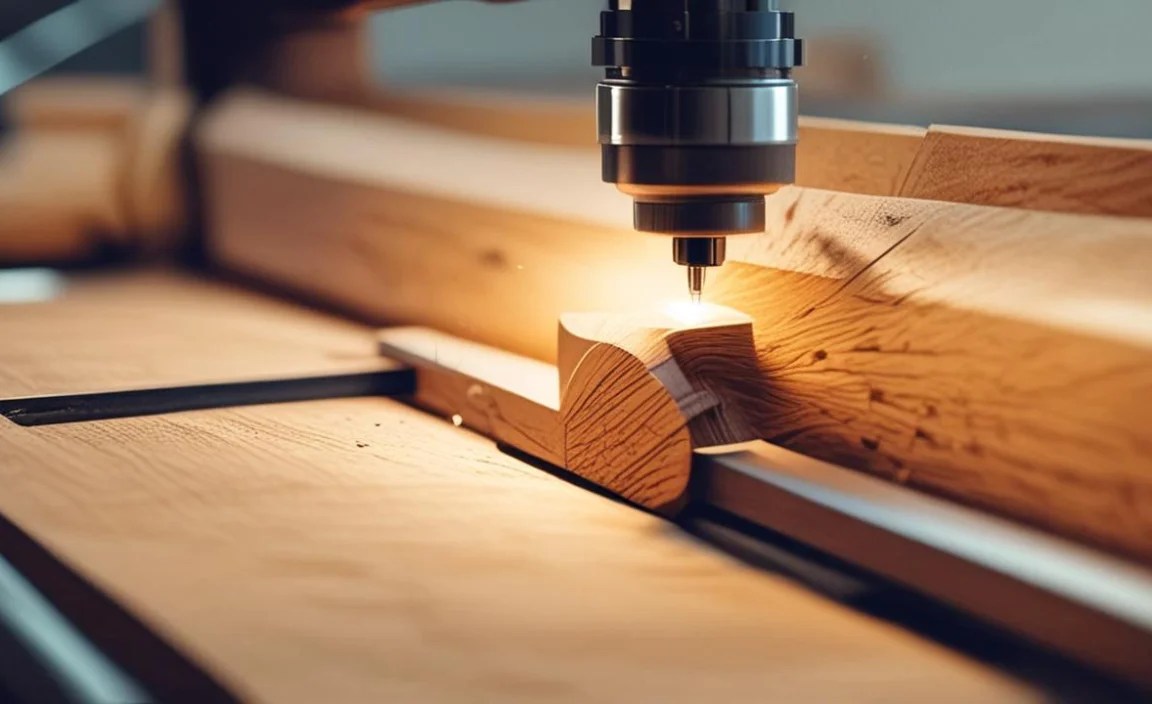
Wood lathe hollowing is an essential skill for creating hollow forms like bowls and vases, allowing you to transform solid wood into beautiful, functional art pieces safely and efficiently. This guide breaks down the process, tools, and safety measures so you can start hollowing with confidence.
Have you ever admired a beautifully turned wooden bowl or vase and wondered how it was made? Hollow forms are some of the most satisfying projects a woodturner can tackle. But the idea of cutting a deep cavity into spinning wood can seem a little intimidating at first, right? You might worry about catches, tool control, or just getting that nice, clean interior. Don’t let that stop you! Hollowing on a wood lathe is a fundamental skill, and with the right approach, it’s very achievable. We’re going to walk through everything you need to know, step by step, making sure you feel confident and safe. Get ready to transform your wood into stunning hollow vessels.
Wood Lathe Hollowing: An Essential Guide

Welcome to the exciting world of wood lathe hollowing! As Daniel Bates from Lathe Hub, my goal is to make complex tools and techniques accessible to everyone, especially if you’re just starting out. Hollowing out wood on a lathe is how we create those amazing bowls, vases, and other hollow forms that look so impressive. It might seem tricky, but with a good understanding of the tools, techniques, and safety, you’ll be turning out beautiful pieces in no time. This guide is designed to take you from curious beginner to confident hollower.
Why Master Wood Lathe Hollowing?

Hollowing opens up a whole new dimension for your woodworking projects. It’s not just about making bowls; it’s about creating depth, form, and elegance. With hollowing skills, you can:
- Create functional items like bowls, vases, and platters.
- Explore artistic sculptural forms.
- Achieve thinner walls for a more delicate look.
- Utilize different types of wood, including those with interesting grain patterns.
- Develop advanced tool control and an understanding of wood behavior.
Think of the possibilities! From a simple salad bowl to an intricate lidded box, mastering hollowing is a game-changer for any woodturner.
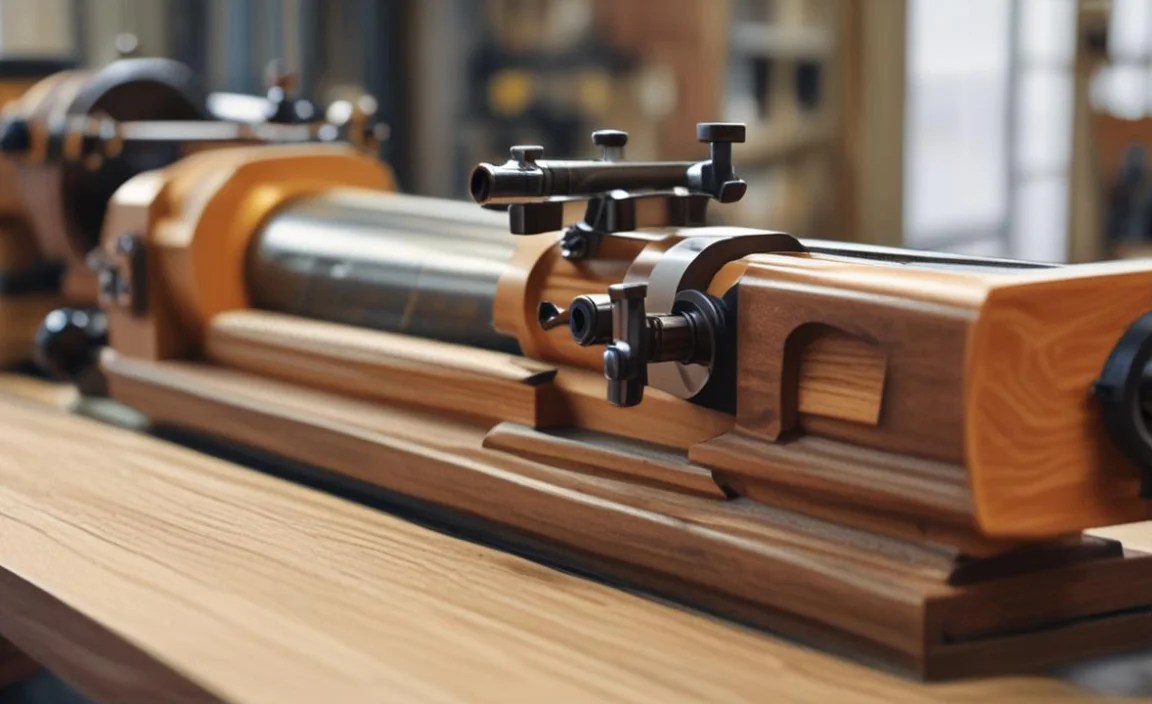
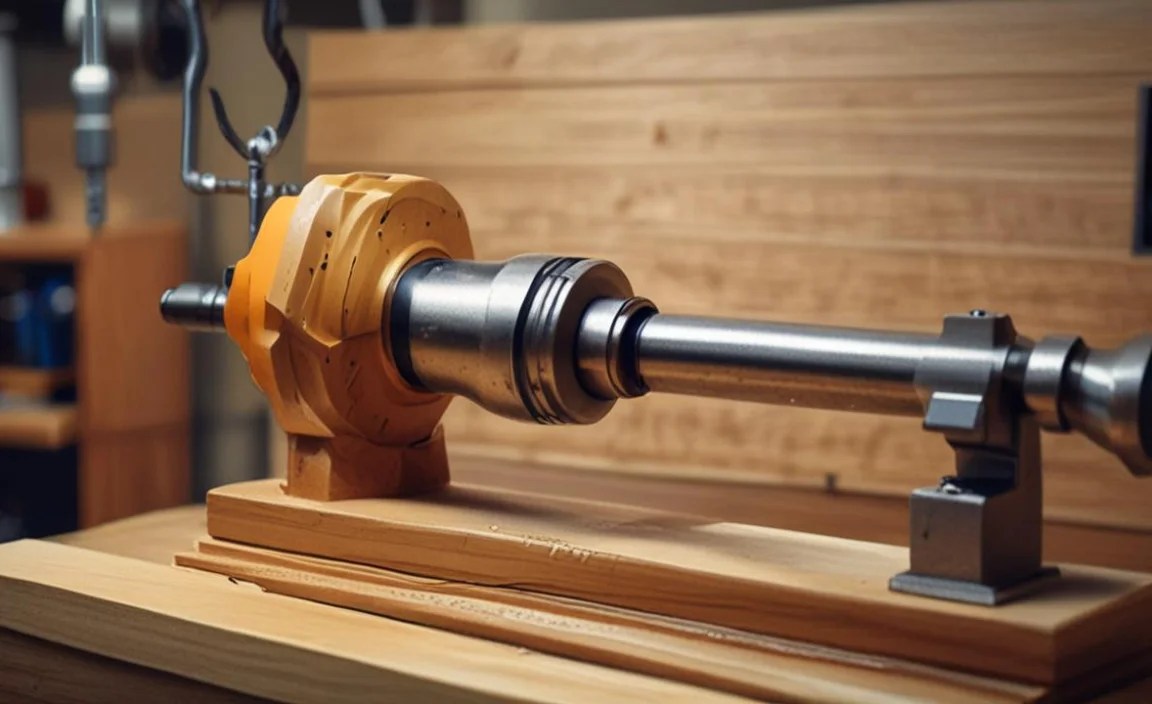
Essential Tools for Hollowing

Before we dive into the techniques, let’s talk about the tools you’ll need. Having the right equipment makes all the difference and will significantly improve your safety and the quality of your work. We won’t get bogged down in jargon; these are the key players:
Turning Tools for Hollowing
While you can start with a basic set of turning tools, specific hollowing tools are designed to make the job easier and safer. Here are the most common ones:
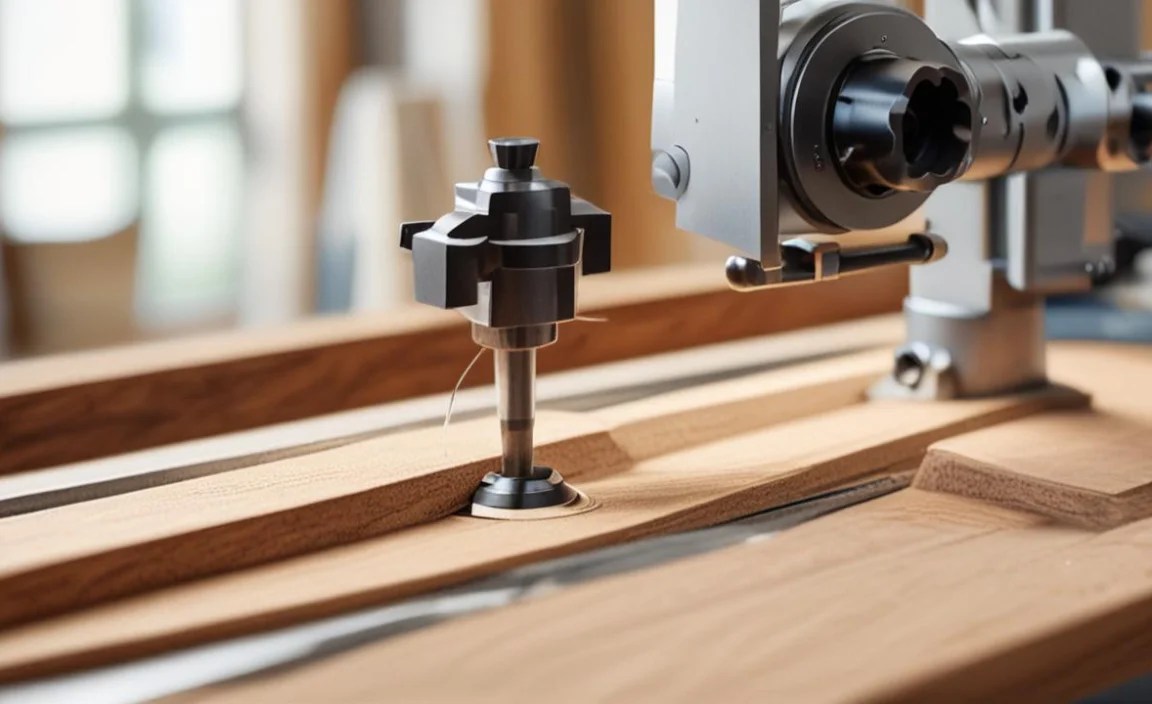
- Bowl Gouge: This is your primary tool for roughing out the initial shape of the outside and inside of your piece. They come in various sizes and sweeps (the curve of the flute). A swept-back bowl gouge is particularly useful for reaching into hollow forms.
- Hollowing Tools (Negative Rake Scrapers): These are specialized scrapers designed to cut rather than scrape. They have a “negative rake” angle, which means the cutting edge is set below the tool’s body. This significantly reduces the risk of catches and makes for a smoother cut. They are ideal for refining the interior surface and creating smooth walls.
- Fingernail Gouge: Useful for initial shaping and some hollowing, especially on smaller pieces or for starting cuts.
- Parting Tool: Essential for separating the finished piece from the waste wood and for creating tenons for chuck mounting.
Safety Equipment – Non-Negotiable!

Safety is paramount when working with a lathe. Never skimp on safety gear. Even experienced turners wear this:
- Safety Glasses or Face Shield: Always wear eye protection. A full face shield offers the best protection against flying chips.
- Dust Mask or Respirator: Wood dust can be harmful. Protect your lungs.
- Hearing Protection: Lathes can be noisy. Earplugs or muffs are a must.
- Apron: A sturdy apron protects your clothing and offers a minor layer of protection.
- Respirator: For fine dust protection.
You can find excellent safety guidelines from organizations like the Occupational Safety and Health Administration (OSHA) on proper workshop safety practices, which extend to lathe operation.
Other Useful Accessories
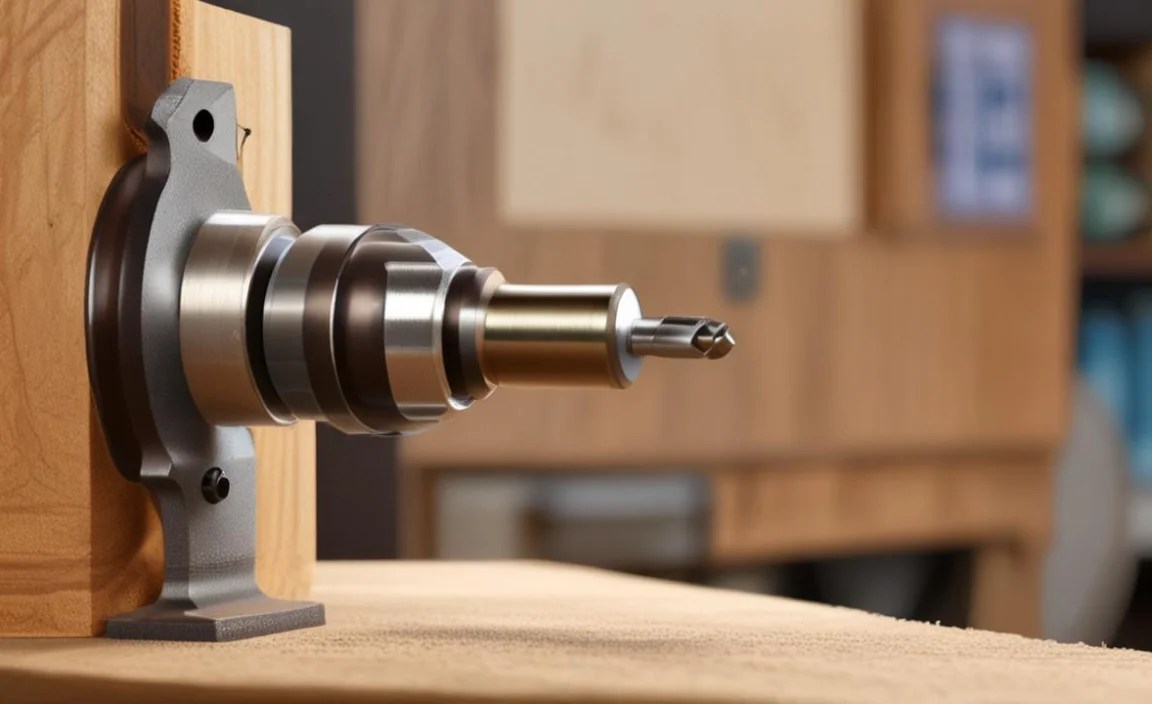
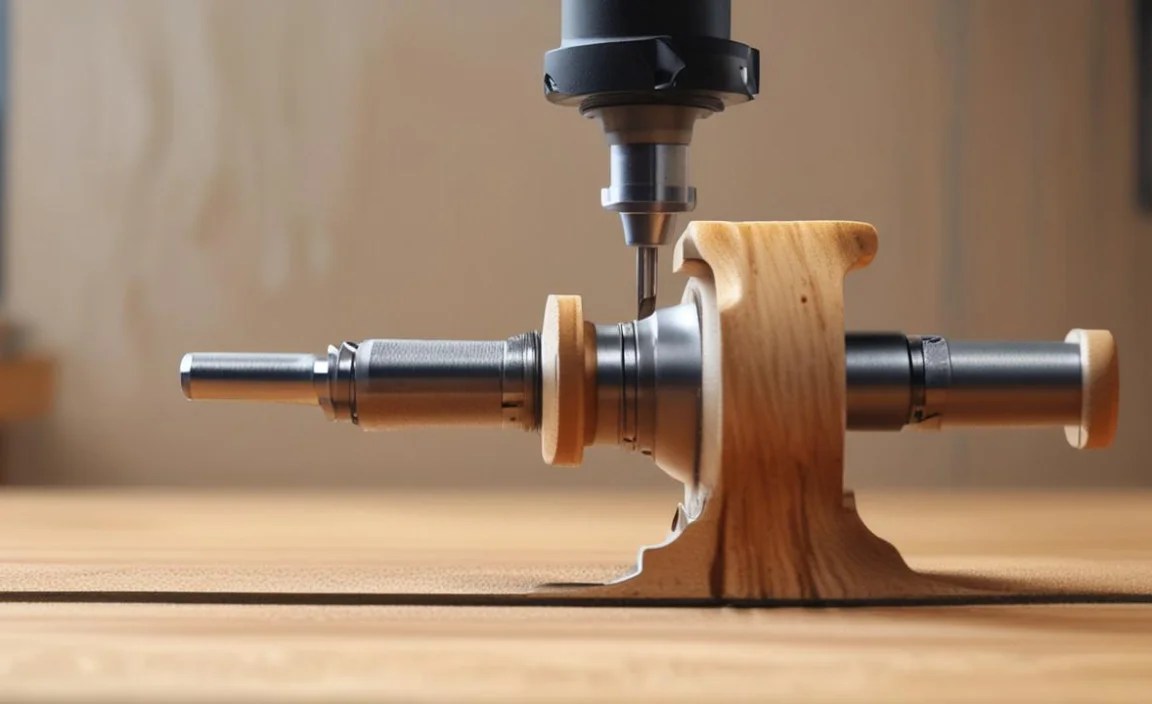
- Chucks: You’ll need a chuck to securely hold your workpiece on the lathe. A scroll chuck with various jaws is versatile.
- Tailstock: Provides support for longer pieces and can be used with drill bits for initial hollowing.
- Tool Rest: An adjustable tool rest is crucial for supporting your turning tools at the correct angle. Ensure it’s positioned close to the work.
Preparing Your Wood for Hollowing
The journey to a hollow form begins before you even turn on the lathe. Proper preparation sets you up for success and safety.
Choosing the Right Wood

Most hardwoods are suitable for turning and hollowing. Some popular choices include:
- Maple: Hard, fine-grained, and turns beautifully. Great for light-colored bowls.
- Cherry: Easy to turn, develops a lovely reddish-brown color with age.
- Walnut: Rich color and grain, turns well but can be a bit softer than maple.
- Oak: Strong and durable, but its open grain can be more challenging for beginners.
- Poplar: Softer and lighter, easier to turn but less durable. Good for practice.
Consider if you’re working with green wood (freshly cut) or dry wood. Green wood is easier to turn but will move and warp as it dries, often requiring re-turning to maintain shape. Dry wood is stable.
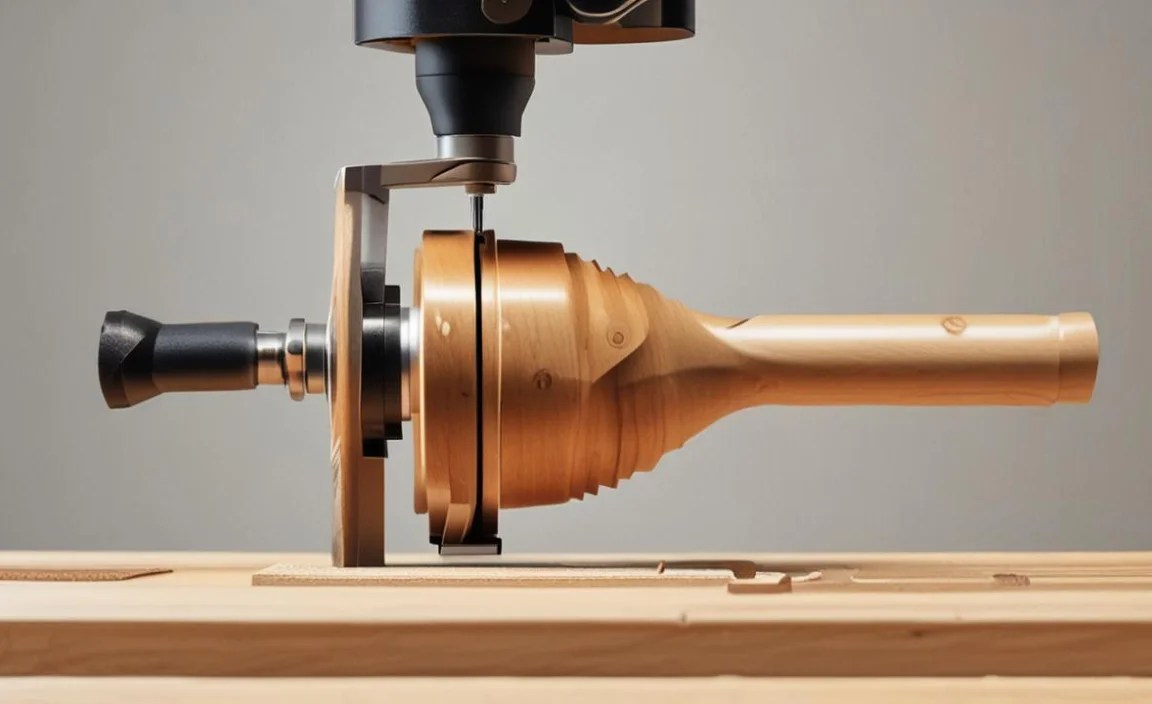
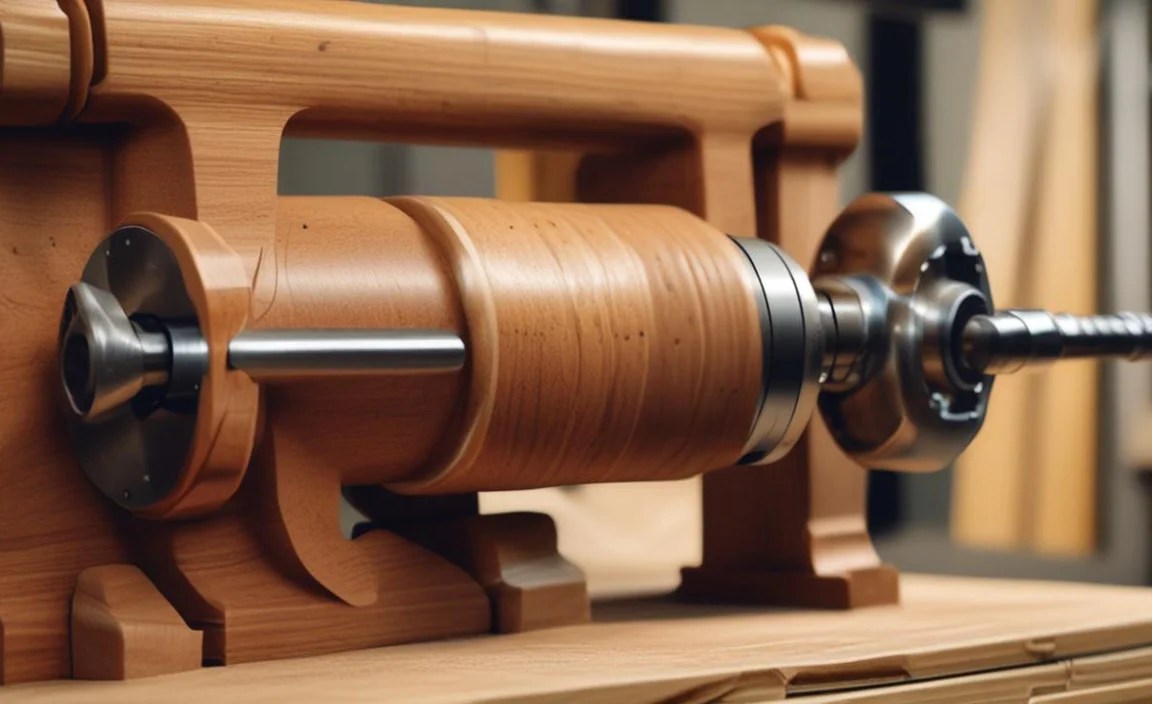
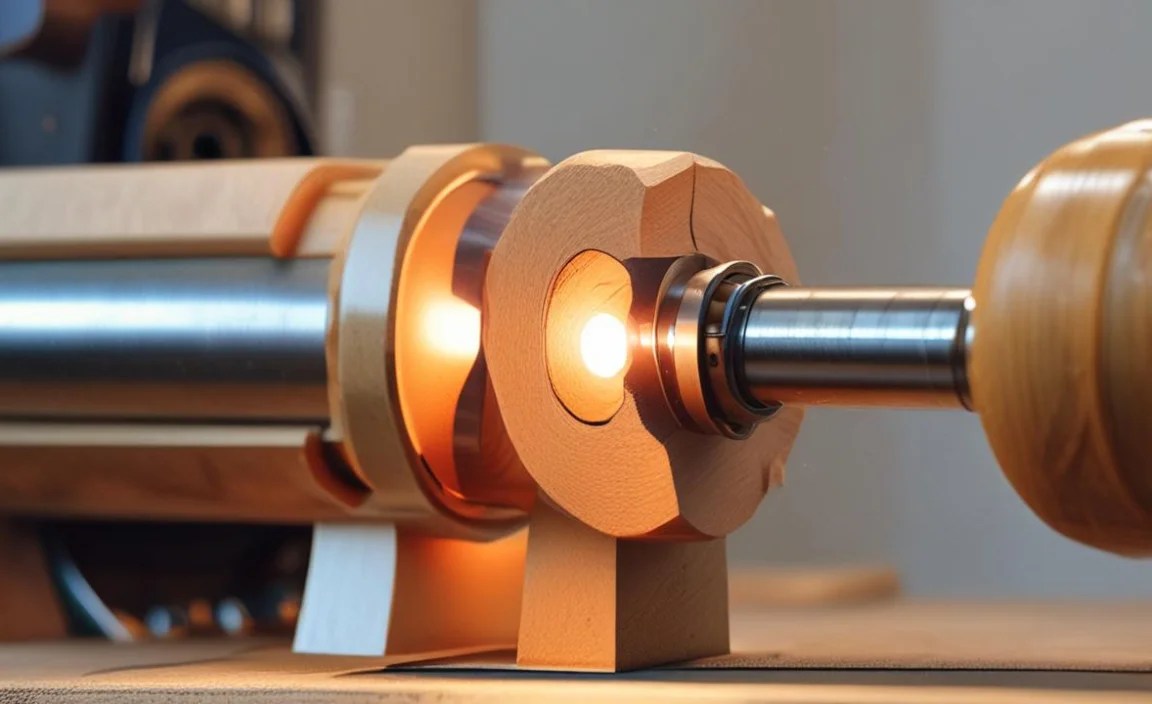
Mounting Your Blank
How you mount your wood is critical for safety. For hollowing, you typically start with a solid block or a pre-cut blank. You’ll likely need to turn down one face to create a smooth surface for chuck mounting.
Using a Faceplate: For large or irregularly shaped blanks, a faceplate screwed securely into the end grain is often used. Ensure the screws are long enough and driven into solid wood.
Using a Screw Chuck or Tenon: For many bowl projects, you’ll turn a tenon on the bottom of your blank that fits into the jaws of your scroll chuck. Alternatively, a screw chuck can be used to start. Ensure the tenon is the correct size for your chuck jaws.
Always ensure the wood is securely mounted and balanced before turning on the lathe. A wobbly, unbalanced blank is a serious safety hazard.
Step-by-Step Wood Lathe Hollowing Techniques

Now for the exciting part – let’s get turning! We’ll break this down into manageable steps. Remember, patience and practice are key.
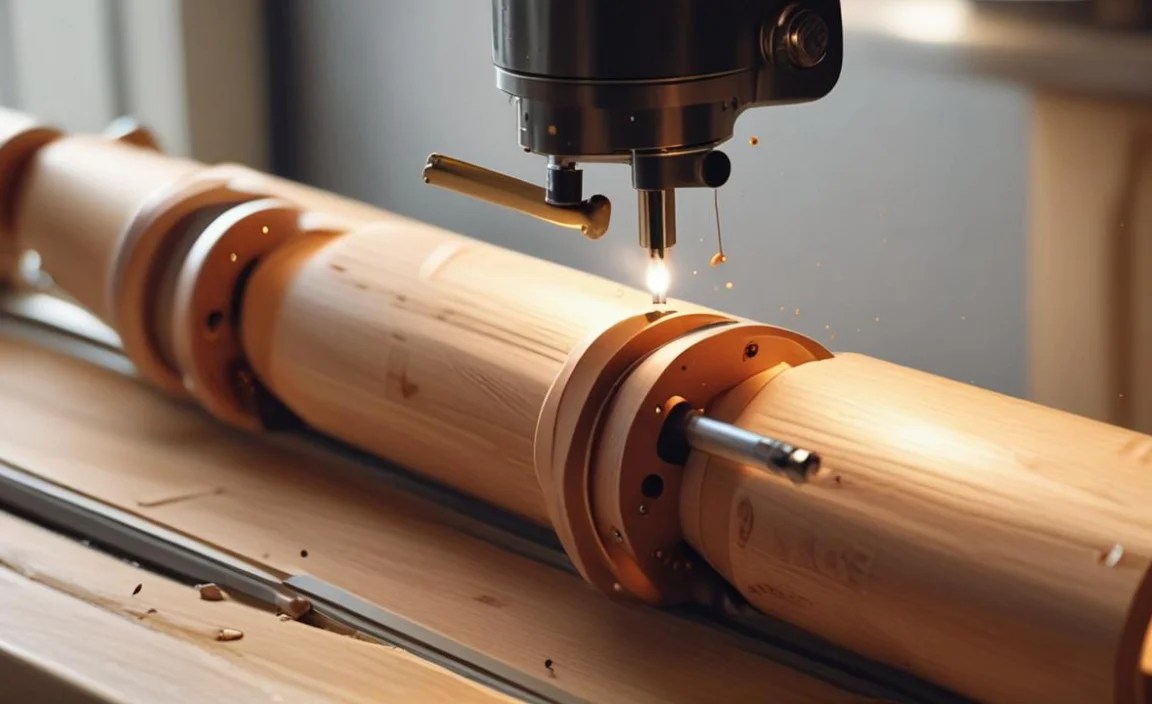
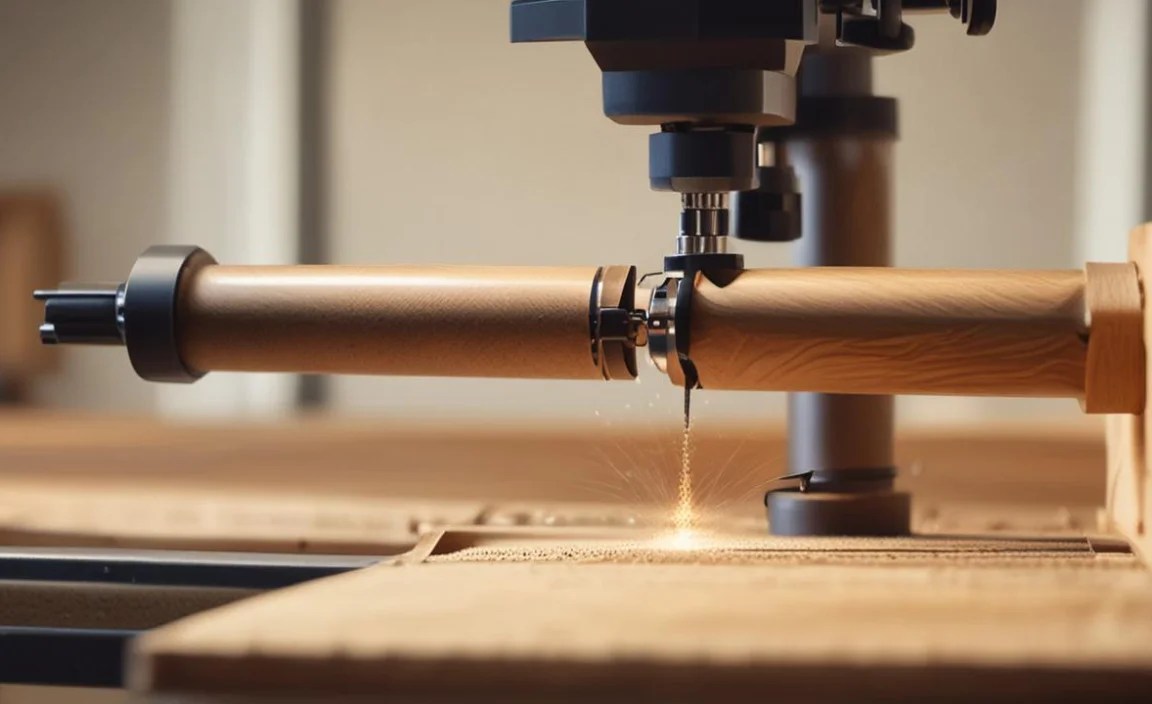
Step 1: Rough Turning the Exterior

Before you can hollow, you need to shape the outside of your blank. Mount your blank securely. If using a chuck, ensure the jaws are gripping the tenon firmly. If using a faceplate, check all screws.
- Start Slow: Begin at a slow spindle speed. As the blank becomes more round and balanced, you can gradually increase the speed. Consult your lathe’s manual for recommended speeds based on wood type and diameter.
- Shape with a Bowl Gouge: Use your bowl gouge to shape the outside profile. Start by creating a tenon for your chuck if you haven’t already. Then, work on the overall shape of your piece.
- Make Smooth Cuts: Let the tool do the work. Take light, consistent passes. Don’t try to remove too much material at once.
Step 2: Preparing for Interior Hollowing
Once the exterior is shaped, it’s time to think about the inside. For bowls, you’ll typically want to establish a rim and a surface for your chuck jaws to grip later.
- Mark the Interior: You can lightly pencil where you intend to start your hollowing. This gives you a visual guide.
- Establish the Rim: Use a parting tool or gouge to define the top rim of your bowl. This helps create a clean edge and can be used to hold the piece for part of the hollowing process.
- Create a Rebate/Recess (Optional but Recommended): For easy remounting, it’s a good idea to create a recess on the rim that your chuck jaws can grip securely. This is often done with a small gouge or a specialized chuck jaw.
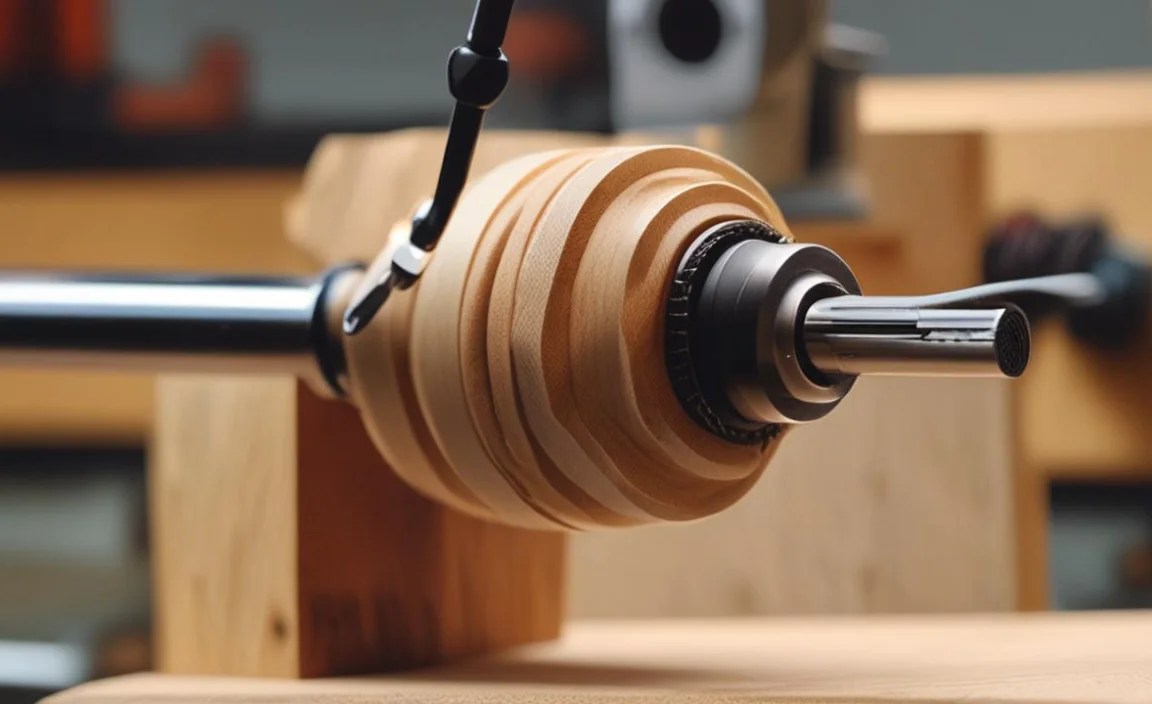
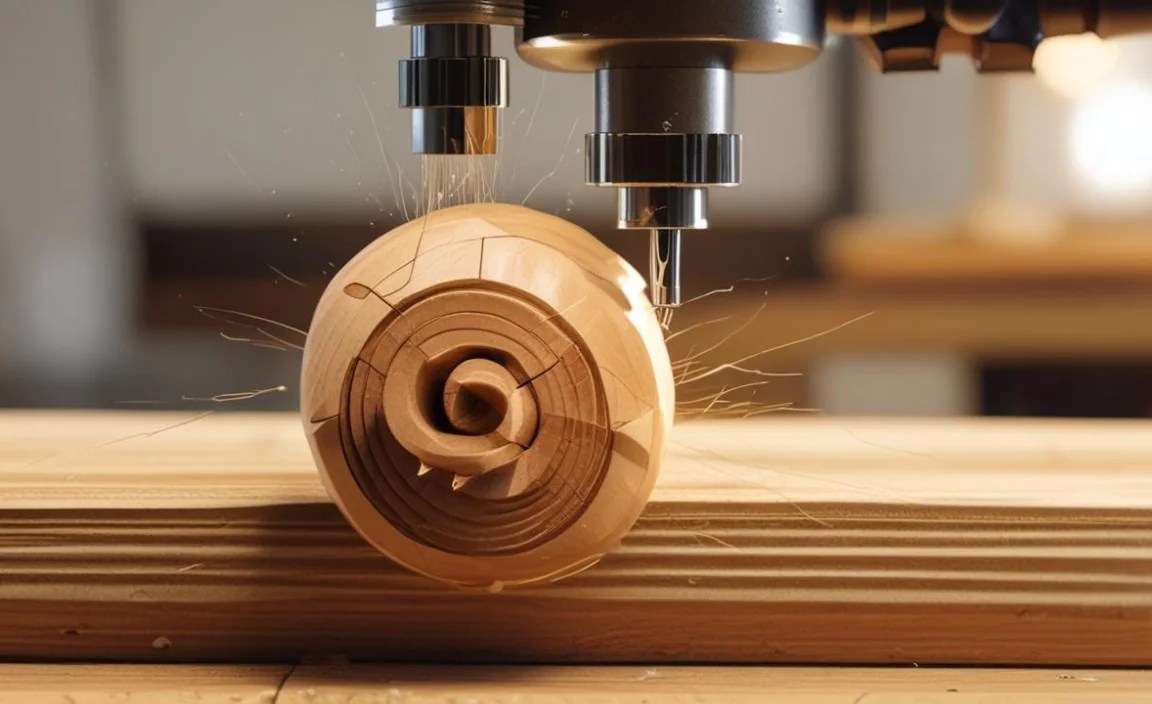
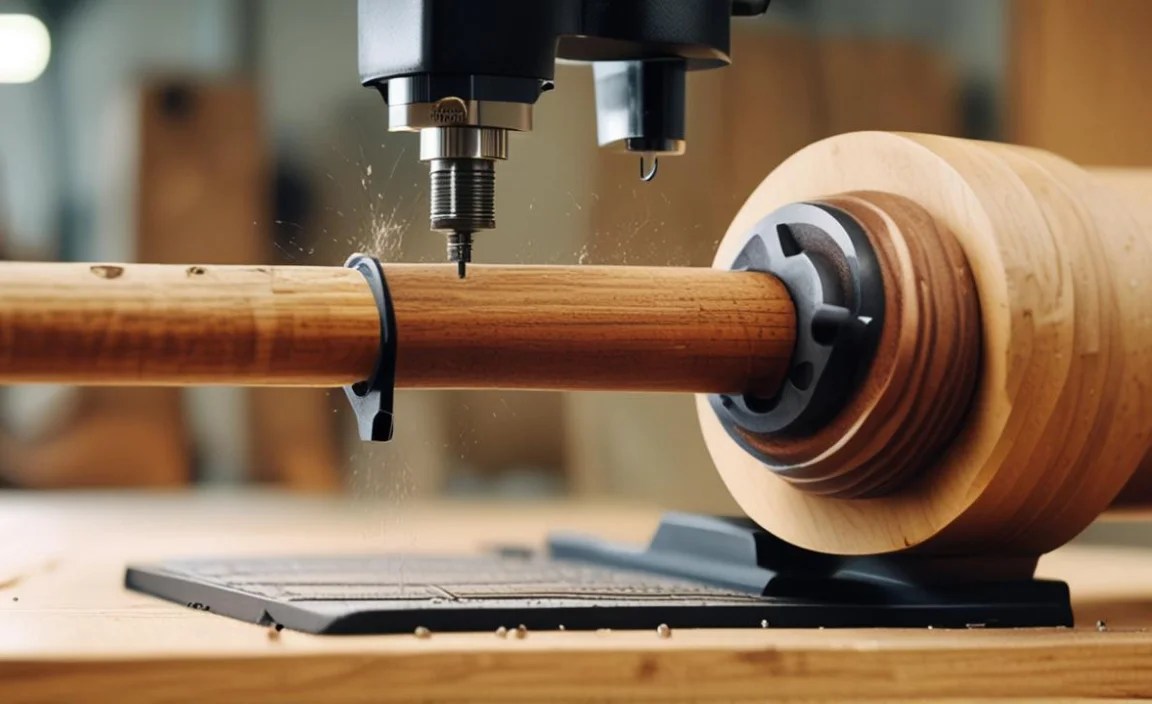
Step 3: Initial Interior Hollowing
This is where the real hollowing begins. The key is to start gently and work your way in.
- Tool Choice: A bowl gouge is often used for initial hollowing, especially on larger pieces. For beginners, a swept-back gouge is helpful.
- Starting the Cut: Position the tool rest close to the workpiece and at the correct height. Usually, this is slightly below the center line for roughing. Engage the wood with the bevel rubbing against the side of the flute.
- Controlled Passes: Start from the center and work outwards towards your marked line. Take shallow cuts. If you’re using a bowl gouge, you can use a scraping action or a sweeping cut.
- Work in Sections: Don’t try to hog out large amounts of wood. Work in manageable sections, gradually deepening and widening the hollow.
- Sand or Re-cut as Needed: As you get deeper, you might encounter tear-out or an uneven surface. You can stop the lathe and sand lightly, or make another clean cut with your tool.
Step 4: Refining the Interior with Hollowing Tools
This is where your specialized hollowing tools (negative rake scrapers) shine. They make achieving a smooth, consistent interior much easier and safer.
- Tool Placement: Position the tool rest parallel to the top surface of your piece, often slightly above center for a scraper.
- The Cut: Hold the hollowing tool so the cutting edge is slightly engaged with the wood. The negative rake design means the tool cuts efficiently with less risk of digging in.
- Smooth Sweeping Motions: Use gentle, sweeping motions along the interior curve. Work from the bottom of the hollow up towards the rim.
- Achieve Desired Wall Thickness: Regularly check your wall thickness by using calipers or by gently touching the exterior while the tool is engaged inside. Aim for a consistent thickness throughout. Visual cues are also helpful – learn to judge by appearance.
- Watch for Vibration: If you hear or feel excessive vibration, your tool might be digging in, or your speed might be too high. Stop and reassess.
External Resource: For a deeper dive into tool geometry and cutting principles, the American Association of Woodturners (AAW) often provides excellent resources and safety guidelines for woodturners.
Step 5: Hollowing Smaller Vessels and Bowls

For smaller items, the process is similar but requires more delicate control.
- Tool Size: Use smaller gouges and hollowing tools suited to the scale of your work.
- Lathe Speed: You can generally run at higher speeds with smaller, well-balanced pieces.
- Tailstock Support: For initial turning, especially if your blank isn’t perfectly round, using the tailstock for extra support can be beneficial. You can then remove it to hollow.
- Focus on Thin Walls: Smaller pieces often benefit from thinner walls, so pay close attention to your wall thickness.
It’s crucial to maintain proper tool control and ensure nothing is loose. A spindle that’s too fast or wobbly when small can be a major hazard.
Step 6: Finishing the Interior

Once you’ve achieved the desired shape and wall thickness, you can refine the interior surface.
- Final Tool Cuts: Make a few very light passes with your hollowing tool to create a smooth finish.
- Sanding: With the lathe running at a moderate to slow speed, sand the interior. Start with a coarser grit sandpaper (e.g., 120-180) and work your way up to finer grits (e.g., 220, 320, 400). Hold the sandpaper so it conforms to the curve.
- Burnishing (Optional): Some turners use specialized burnishing tools or even a clean piece of abrasive to create a very smooth, polished interior.
Step 7: Removing the Piece and Finishing the Base

This is often done by reversing the piece in the chuck or using jam chucks.
- Remounting for Base Turning: If you created a recess (rebate) for your chuck jaws, this is where it comes in handy. Flip the piece over, engage the chuck jaws in the recess, and tighten securely.
- Turning the Tenon/Base: Carefully turn away the original tenon or faceplate area to create a flat base or a new, smaller tenon for refinement.
- Jam Chucks: A jam chuck is a custom-made wooden chuck that fits snugly over the rim of your piece. It’s used to hold the piece securely for turning the bottom and removing the original mortised tenon. You can make simple jam chucks from scrap wood.
- Final Sanding: Once the base is shaped, sand it smooth.
Troubleshooting Common Hollowing Issues
Even with the best intentions, you might run into a few snags. Here’s how to handle them:
Catching and Tear-Out
Cause: The tool digs into the wood unexpectedly, or the wood fibers splinter instead of cutting cleanly. Often due to moving the tool too quickly, dull tools, or wrong tool angle.
Solution: Always use sharp tools. Ensure your tool rest is close to the work. Make light, controlled cuts, and let the bevel rub. For hollowing tools, the negative rake design greatly reduces this risk.
Uneven Wall Thickness

Cause: Inconsistent tool movement or not visually checking the thickness as you go.
Solution: Use a consistent sweeping motion. Regularly stop the lathe and measure your wall thickness with calipers. Aim for uniformity.
Chatter Marks (Vibrations in the Cut)
Cause: Loose tool rest, dull tool, lathe speed too high or too low for the material, or the wood itself is unevenly dense.
Solution: Ensure all lathe components are tight. Sharpen your tools. Experiment with lathe speeds. Sometimes, a slower speed and very light scraping cuts can smooth out chatter.
Difficulty Getting to Depth
Cause: Too much material removed at once, tool not angled correctly, or the tool is not designed for deep hollowing.
Solution: Take smaller, incremental cuts. Ensure your tool’s flute is oriented to clear chips effectively. A deeper-fluted bowl gouge or a dedicated hollowing tool is designed for this.
Advanced Hollowing Techniques and Considerations
Once you’re comfortable with the basics, you can explore more advanced methods.
Thin-Walled Bowls

Achieving very thin walls requires immense control and understanding of the wood. It’s often best achieved with a sharp hollowing tool and very precise sanding. Using calipers and checking against a light source can help you judge wall thickness accurately.
Forming Lidded Vessels
This involves hollowing out both the body and the lid separately, often requiring the creation of fitting tenons and recesses so the lid sits snugly on the body. Precision in turning these fitting parts is key.
Deep Hollowing
For very deep pieces, consider using tools with longer handles for better leverage and control. Some turners use specialized deep-hollowing tools with extended reach.
Drying and Re-Turning Green Wood**

If you’re hollowing green wood, you’ll need to let it dry. This can take weeks or months, depending on the size and wood type. As it dries, the wood will warp. You often need to remount the piece on the lathe and re-turn the exterior and interior to true it up. This process is sometimes called “curing” or “drying to shape.”
According to the United States Department of Agriculture (USDA) Forest Products Laboratory, understanding wood movement and moisture content is crucial for woodworking projects to prevent cracking and warping post-completion.
Wood Lathe Hollowing Tools Comparison Table

Here’s a quick look at how different tools stack up for hollowing:
| Tool Type | Best For | Pros | Cons |
|---|---|---|---|
| Bowl Gouge (Swe |
