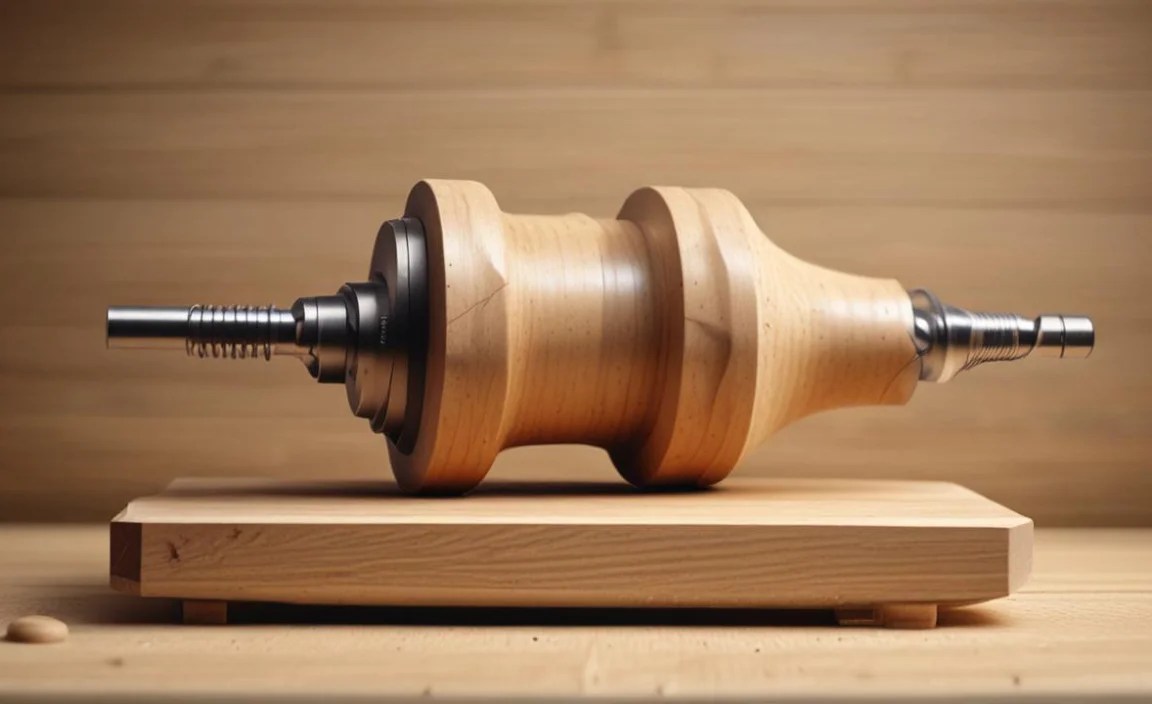
Wood lathe hollow form turning is a fantastic way to create beautiful, hollow vessels and containers. This guide breaks down the process into easy steps for beginners.
Ever looked at a stunning wooden bowl or vase and wondered how it was made so perfectly hollow? That’s often the magic of wood lathe hollow form turning. For beginners, the idea of hollowing out a spinning piece of wood can seem a little intimidating. You might worry about catching an edge, the wood flying off, or just not knowing where to start. But don’t worry! With the right tools and a clear understanding of the steps, hollow form turning is totally achievable and incredibly rewarding.
This guide is here to take the mystery out of it. We’ll walk you through everything you need to know, from the essential tools to safe techniques for creating your first hollow form. Get ready to transform a simple block of wood into a beautiful, functional piece of art!
Wood Lathe Hollow Form Turning: Your Essential Beginner’s Guide

Welcome to the exciting world of hollow form turning! This technique allows you to create elegant vessels, bowls with lids, and unique containers on your wood lathe. It’s a bit different from turning a solid piece, but once you get the hang of it, you’ll find it opens up a whole new dimension of creativity.
At Lathe Hub, we believe in making complex tools and techniques accessible. This guide is crafted for you – the beginner woodworker, the curious hobbyist, or anyone looking to add this skill to their repertoire. We’ll keep it simple, focus on safety, and guide you step-by-step to success.
Why Try Hollow Form Turning?
Creating hollow forms on a lathe offers several great advantages:
- Unique Designs: You can make bowls, vases, spice jars, and even decorative pieces with interesting shapes.
- Material Efficiency: It allows you to create larger-looking pieces from smaller blocks of wood, saving on material costs.
- Skill Development: It’s a fantastic way to hone your lathe control, tool handling, and understanding of wood movement.
- Functional Art: Turn everyday items like bowls or decorative pieces that add beauty to your home.
Essential Tools for Hollow Form Turning

To get started with hollow form turning, you’ll need a few specific tools beyond your basic lathe setup. Safety is paramount, so investing in good quality tools is a wise decision.
Your Wood Lathe
Any standard wood lathe can be used for hollow form turning. The size and power you need will depend on the size of the pieces you intend to turn.
Safety Gear (Non-Negotiable!)

Always use these items:
- Safety Glasses or Face Shield: Essential to protect your eyes from flying chips and dust. A full face shield is highly recommended.
- Dust Mask or Respirator: Wood dust can be harmful. Ensure you have adequate respiratory protection.
- Hearing Protection: Lathes can be noisy.
- Apron: Protects your clothes and provides a slight barrier.
Hollowing Tools

These are specialized tools designed for cutting into the inside of your turning piece.
- Scrapers: Traditional scrapers (like a round nose scraper or bowl scraper) can be used, but they require a specific technique and can be challenging for beginners, especially for deeper hollows.
- Hook Tools (Hollowing Tools): These are the most common and user-friendly tools for beginners. They resemble a hook with a sharpened edge. They come in various shapes and sizes for different cuts and depths. Look for carbide-tipped hook tools as they often hold an edge longer and are sometimes easier to re-sharpen.
- Bowl Gouges: While typically used for external shaping, a specialized bowl gouge can also be used for initial hollowing, especially on shallower forms.
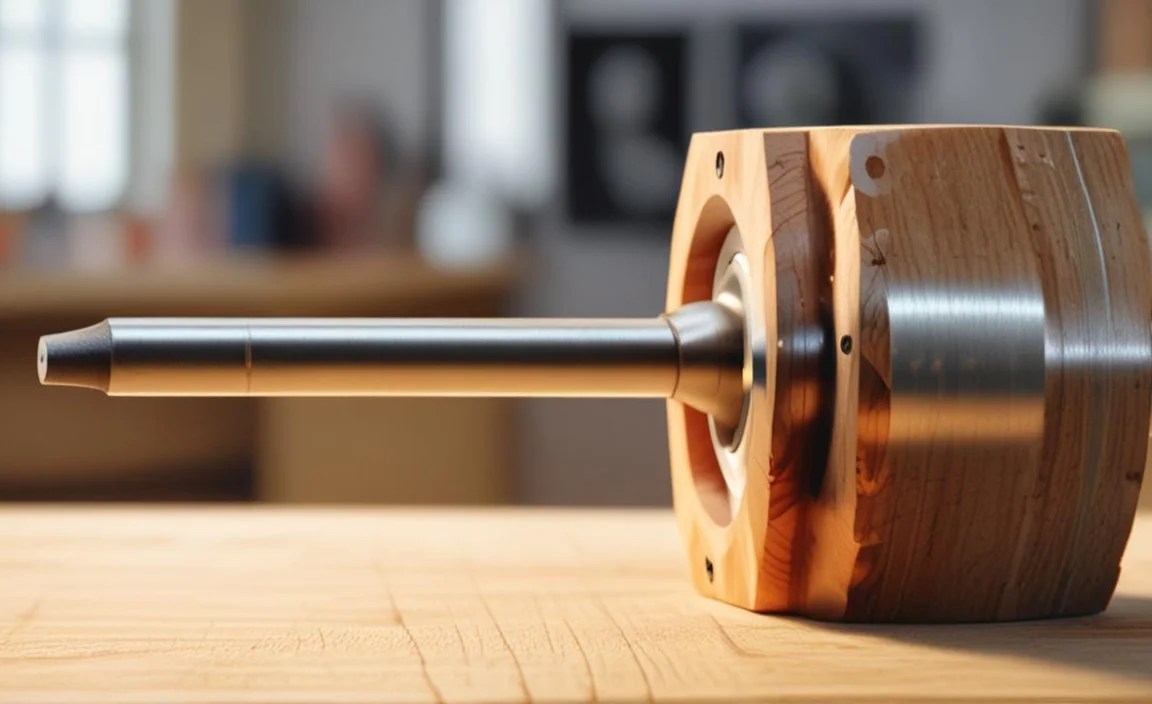
Chuck and Jaws

You’ll need a scroll chuck and appropriate jaws to securely hold your wood. For hollow forms, you’ll often turn the piece around and reverse the chucking method.
- Jaw Set: Different jaw sets are ideal for gripping the outside of a tenon or the inside of a recess. For hollow forms, you’ll likely use jaws that can grip externally to hollow, and then remount with jaws that grip internally for finishing the outside.
Other Useful Tools

- Measuring Calipers: For measuring wall thickness.
- Digital Calipers: Even better for precise wall thickness measurements.
- Dust Collection System: Highly recommended for a cleaner and safer workshop.
- Spindle Gouge and/or Bowl Gouge: For external shaping.
- Parting Tool: For cutting the piece off the lathe.
Choosing Your Wood

For your first hollow form project, it’s best to choose a stable, easy-to-turn wood. Avoid woods that are prone to excessive cracking or warping if possible. Good beginner choices include:
- Maple
- Cherry
- Walnut
- Sycamore
You can turn both green (freshly cut) and dry wood. Green wood is softer and easier to turn but will move and warp as it dries, which can be part of the charm for some projects or a challenge to manage for others. Dry wood is more stable but requires more effort to turn.
Preparing Your Blank
Start with a solid block of wood. You can turn a round blank or start with a blank that is already somewhat shaped, perhaps from a larger piece of lumber.
For a Round Blank:
- Cut your wood to the desired length.
- Mount it between centers on your lathe.
- Rough it into a cylinder using a roughing gouge or spindle gouge.
- Leave a tenon on one end. This tenon will be used to mount the wood in your chuck. The size of the tenon depends on your chuck jaws. Consult your chuck manufacturer’s recommendations.
For a Shaped Blank:
- If you have a more irregular piece, find a way to securely mount it. This might involve creating temporary “jigs” or using a faceplate if you don’t plan to hollow from this initial mounting.
- The goal is to have a secure way to begin turning. For beginners, starting with a properly prepared round blank with a tenon is strongly advised.
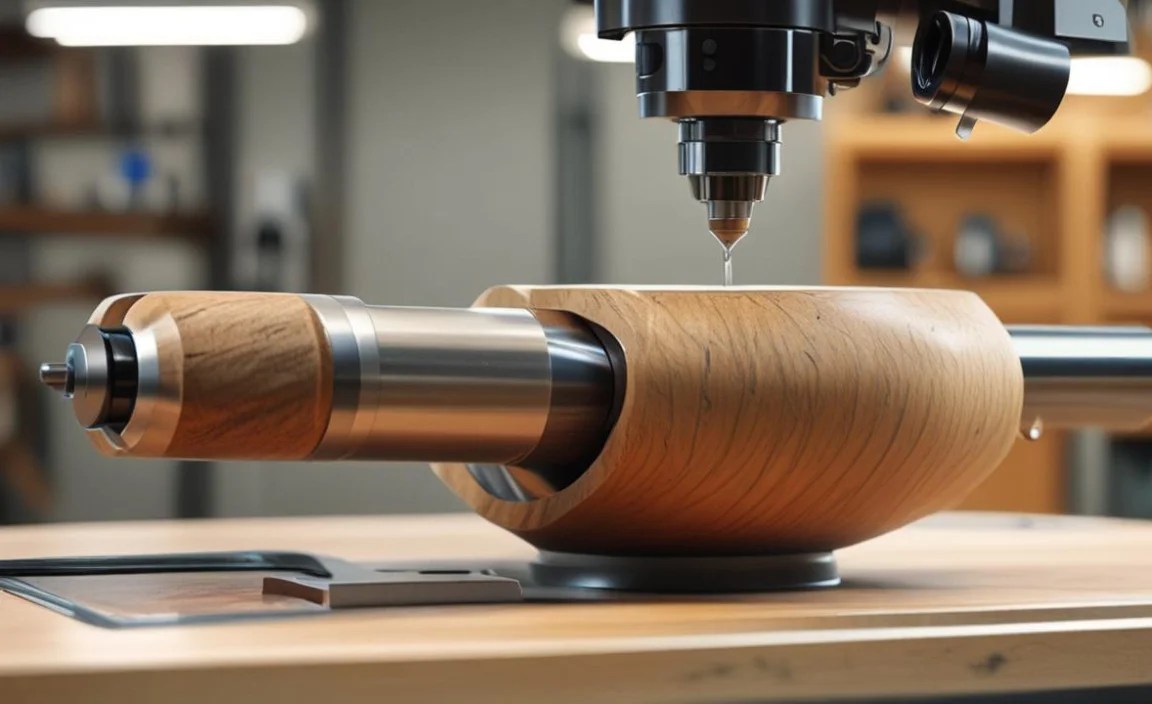
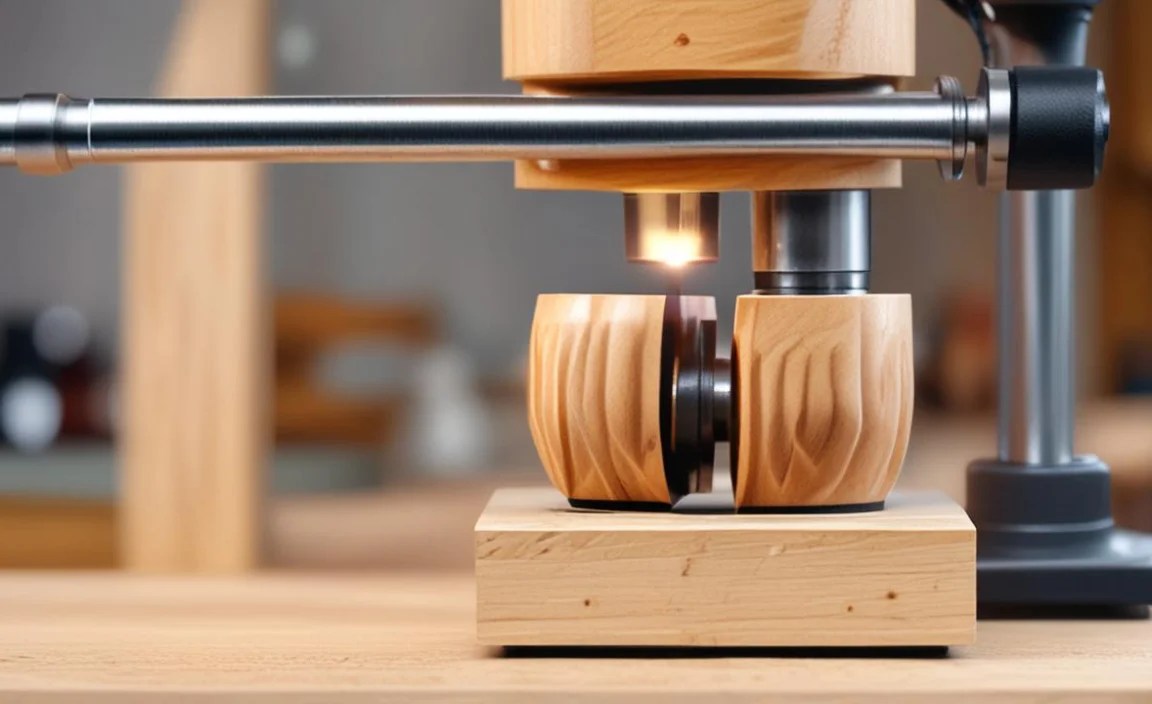
Step-by-Step: Hollowing Your First Form

Let’s get turning! Remember to always keep your tool rest close to the wood and at the correct height. For hollowing, the tool rest should be slightly below the center line of the workpiece when the tool is inserted.
Step 1: Mounting the Blank and Initial Shaping
- Mount your blank onto the lathe using the tenon. Use a scroll chuck with jaws that securely grip the tenon.
- Turn the lathe on at a slow to medium speed. Use a bowl roughing gouge or a large bowl gouge to shape the outside of your piece into a basic vessel or bowl shape.
- Decide on the opening size and shape. You can begin to define where the rim of your vessel will be.
- Once the outside is roughly shaped, ensure you have a solid base.
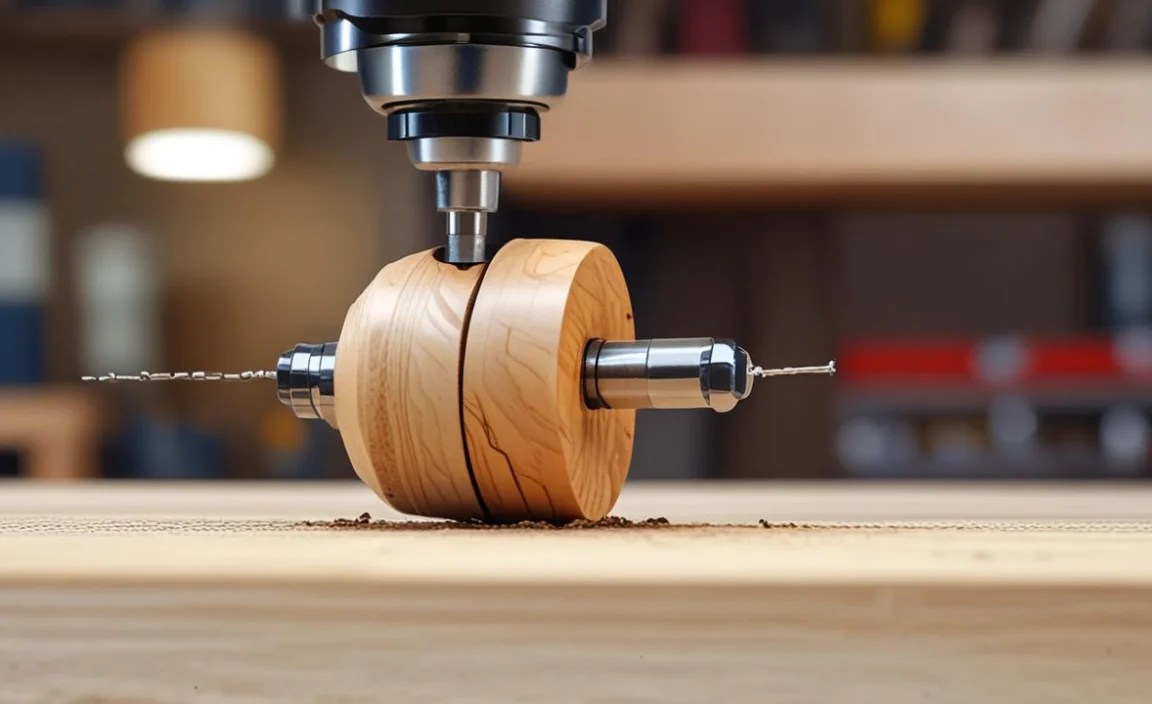
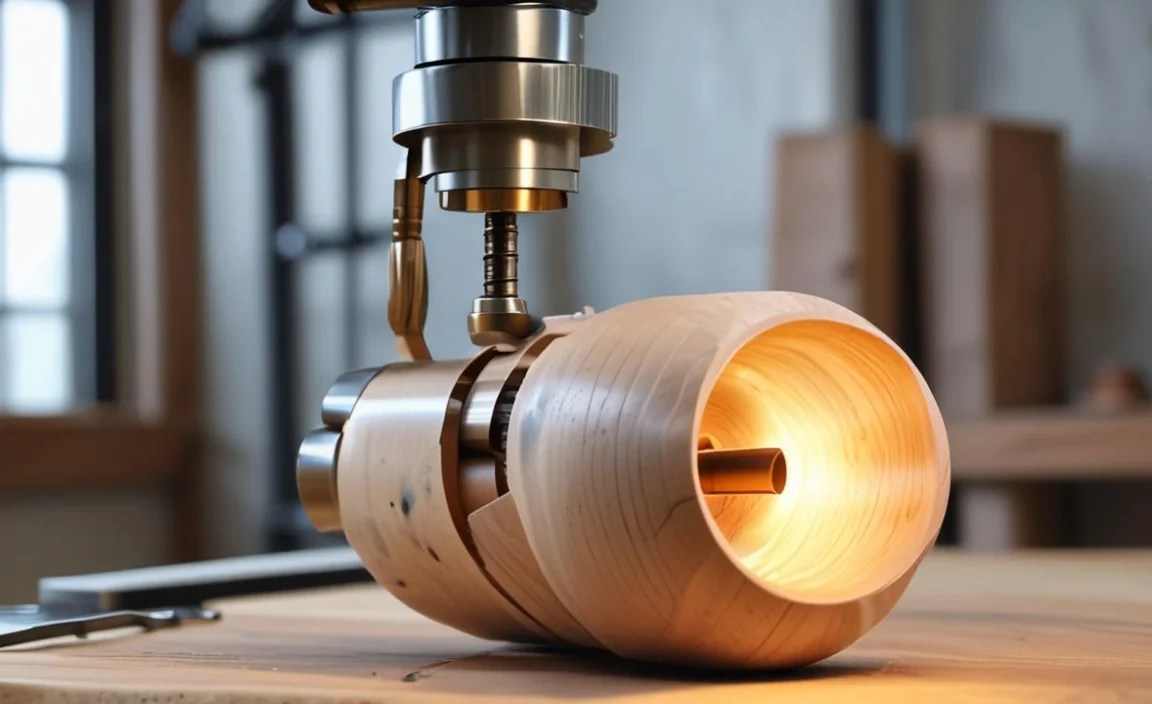
Step 2: Setting Up for Hollowing

- Adjust your tool rest. For hollowing, you want the tool rest positioned so the cutting edge of your hollowing tool can enter the opening without hitting the rim of the vessel. A good starting point is to have the tool rest slightly below the centerline of the piece.
- Crucially, ensure your tailstock is in place for safety when starting. You can remove it later once you are comfortable, but especially for beginners, having the tailstock supporting the piece as you make the initial cuts provides a vital safety margin against “catastrophic failure” (the piece breaking apart). Its presence can help prevent this.
Step 3: Making the Initial Cut

- Take your chosen hollowing tool (e.g., a hook tool).
- Position the tip of the tool just inside the opening you’ve created.
- With the lathe running at a slow to medium speed, gently lower the handle of the hollowing tool. This will cause the cutting edge to dig into the wood.
- Take very light, controlled passes. Think of it like peeling an onion, layer by layer.
Step 4: Hollowing Deeper
- Continue to remove wood in shallow passes. Work your way down into the piece, gradually deepening the hollow.
- Periodically stop the lathe and check the wall thickness with your calipers. Aim for consistency.
- As you go deeper, you may need to adjust the angle of your tool and your body position to maintain control and reach the bottom.
- Be mindful of the wood’s grain direction. Cutting against the grain can lead to tear-out.
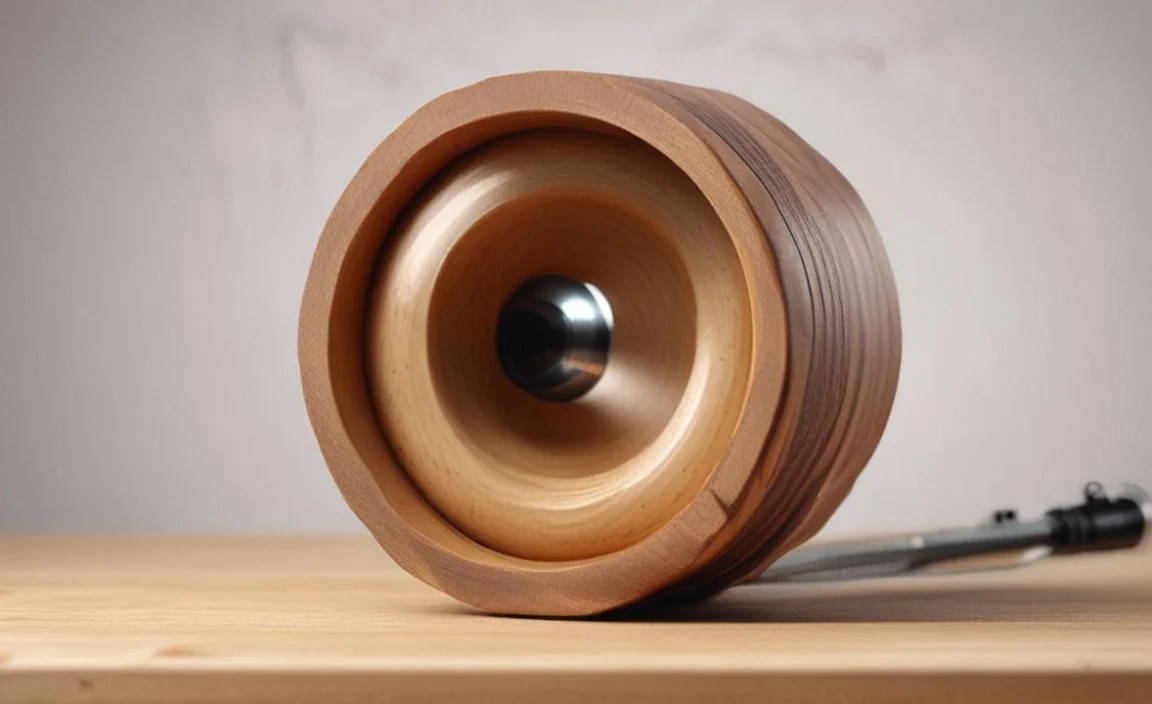
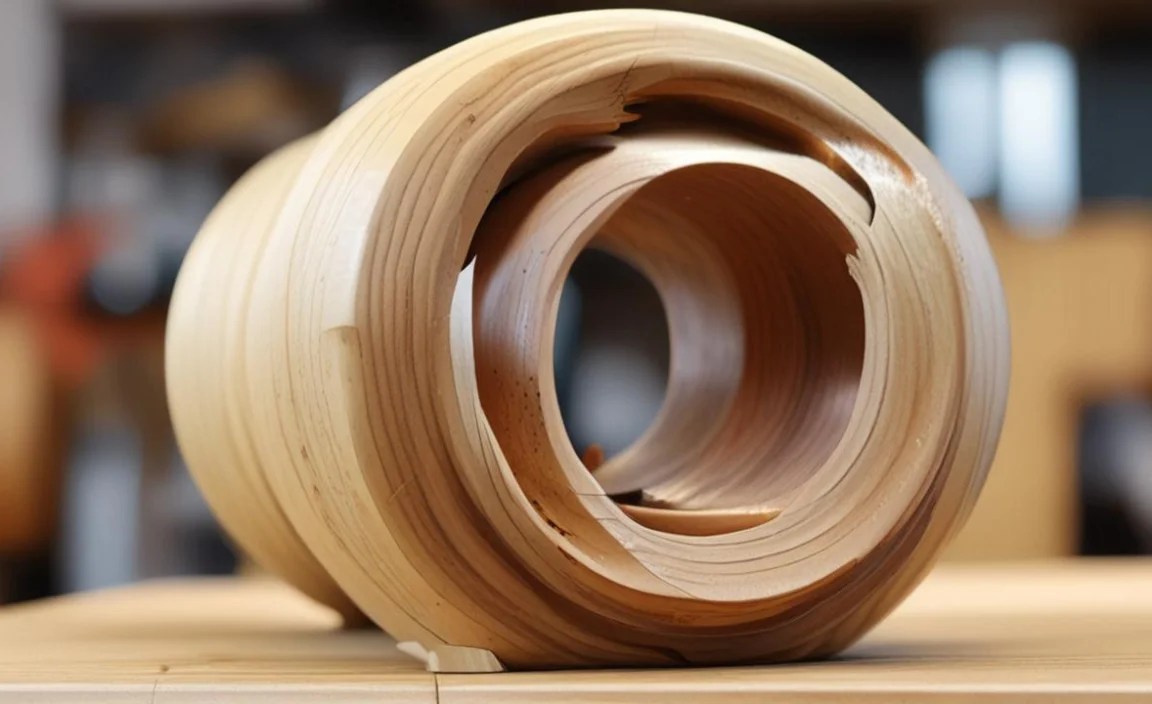
Step 5: Shaping the Interior
- Once you have achieved a desired depth, you can start to shape the inside. Use sweeping cuts with your hollowing tool to create the desired interior profile.
- For very deep or narrow openings, specialized tools or techniques might be beneficial. However, for beginners, focusing on gradual removal and basic shaping is key.
- Tip: Using a flexible hollowing tool can help you reach difficult spots.
Step 6: Checking Wall Thickness
This is critical for strength and aesthetics. You don’t want walls that are too thin or too thick. Consistent wall thickness is the goal.
- Use a good set of calipers. Digital calipers are very handy for this.
- Measure in several places around the hollow.
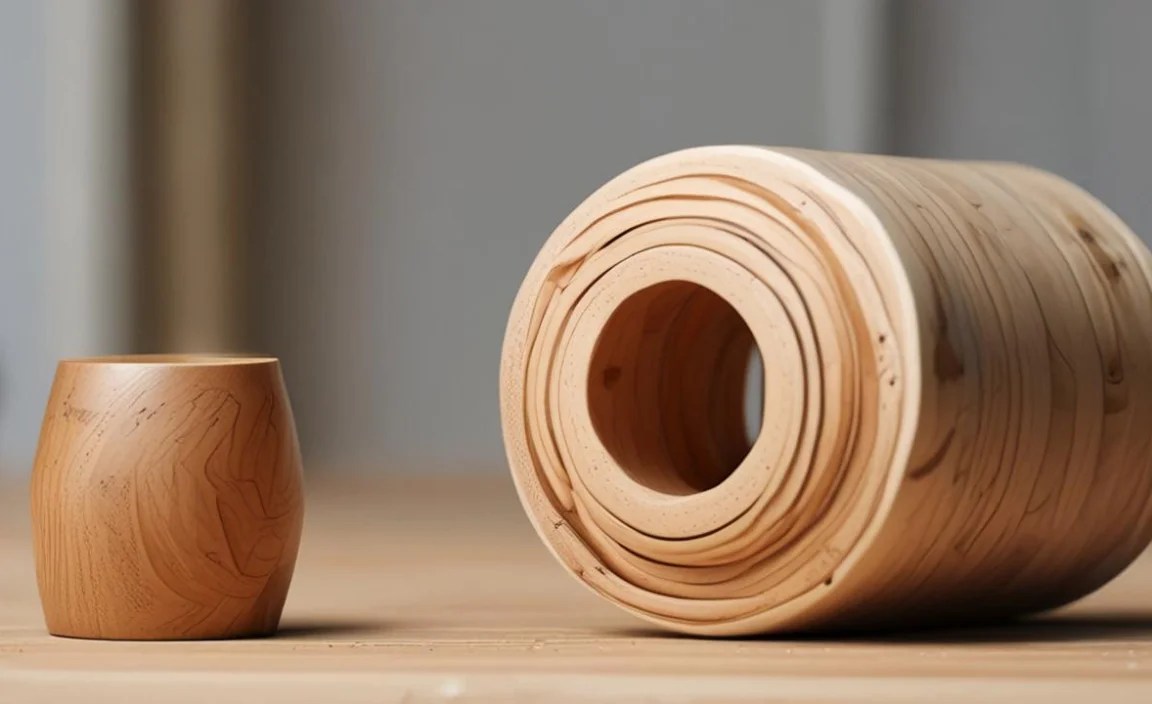
- Continue scraping gently until you achieve your target wall thickness, which might be anywhere from 1/8 inch to 1/4 inch (3mm to 6mm) or more, depending on the wood and desired piece.
Step 7: Refining the Rim and Top
- Shape the rim of your vessel. This can be crisp and sharp or smoothly rounded. Use a scraper or a specific part of your hollowing tool.
- Ensure the opening is clean and free of any rough spots.
Step 8: Undercutting (Optional but Advanced)
For some designs, you might want to create an undercut near the rim on the inside. This requires careful control and often a specific type of curved scraper or hook tool. For beginners, it’s best to master the basic hollowing first.</p
Step 9: Removing the Tailstock (Optional)

Once you are confident with the progress and the piece feels stable, you can remove the tailstock to get better access for finishing the exterior shaping and sanding.
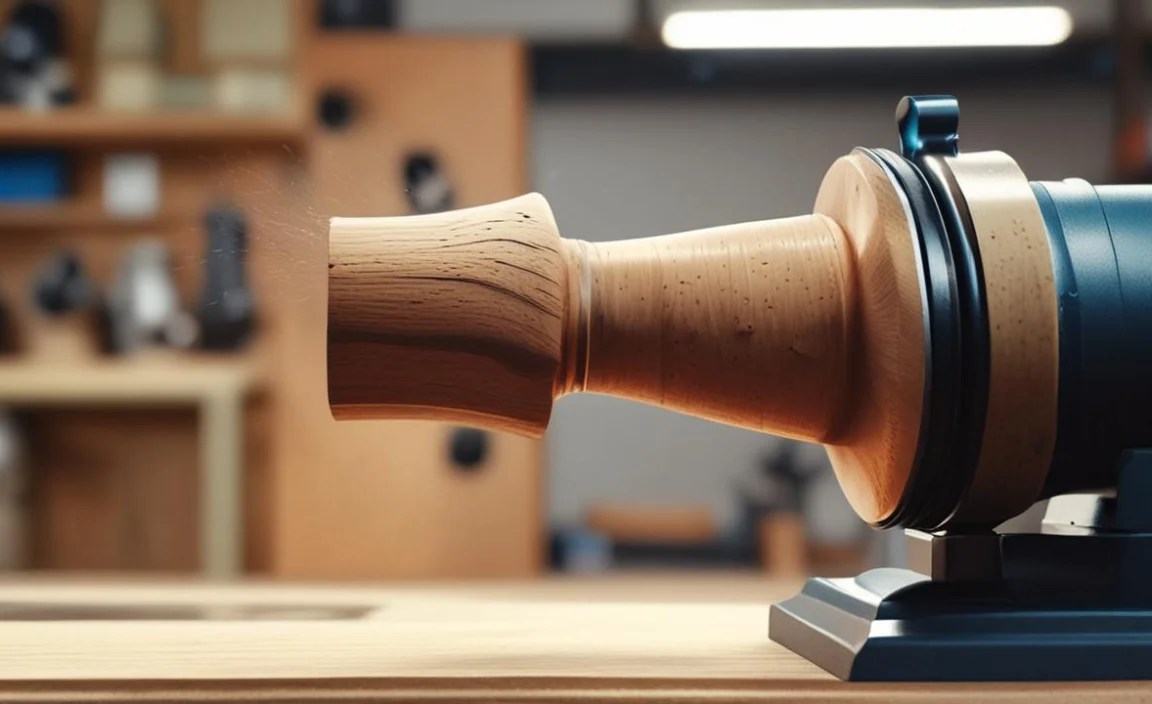
Step 10: Final Exterior Shaping and Sanding

- With the piece still held in the chuck (on the tenon), refine the exterior shape.
- Sand the exterior thoroughly, moving through progressively finer grits of sandpaper.
- For the interior, sanding can be tricky. You can use small sanding pads on sticks or specialized sanding tools designed for interiors. Some woodturners use grit cloths wrapped around a dowel or a sanding disc attached to a flexible shaft.
- You can also use scrapers very carefully on the inside for a smooth finish.
Step 11: Removing the Piece from the Lathe

Once the turning and sanding are complete, you’ll need to remove the piece from the lathe. This often involves:
- If you are leaving a tenon on the bottom, you can simply part it off using a parting tool.
- If you want a flat bottom with no tenon, you may need to reverse chuck the piece. This means gripping the rim of your vessel with specialized jaws (e.g., jam chuck jaws or a vacuum chuck) or by creating a temporary recess inside the rim to grip with your standard chuck jaws.
- If you’ve left a tenon, you might sand and finish the tenon area before parting, or part it off and then sand the remaining nub flat on your workbench.
Tips for Success and Safety

Hollow form turning can be incredibly satisfying, but safety comes first. Here are some expert tips:
- Start Slow: Always begin with slow lathe speeds, especially when starting a cut or working with a new piece. Gradually increase speed as you gain confidence and ensure the piece is running true.
- Light Passes: Don’t try to remove too much wood at once. Take thin, controlled shavings. This is safer and leads to a better finish.
- Sharp Tools: A sharp tool cuts cleanly and requires less force, making your job easier and safer. Learn how to sharpen your hollowing tools; it’s a crucial skill.
- Tool Rest Placement: Experiment with tool rest placement. For hollowing, it’s often slightly below center, but for external shaping, it’s almost always at center height.
- Tailstock Support: For beginners, keeping the tailstock engaged during the initial hollowing cuts provides essential support and can prevent the piece from breaking apart if something goes wrong.
- Watch for Tear-Out: Pay attention to the grain. Where the grain changes direction (like on the rim), be extra gentle.
- Regularly Check Wall Thickness: Don’t guess! Use calipers frequently to ensure even walls.
- Don’t Over-Tighten Jaws: While you need a secure grip, over-tightening can actually deform or crush the wood, especially if it’s green.
- Listen to Your Lathe and Wood: Any unusual vibration, noise, or wobbling is a sign to stop immediately and check your setup.
- Consider Specialized Tools: As you get more into hollow forms, tools like the Sorby Profile Tools or similar systems from other manufacturers can make hollowing and finishing much easier.
Common Beginner Mistakes (and How to Avoid Them)
It’s normal to make mistakes when learning a new skill. Here are a few common pitfalls for hollow form turners:
- Cutting too Deep, Too Fast: This is the most common mistake. It can lead to tool breakage, wood tear-out, or the piece disintegrating. Always take light passes.
- Incorrect Tool Rest Height: If the rest is too high, the tool will catch and dig in aggressively. Too low, and you won’t get an efficient cut. For hollowing, slightly below center is typical.
- Ignoring Wall Thickness: Uneven walls can lead to stress in the piece, and walls that are too thin can be fragile. Measure, measure, measure!
- Not Using a Tenon or Secure Grip: If your workpiece isn’t mounted securely, it’s a recipe for disaster. Ensure your tenon is the right size for your chuck jaws and that they grip it firmly.
- Trying to Hollow Too Deep Too Soon: Start with shallower forms. As you become comfortable, you can tackle deeper and more challenging projects.
- Failing to Use Tailstock Support: For the initial cuts into a hollow turning operation, especially with larger or unfamiliar wood, the tailstock’s presence is a significant safety net. Don’t be afraid to use it!
Troubleshooting Common Issues

Even with careful work, you might encounter some problems. Here’s how to address them.
Issue: Wood is vibrating excessively or wobbling
Cause: Unbalanced blank, loose mounting, or the piece started breaking apart.
Solution: Stop the lathe immediately. Check that the wood is securely mounted in the chuck. If the piece is significantly out of round or unbalanced, try to re-shape it at a much slower speed, or secure it better if possible. If the piece has fractured, it may be unsalvageable. If it’s a slight wobble, try to true it up gently.
Issue: Tool is catching and digging in too aggressively

Cause: Tool is too dull, tool rest is too high, or you’re trying to remove too much material at once.
Solution: Ensure your hollowing tool is sharp. Adjust the tool rest to be slightly below the center line of the piece. Take much lighter, shallower passes.
Issue: Tear-out and fuzzy surface
Cause: Cutting too aggressively, against the grain, or with a dull tool.
Solution: Use your sharpest tools. Make lighter cuts. Pay attention to the direction of the grain. Sometimes, a final scraping pass with a very sharp scraper can clean up minor tear-out. For sanding, ensure you use enough pressure to clean up the fuzzies.
Issue: Difficulty reaching the bottom or sides of a deep hollow
Cause: Tool shape or rigidity, or tool rest placement.
Solution: Experiment with different hollowing tools designed for deeper work. Ensure your tool rest is positioned to allow the tool to reach.
